Flo AI agents act as smart, dedicated teammates that help automate your procurement workflows, monitor requests, and keep your SaaS operations running smoothly. By configuring custom AI agents, you can streamline routine tasks and ensure your procurement processes align with organizational goals.
Managing and configuring these agents is centralized within your platform settings.
How to Build and Configure an Agent
Follow these steps to build, configure, and publish a new AI agent in Spendflo:
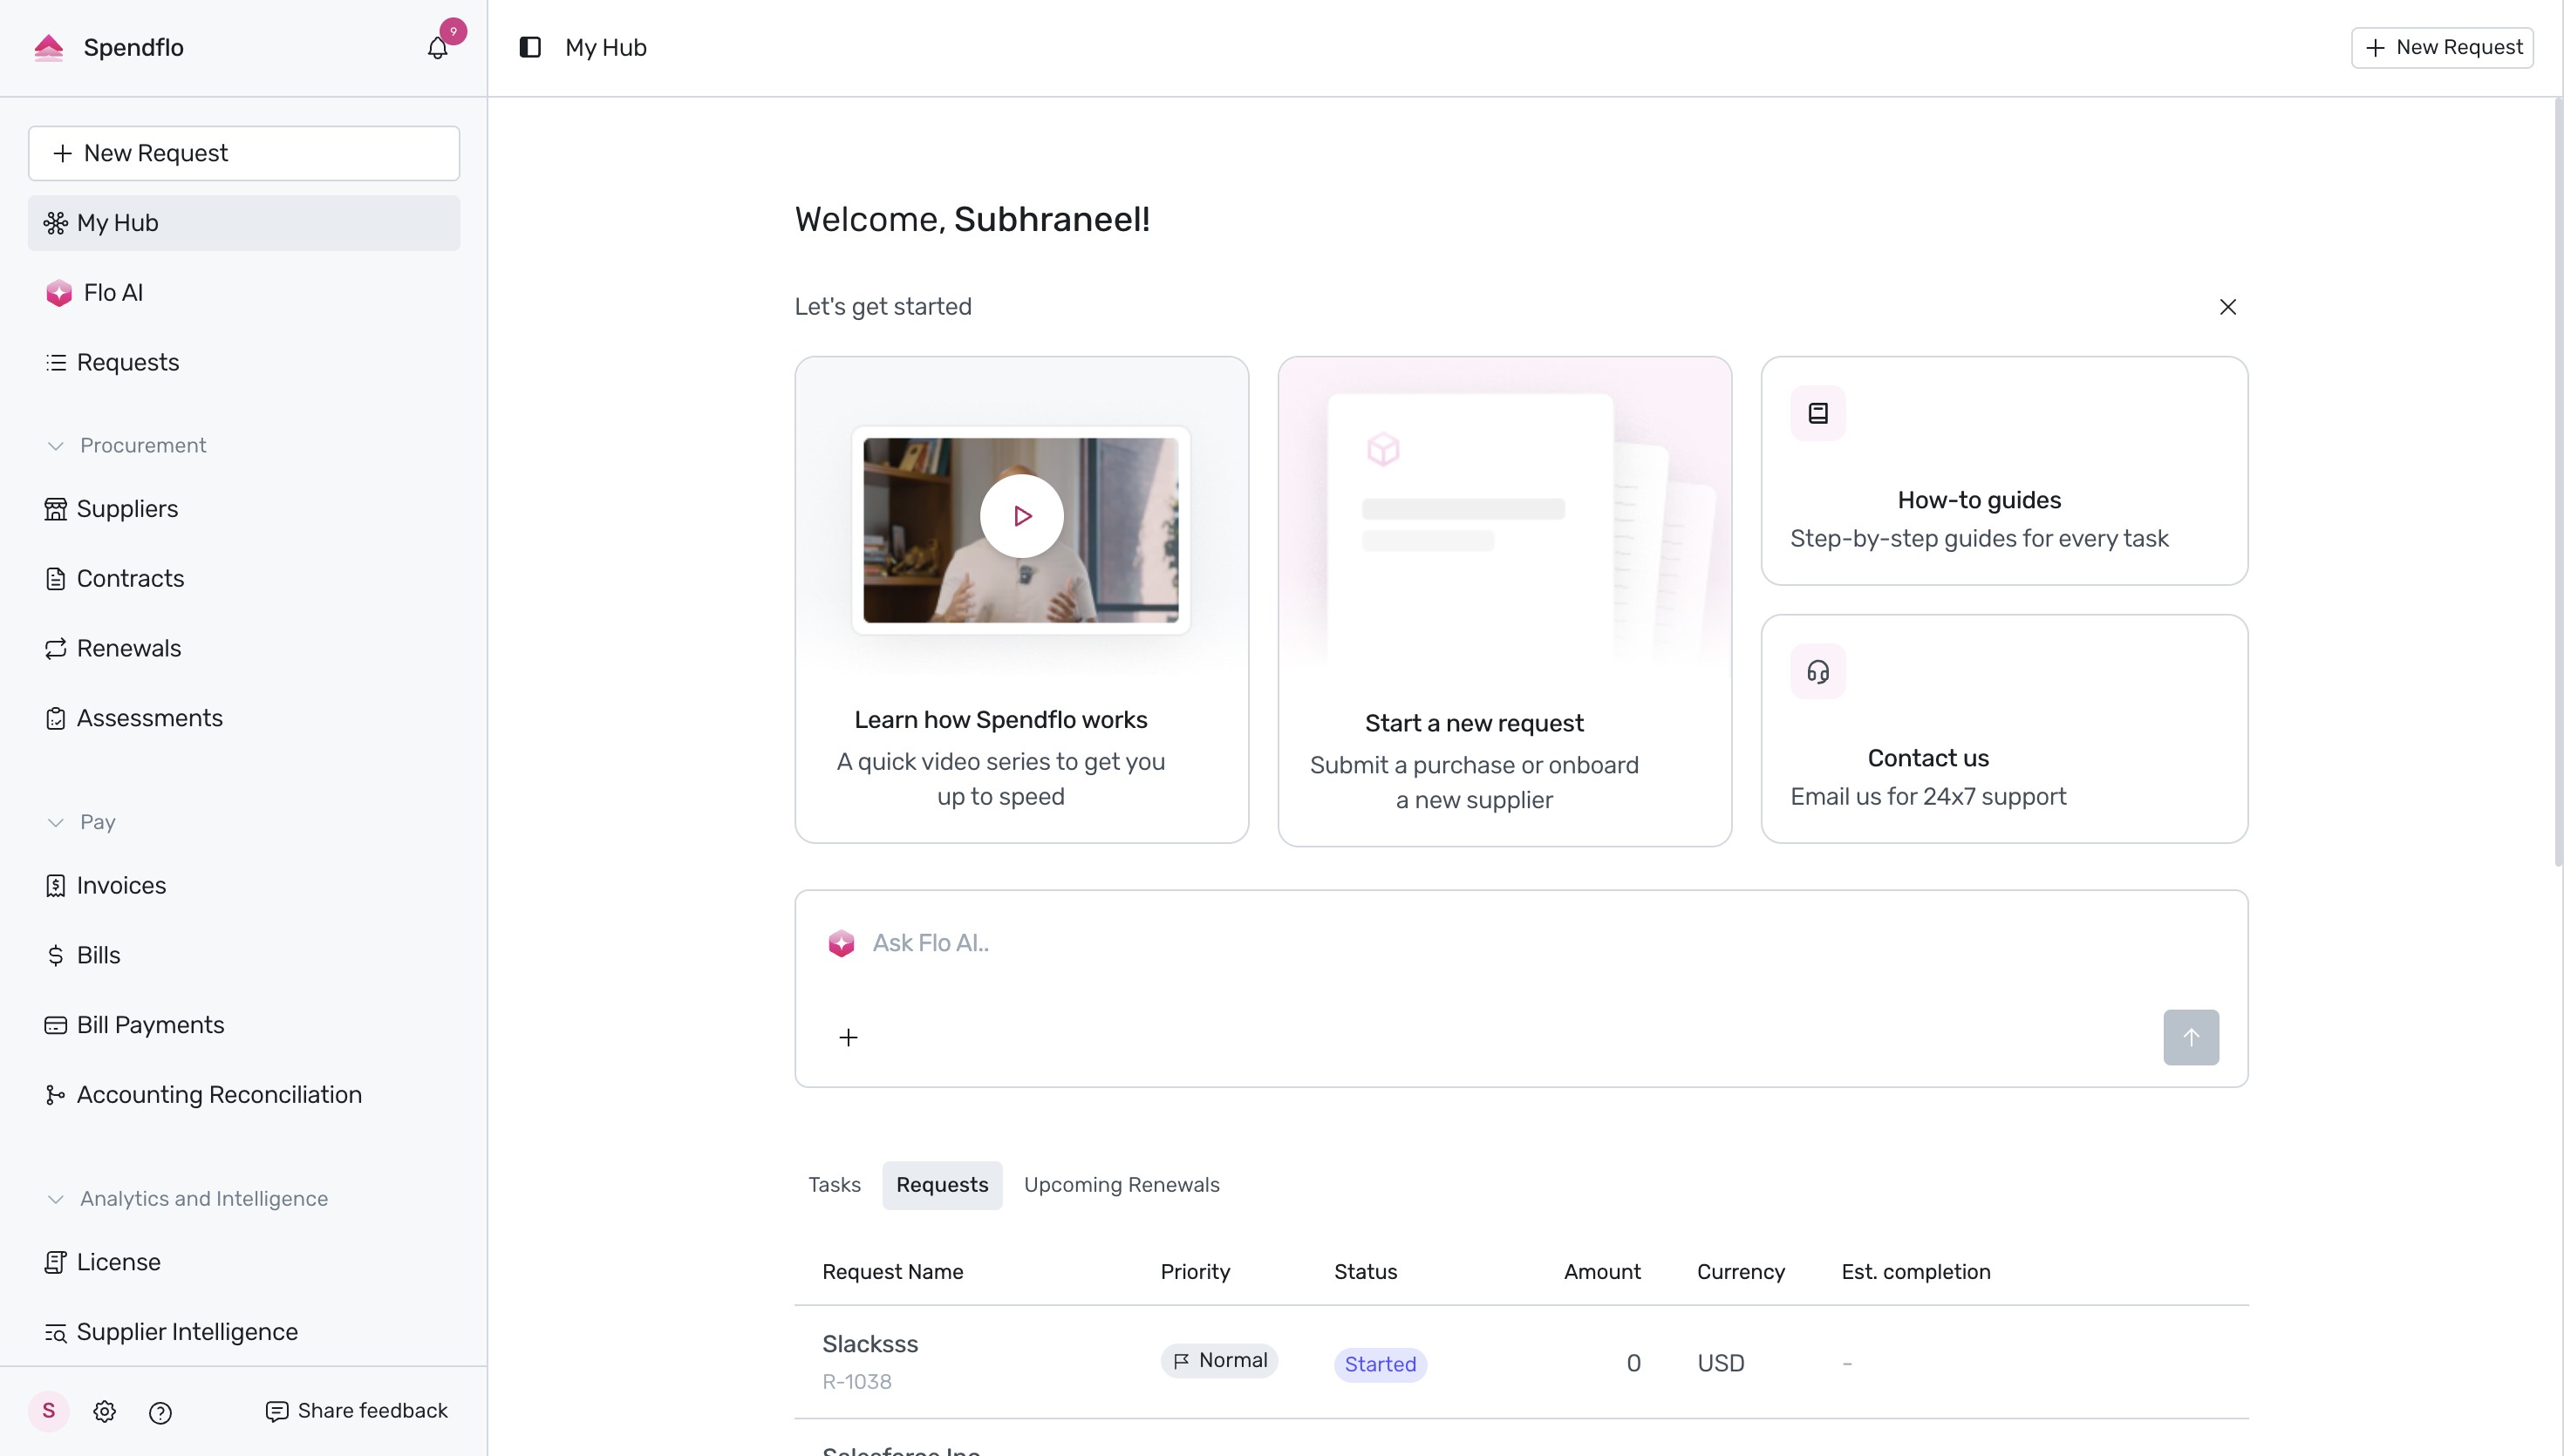
Start on the Spendflo home dashboard, My Hub, which serves as your central workspace.
Navigate to the platform settings by clicking on the Settings (gear) icon at the bottom-left corner of the sidebar.
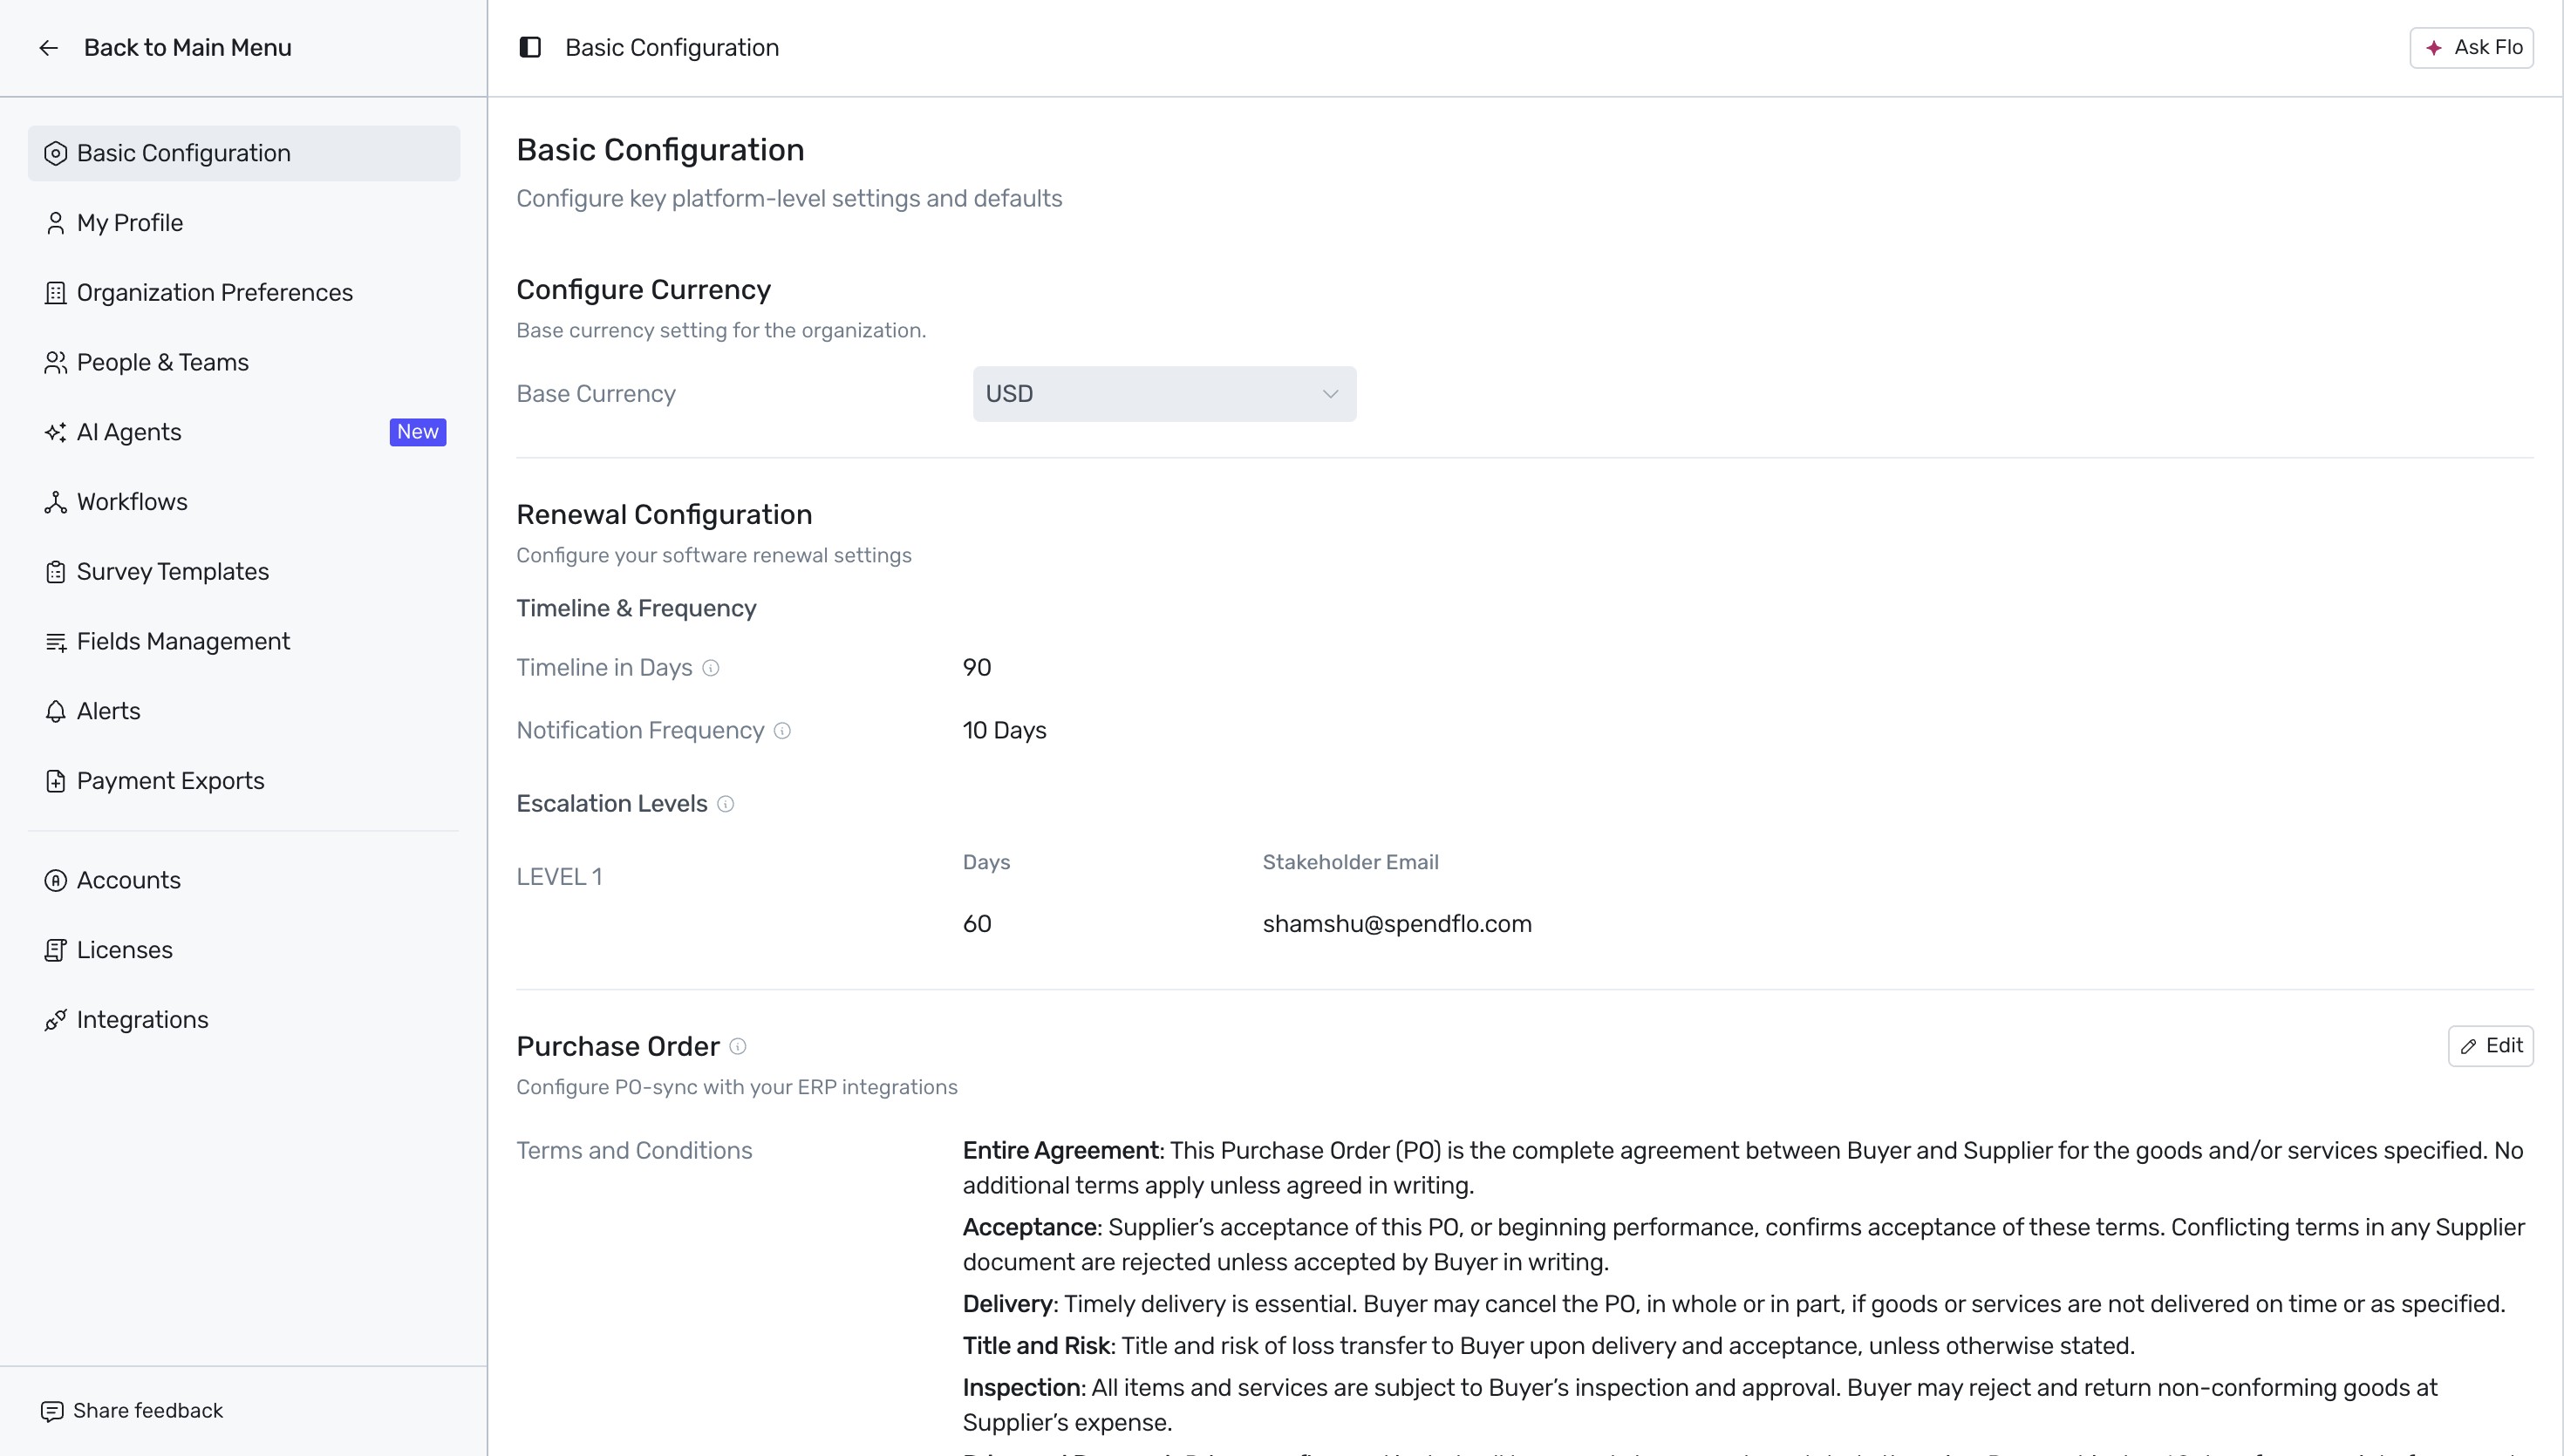
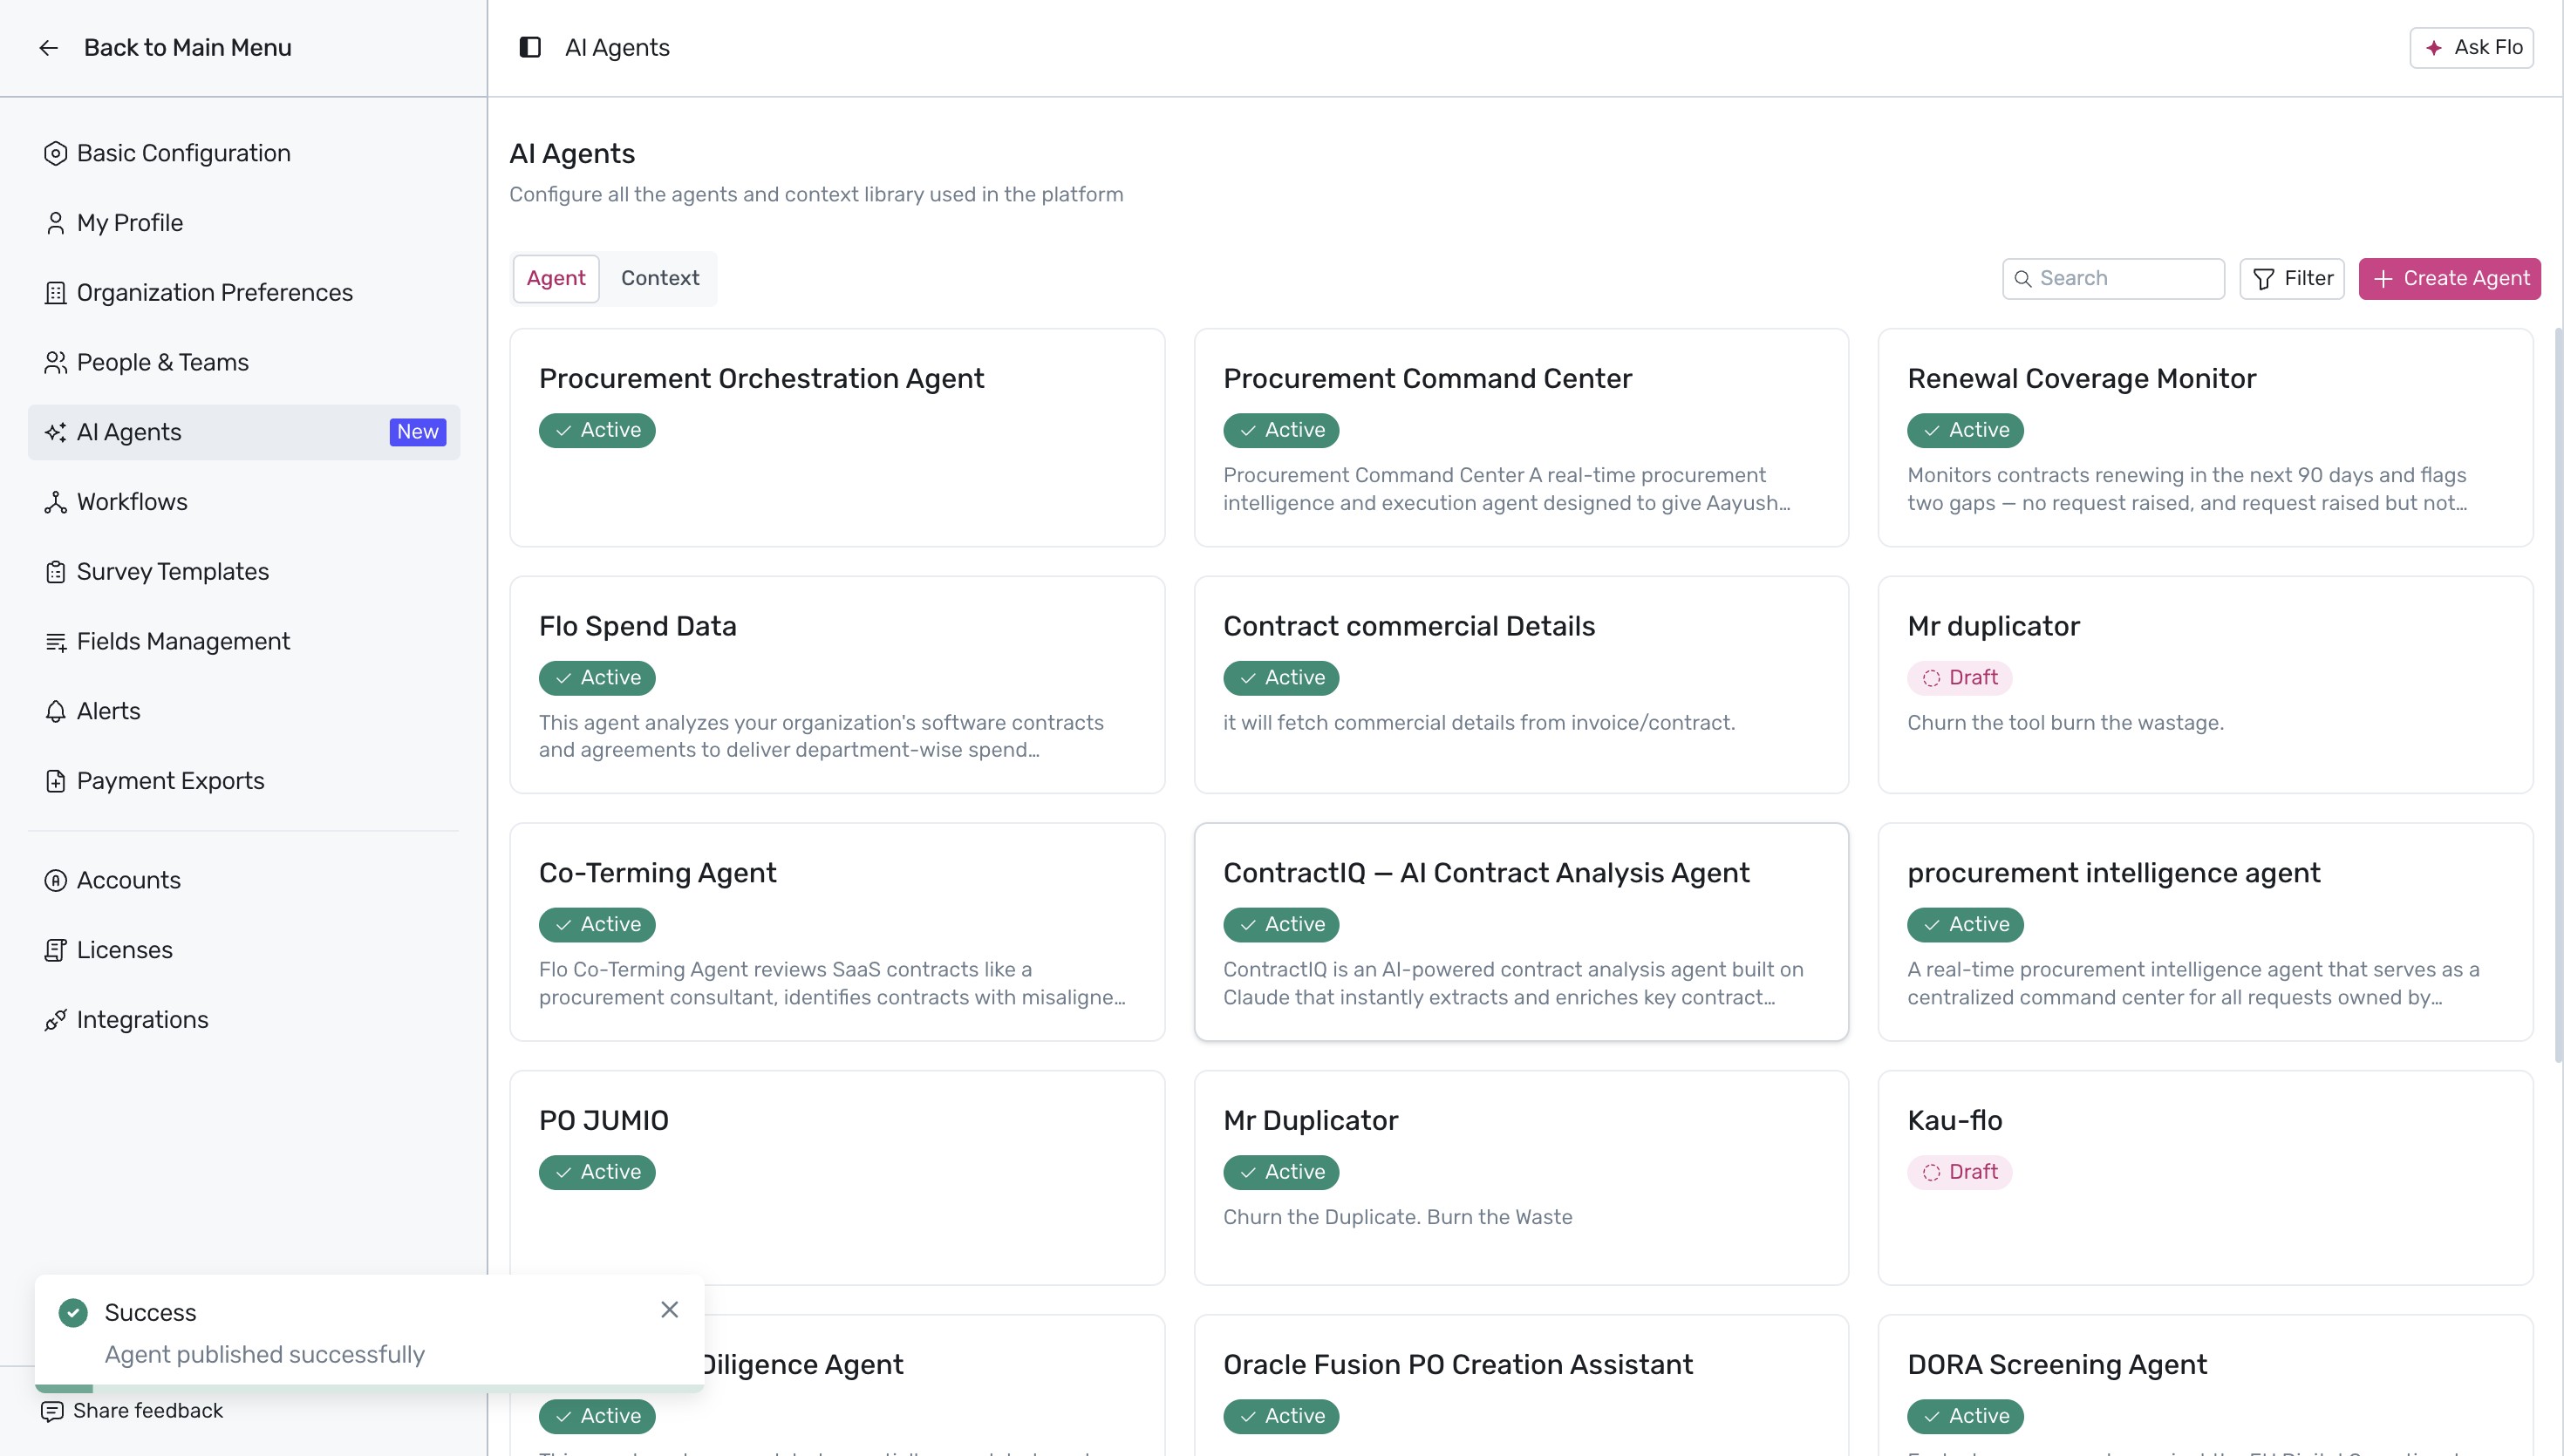
From the settings sidebar menu, click on AI Agents to access the agent configuration library where all active and draft agents are displayed.
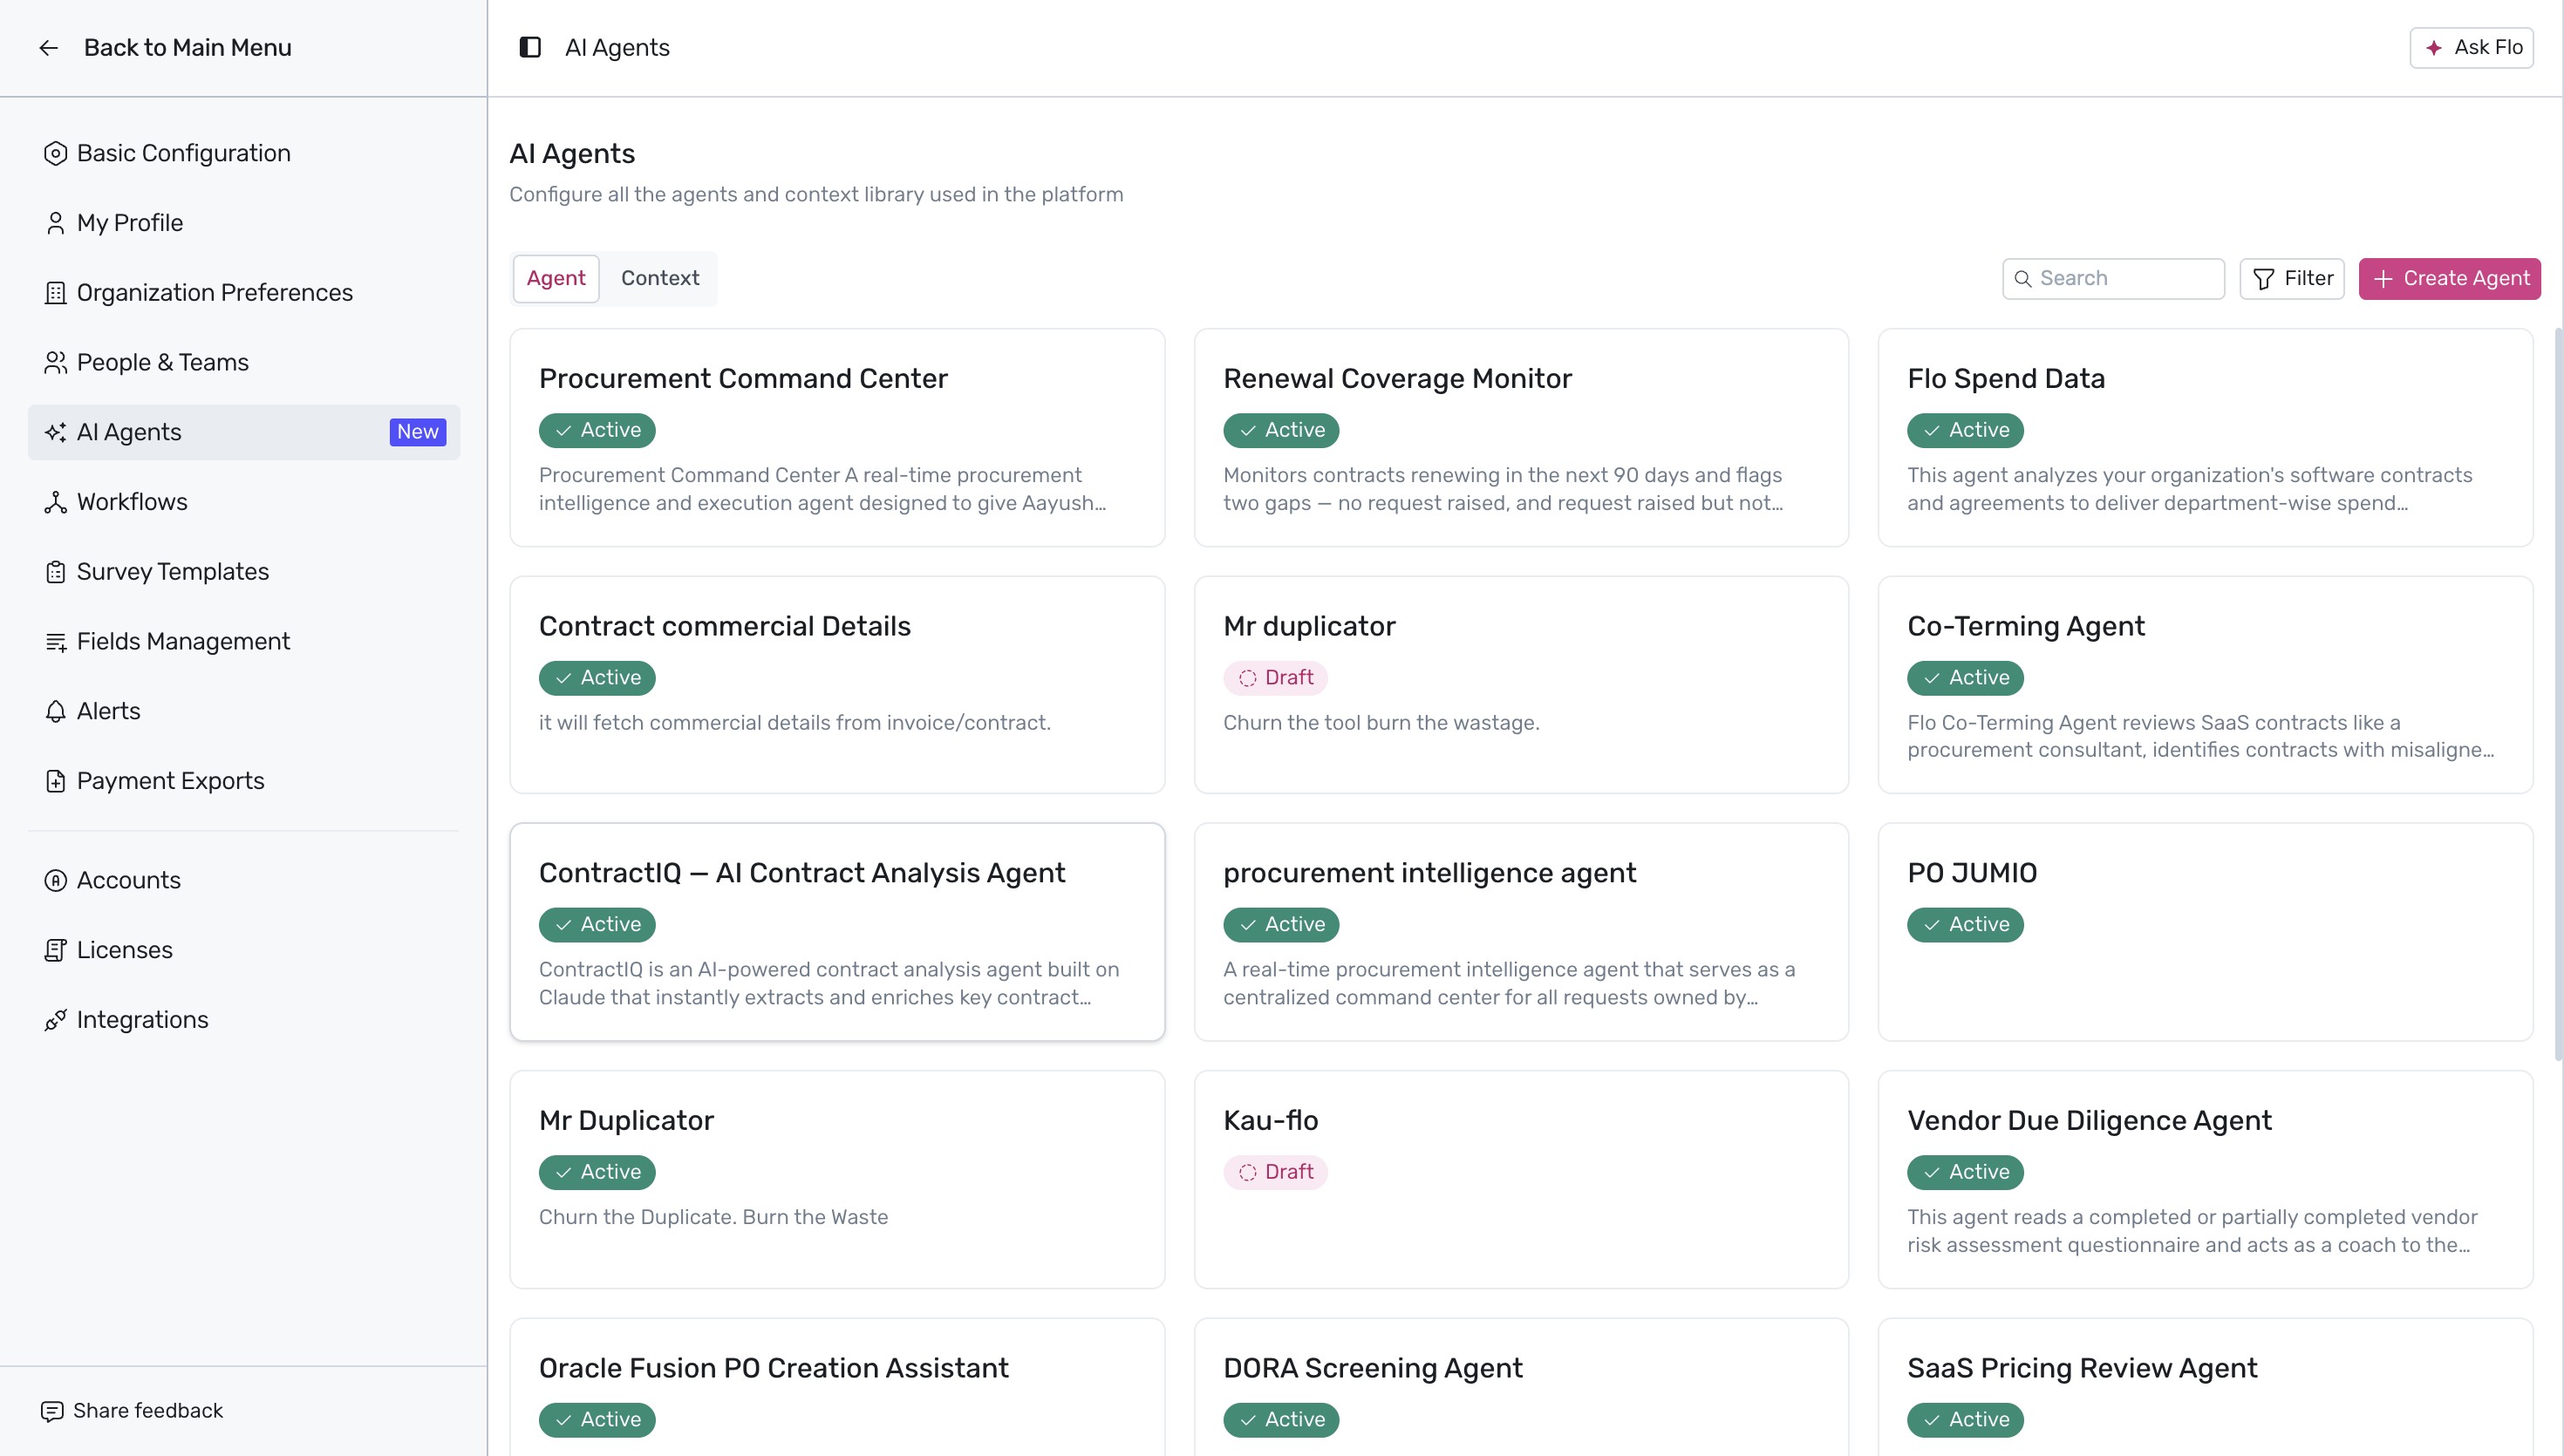
Initiate the creation of a new agent by clicking the pink + Create Agent button in the top-right corner of the screen.
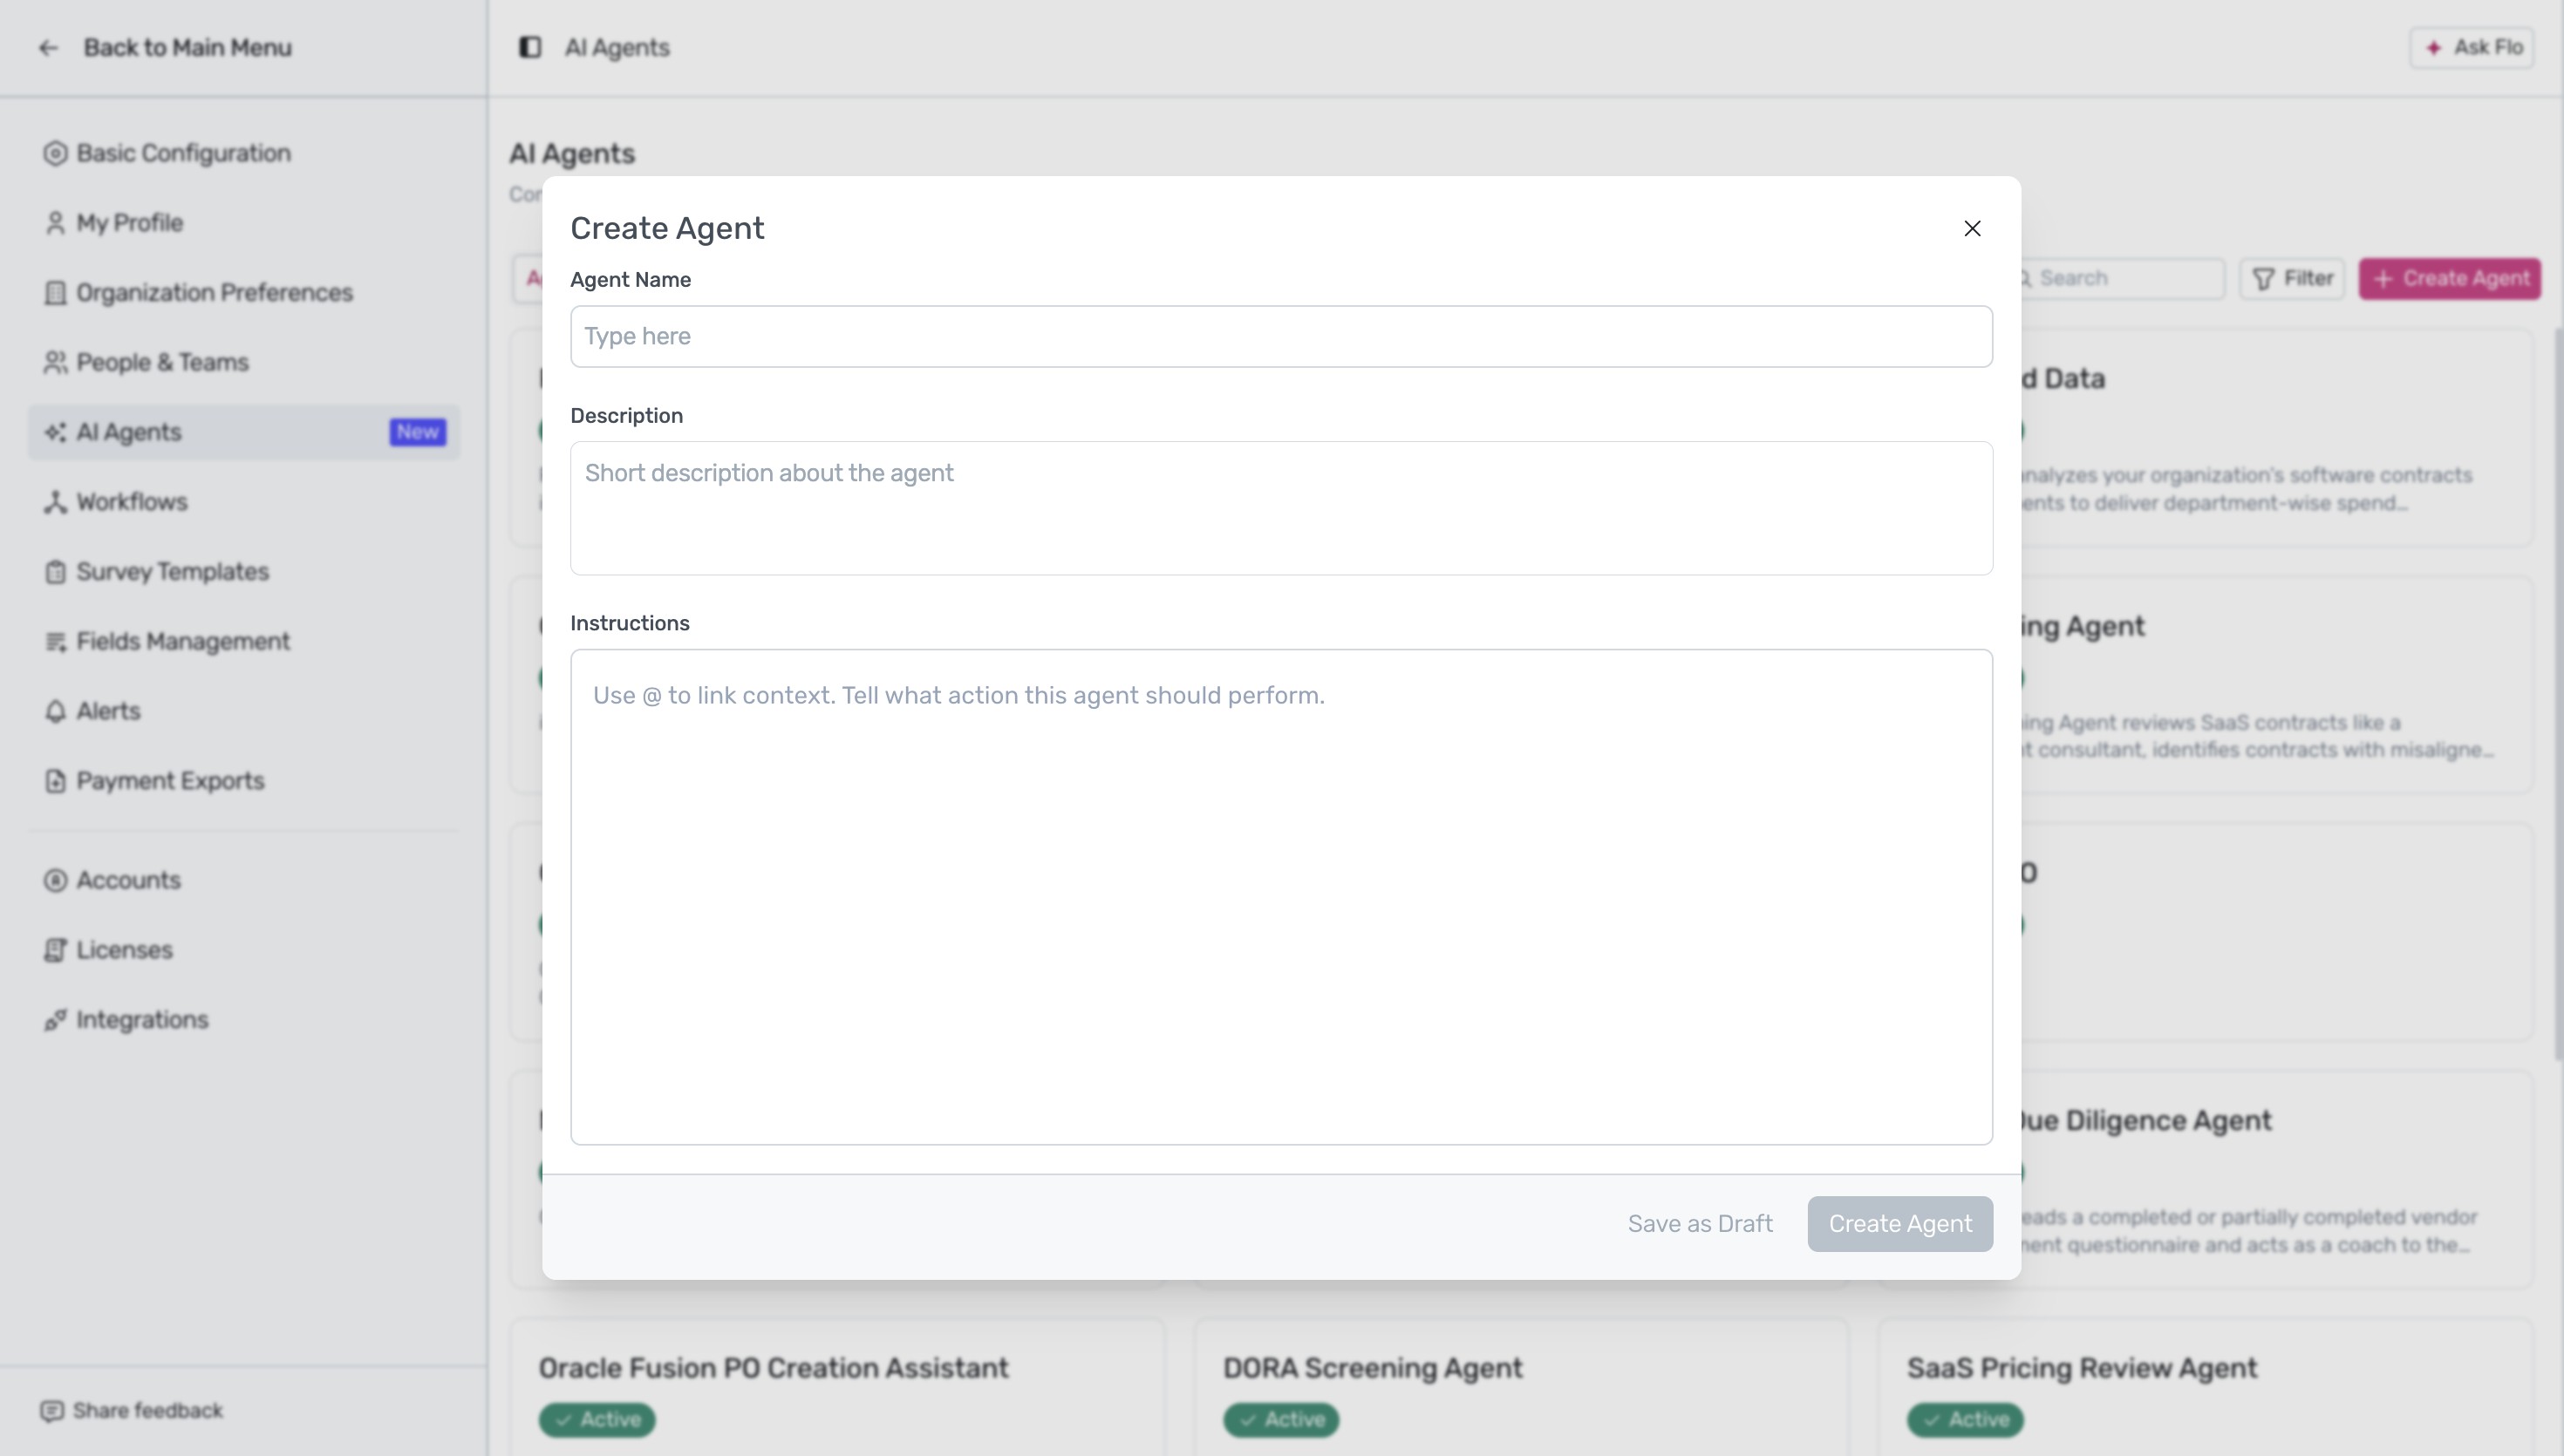
In the Create Agent modal, configure your agent by entering the Agent Name (for example,
Procurement Orchestration Agent), adding an optional Description, and providing detailed Instructions on how the agent must operate, such as monitoring procurement requests, tracking changes, and prioritizing tasks.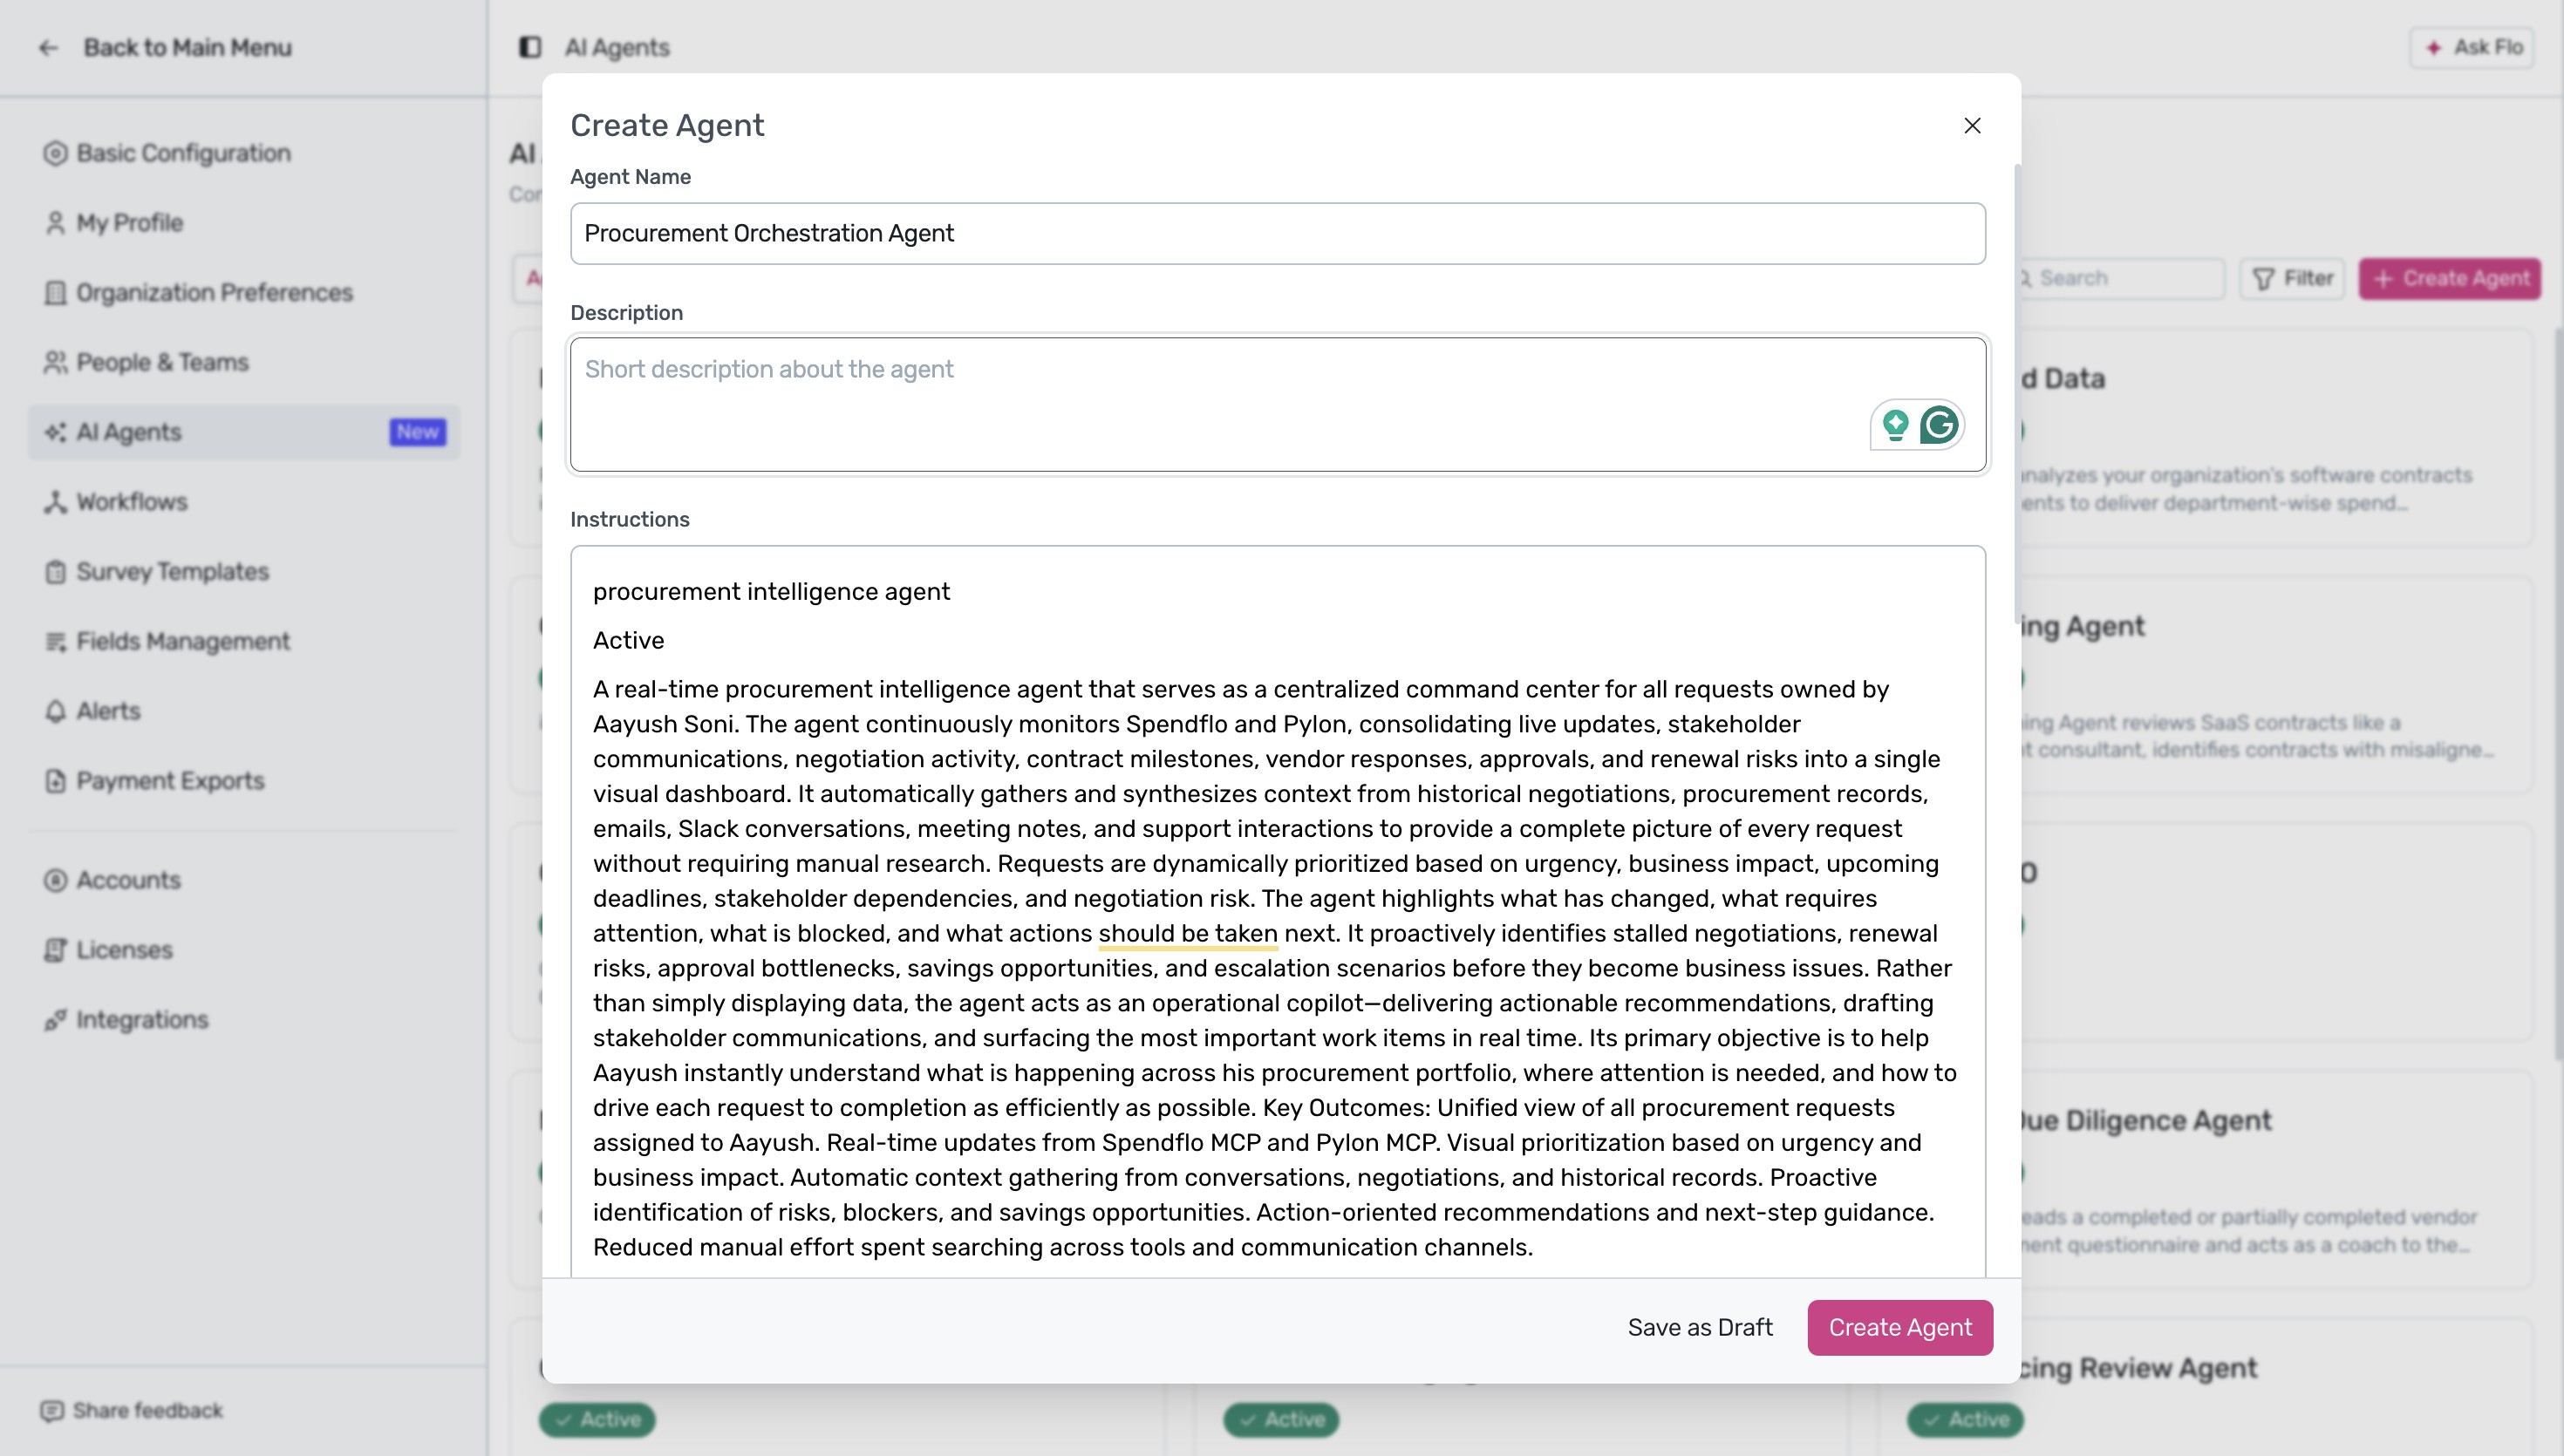
Click the Create Agent button to publish the agent. A success message stating "Agent published successfully" appears at the bottom-left, and the newly created agent is now listed as active in your AI Agents library.
Next Steps
Now that you have configured your AI agent, you can explore how automated workflows can further streamline your procurement processes.
Was this article helpful?
That’s Great!
Thank you for your feedback
Sorry! We couldn't be helpful
Thank you for your feedback
Feedback sent
We appreciate your effort and will try to fix the article