Overview
In Spendflo, workflows define how requests move from intake to completion, determining who needs to review, approve, or act on them. Custom notifications sit on top of these workflows, allowing you to control who gets notified, on which channel (Email or Slack), and at what specific event (e.g., task assigned, overdue).
Together, workflows and notifications ensure procurement runs in a structured, automated, and transparent way — from intake to final completion.
How to Build a Workflow
Navigate to Workflow Settings
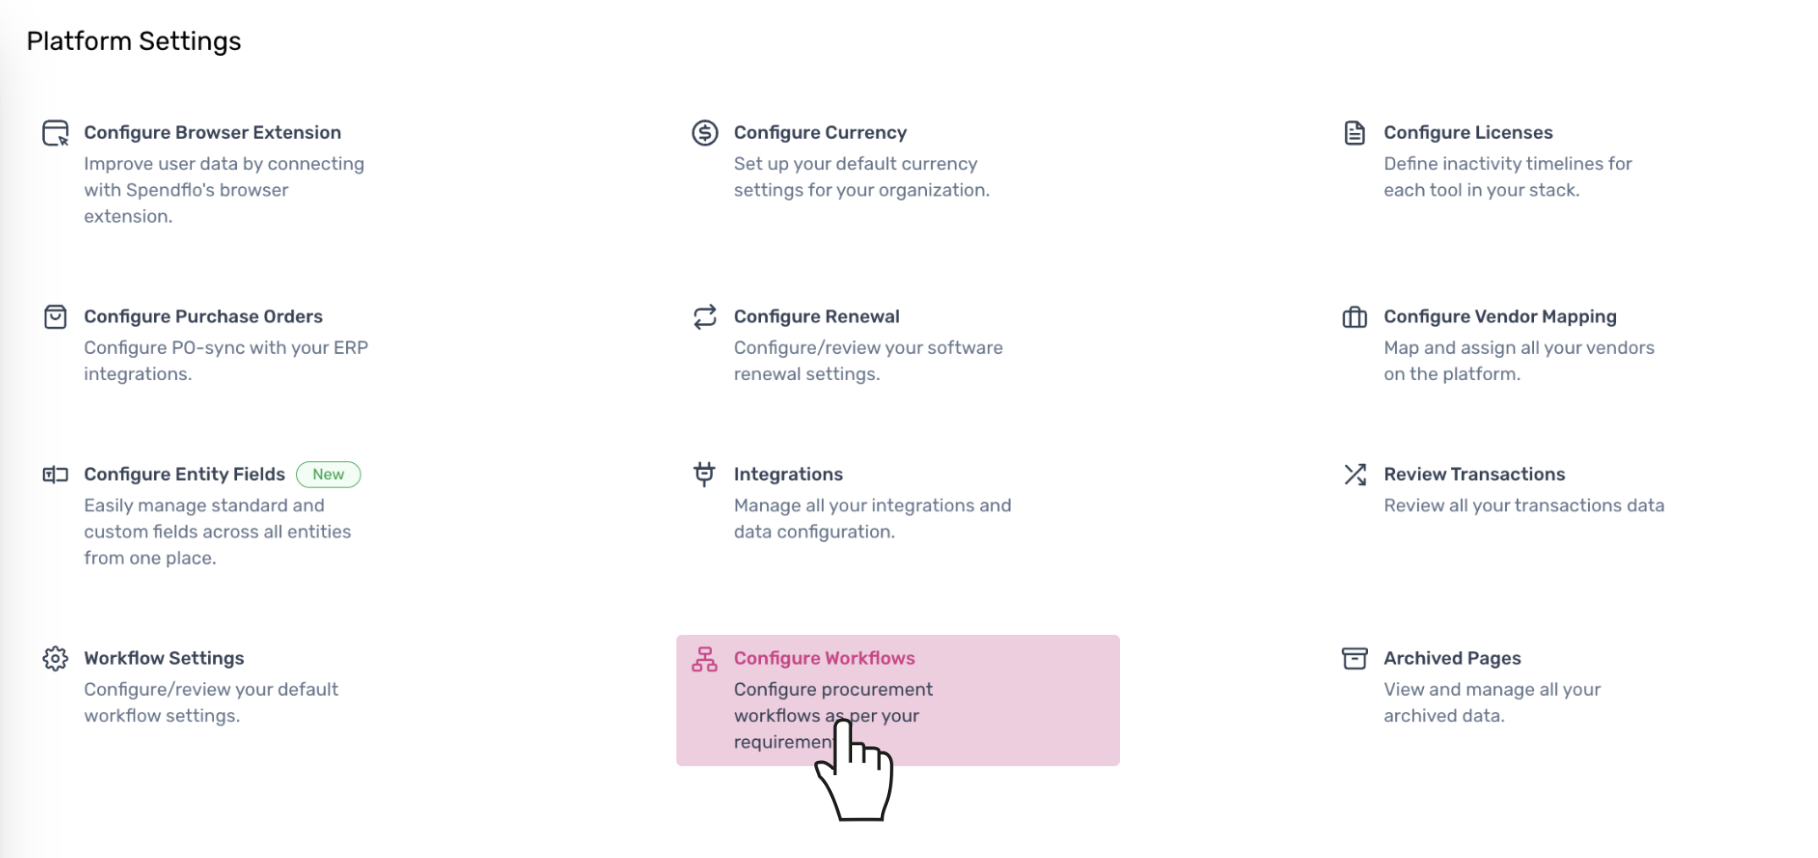
Go to Settings from the main navigation menu.
Under Platform Settings, click on Configure Workflows.
Create or Edit a Workflow
You can either edit an existing workflow template or click + Add Workflow to create a new one from scratch.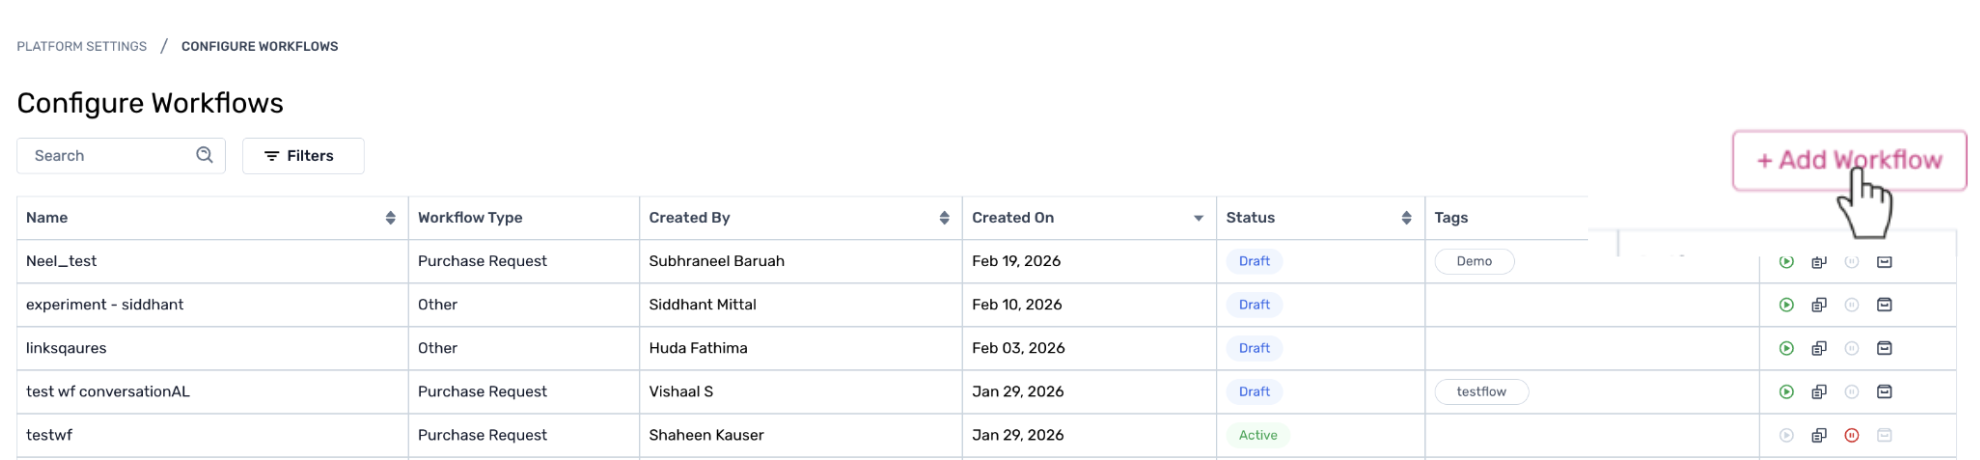
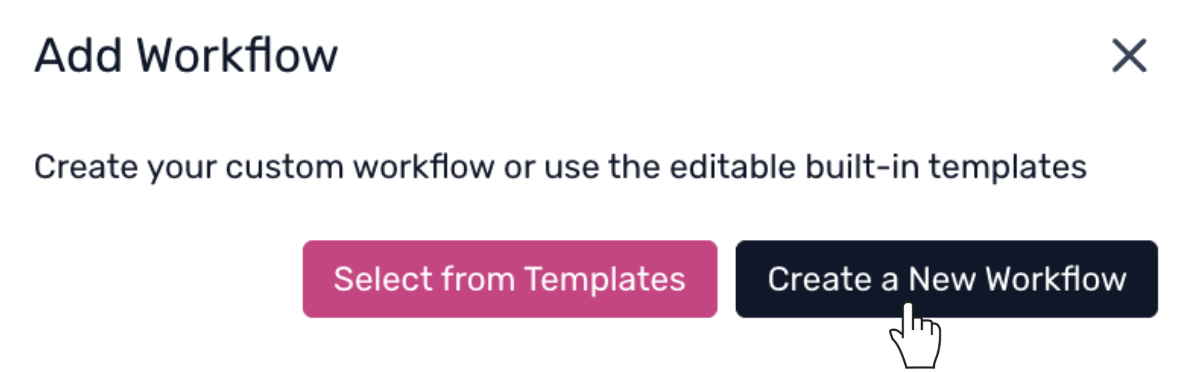
Choose to Select from Templates (to modify a built-in workflow) or Create a New Workflow (to build your own).
Define Workflow Details
Enter a Workflow Name, add a short Description (optional but recommended), select the Workflow Type (e.g., Purchase Request), and add relevant Tags. Once done, click Create Workflow.
Configure the Intake Form
In the workflow canvas, click Edit on the Intake Form node.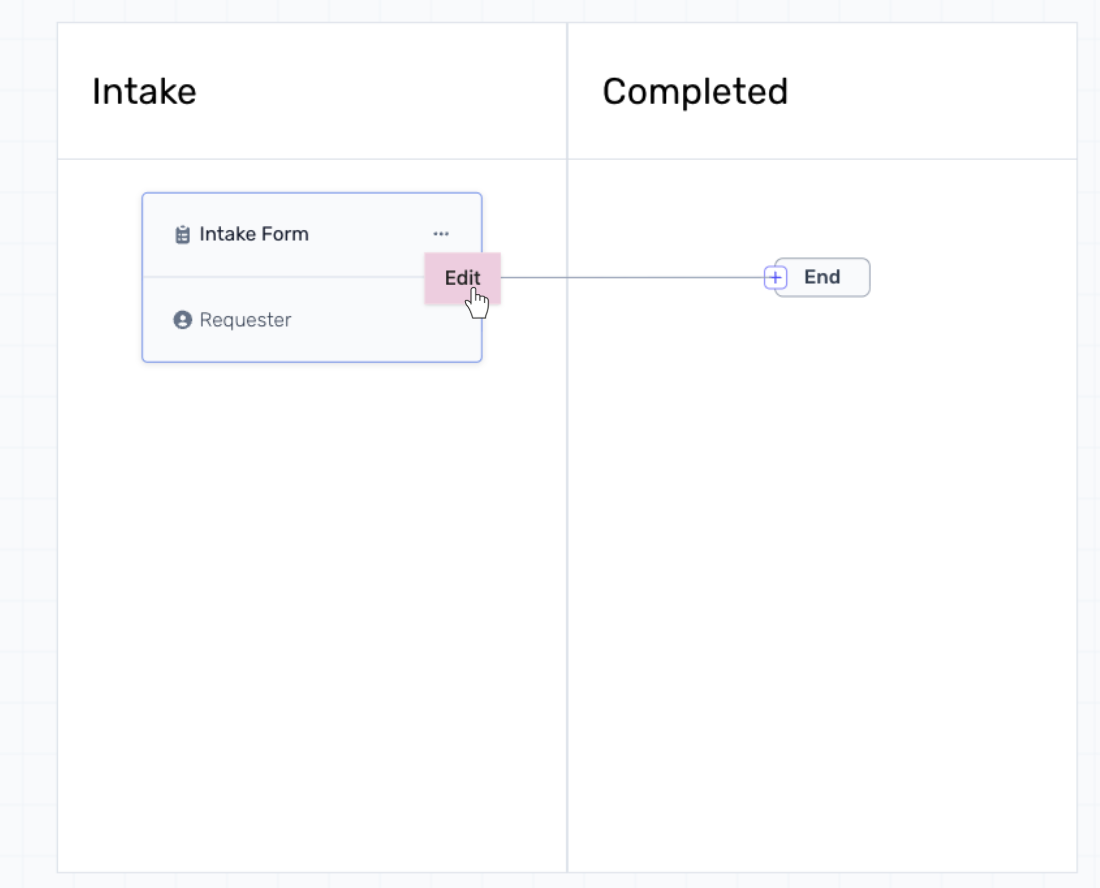
Add relevant questions using available field types (short text, dropdown, multiple choice, etc.). This form determines what information is collected before the request moves forward. Click Save & Continue once done.
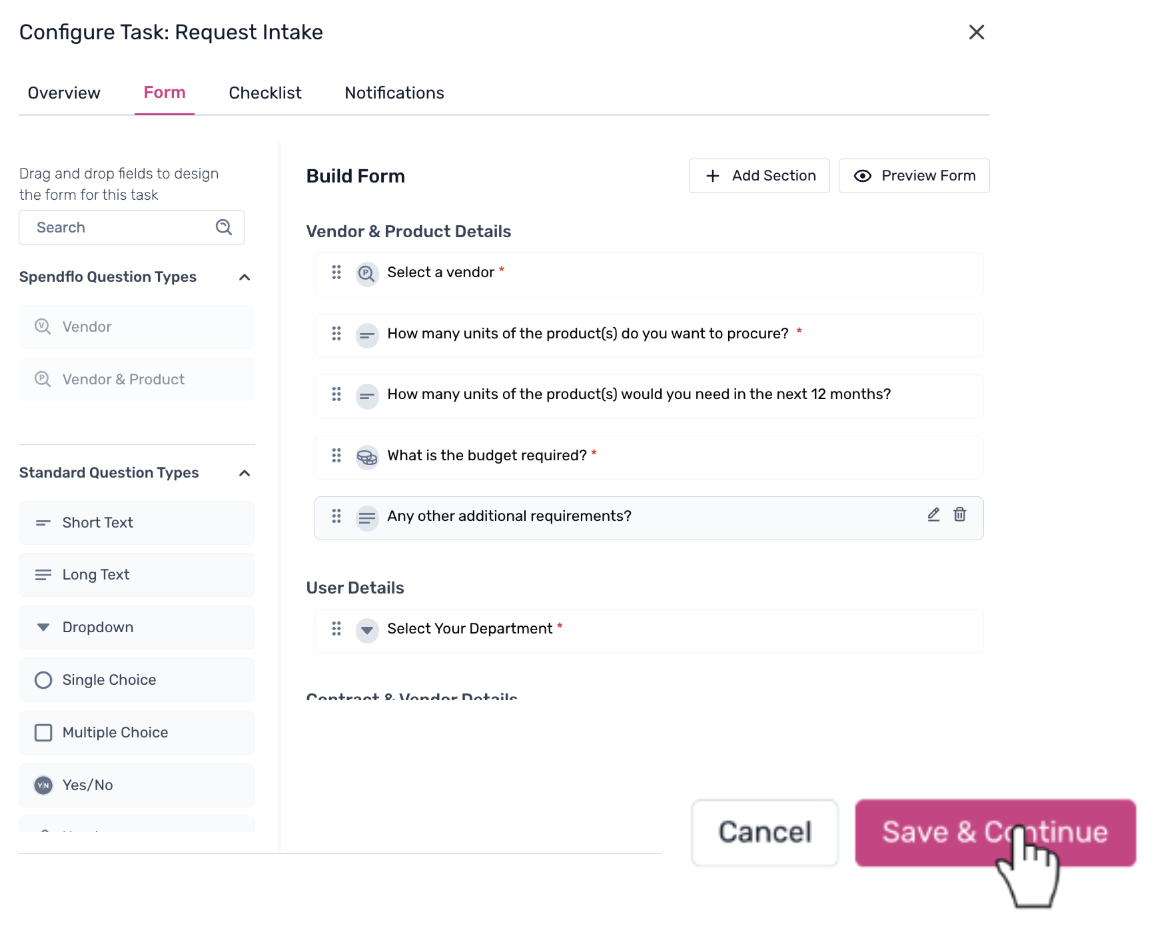
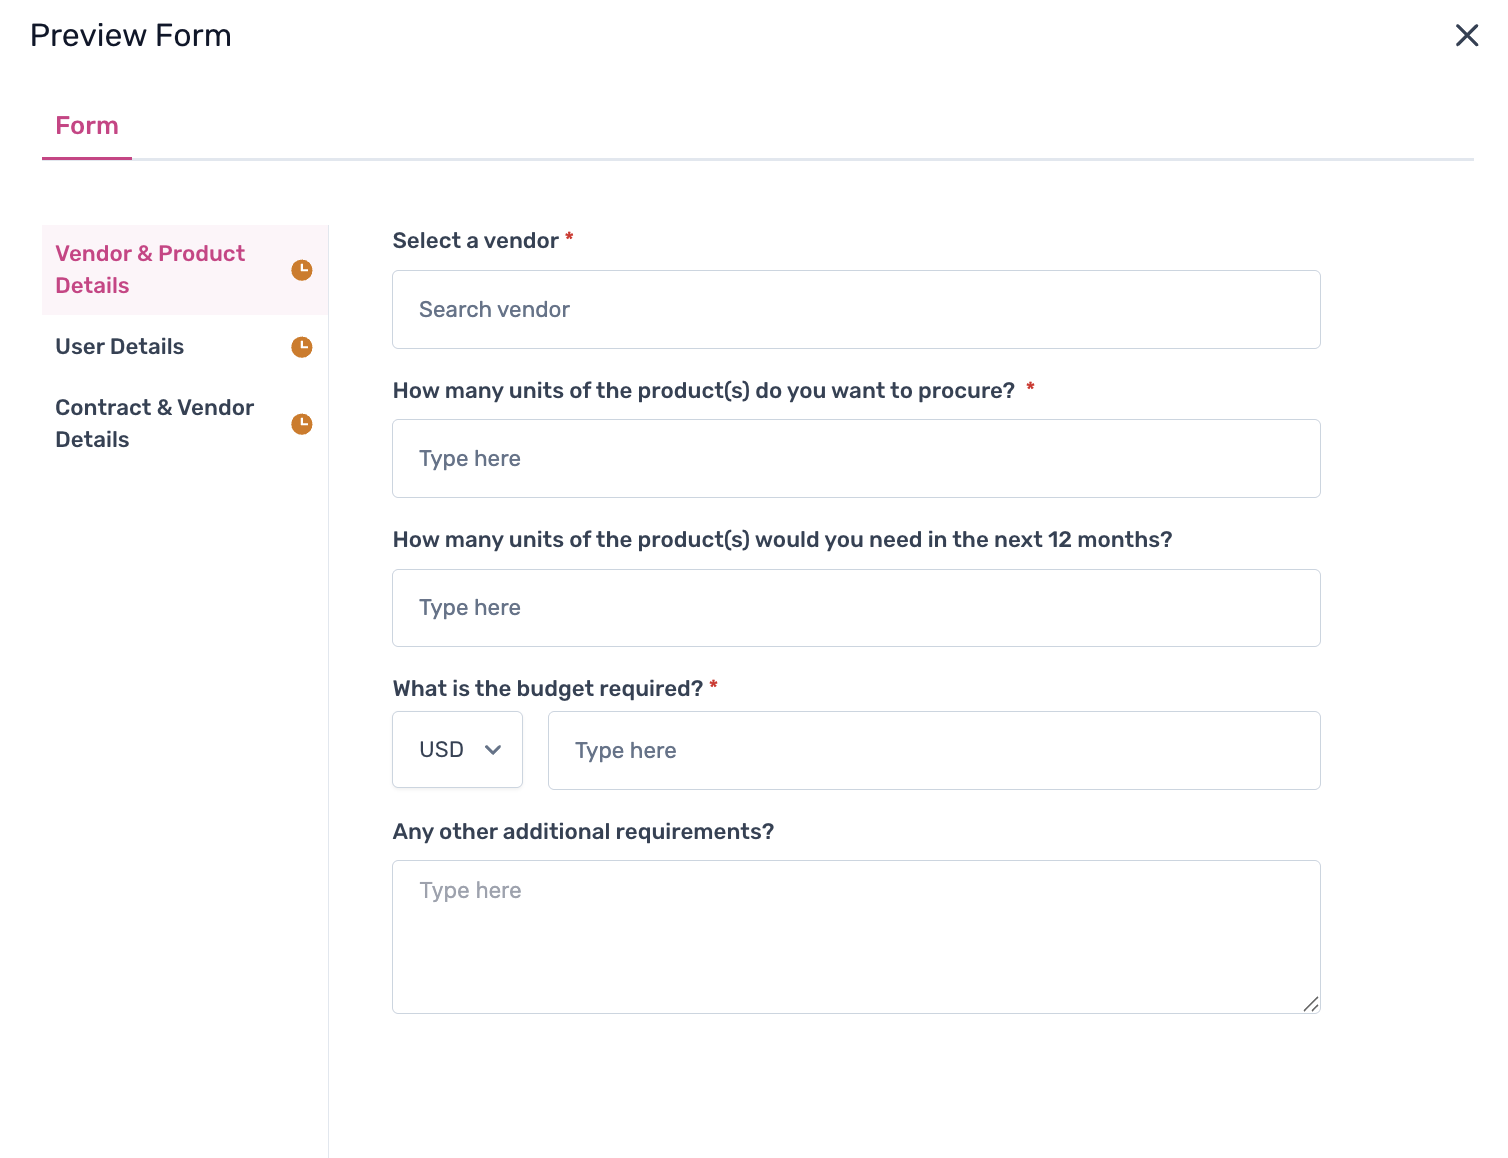
Use Preview to review how the form appears to requesters.
Add Phases to the Workflow
Click the + icon to add a new phase.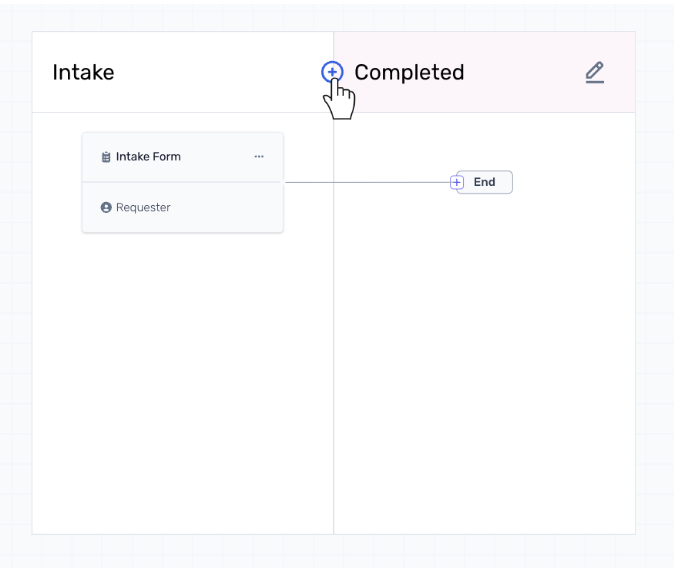
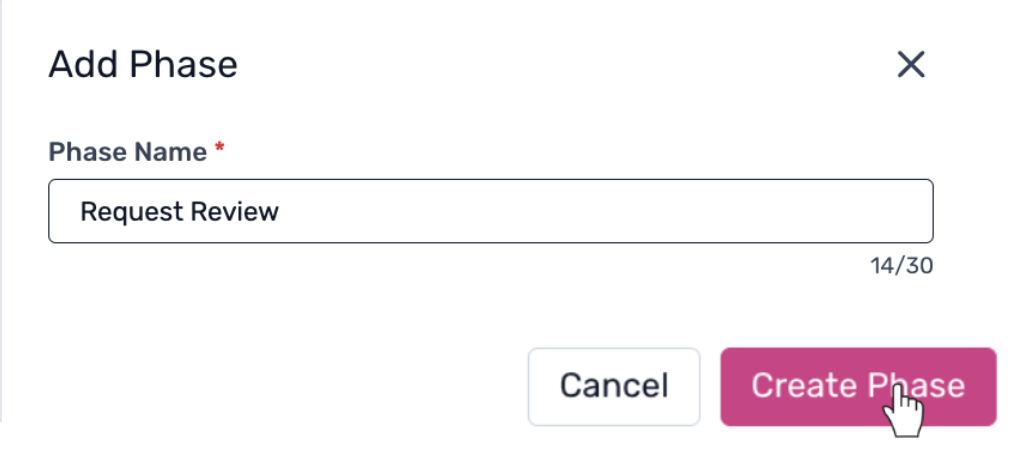
Enter a Phase Name (e.g., Request Review, Negotiations, Approvals) and click Create Phase. Each phase can include tasks, approvals, or automated steps.
Configure Tasks Within Phases
Inside each phase, add tasks, assign task owners (individuals, roles, or dynamic assignees), and define approval conditions if required. This determines who takes action and when.
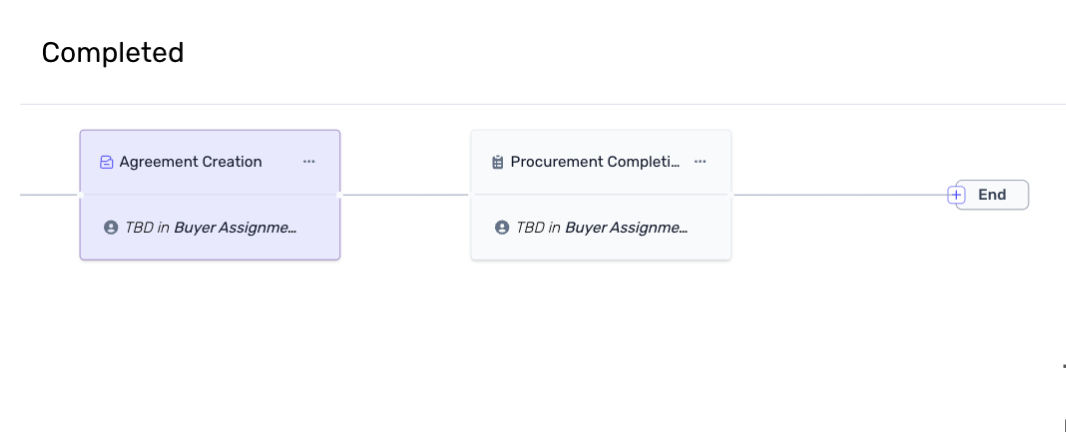
- Add the End Node
Once all phases are configured, ensure the workflow flows into a Completed stage. Add the End node to formally close the workflow. This ensures requests move to completion properly.
How to Build Custom Notifications
Custom notifications allow you to control alerts beyond default system notifications.
Select the Phase
Go to the workflow and choose the specific phase where you want to configure notifications. Click Edit on the task and navigate to the Notifications tab.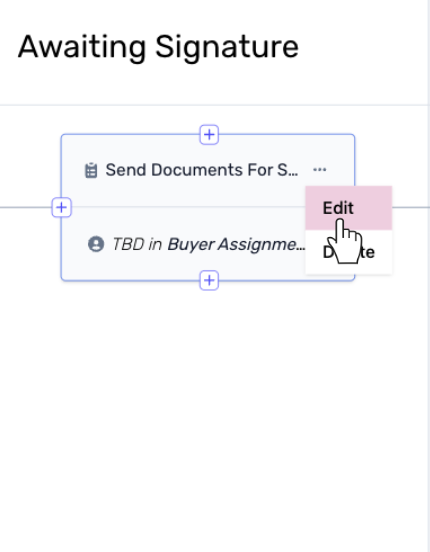
Review System Notifications (Optional)
By default, Spendflo includes system notifications for events such as Task Assigned, Task Due, Task Overdue, and Task Completion. You can enable or disable these for Email and Slack.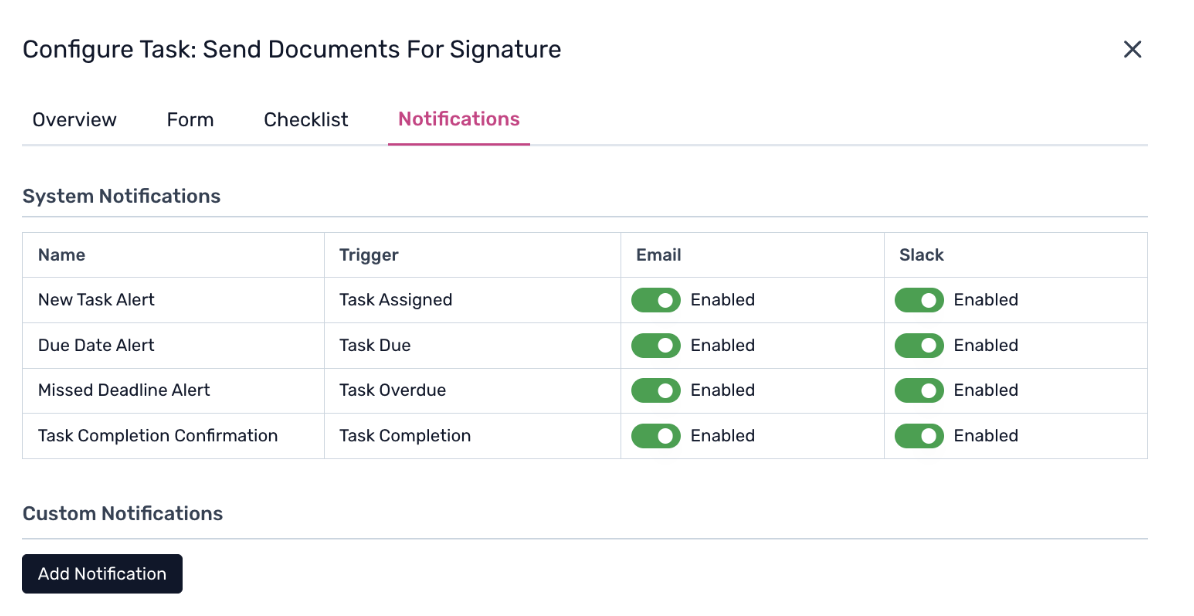
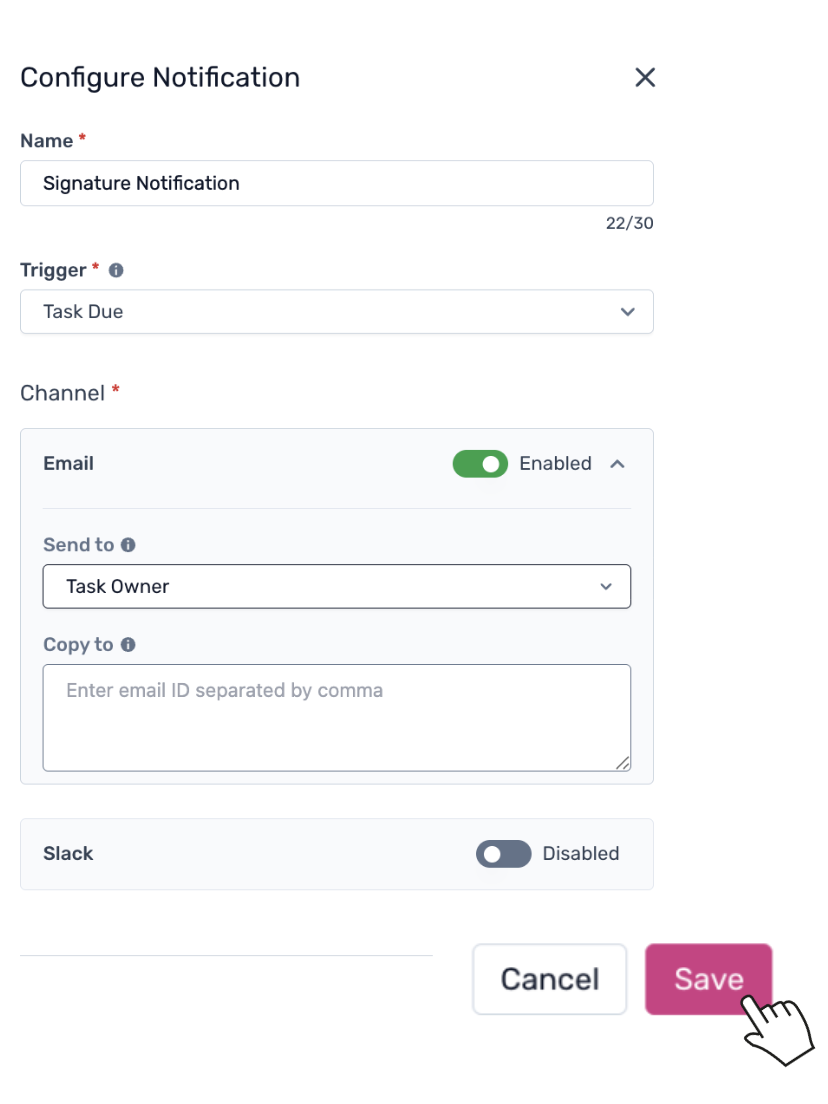
Add a Custom Notification
Under Custom Notifications, click Add Notification. Enter a Notification Name, select a Trigger (e.g., Task Due, Task Assigned, Task Completed), and choose the Channel (Email or Slack). Define recipients by selecting "Send to" (e.g., Task Owner) and CC additional email IDs if required. Click Save.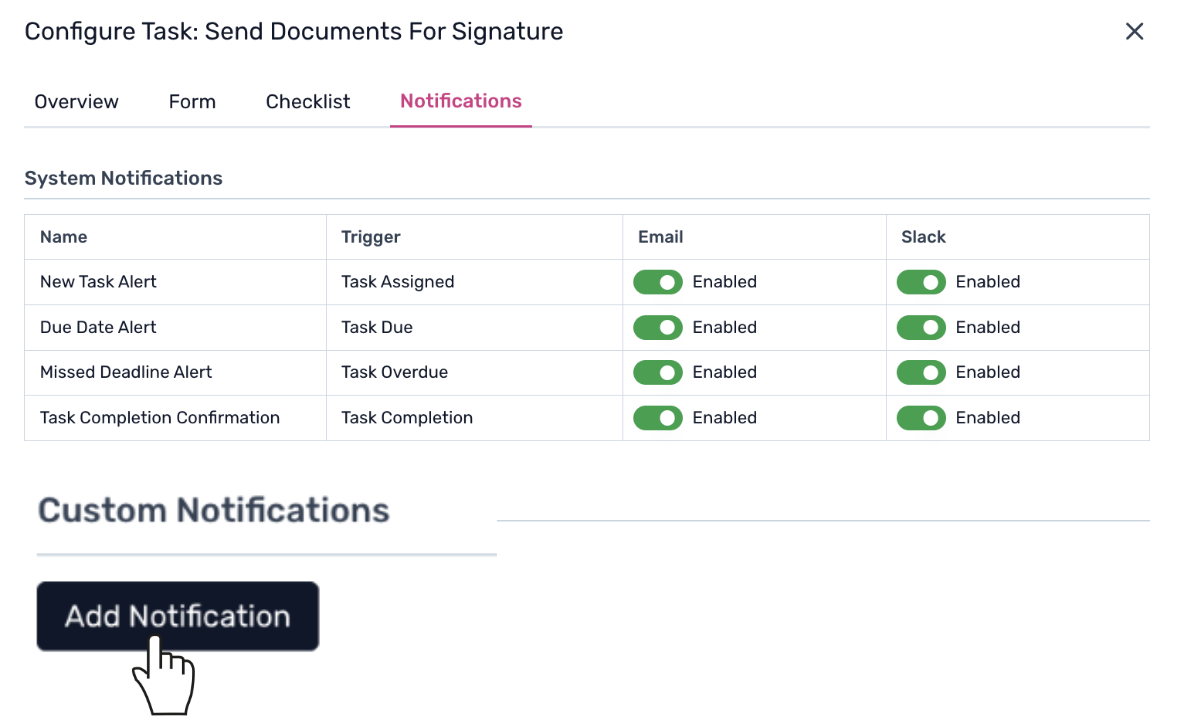
Next Steps
Now that you have configured your workflows and notifications, you can monitor their performance and make adjustments as needed. For more information on managing active workflows, refer to our guide on managing workflows.
Was this article helpful?
That’s Great!
Thank you for your feedback
Sorry! We couldn't be helpful
Thank you for your feedback
Feedback sent
We appreciate your effort and will try to fix the article