Overview
The spend management feature allows organizations to compare actual expenses incurred against the planned or contracted expenses, providing insight into any deviations that may be present. This information can be used to renegotiate contracts or downgrade existing ones to save costs.
Spendflo's integration with a finance system also helps companies uncover Shadow IT by scanning expense data to identify spend on unsanctioned apps before they proliferate. This feature allows businesses to consolidate opportunities where multiple teams are paying for the same app, saving costs and increasing efficiency.
Lastly, Spendflo helps identify paid applications that are under-utilized or no longer in use, allowing companies to stop paying for subscriptions that they don't need. By doing so, they can save costs and optimize their SaaS inventory.
Xero Finance Integration
Spendflo integrates with Xero and analyses SaaS expenses for your organization. Spendflo will automatically match transactions to the correct application, summarise expenses and provide insights. This guide follows step by step process on how you can install the integration and gain its maximum benefits.
Permissions and Data Access
Below are the data that Spendflo will have access to:
-Organization settings
-Attachments
-Business Transactions
-Contacts
-Reports
-General Ledger
Spendflo will only import "Expenses" from your chart of accounts
Steps to integrate to Xero
Step 1. Navigate to Integrations → Finance, then click the dropdown to select the finance integration you want to connect.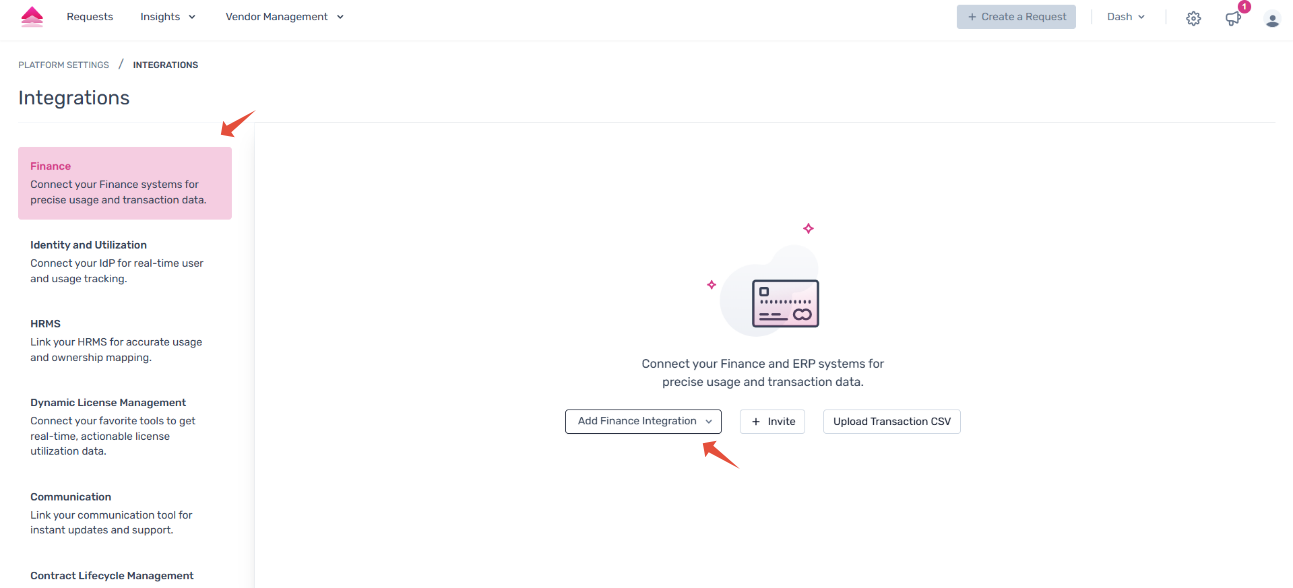
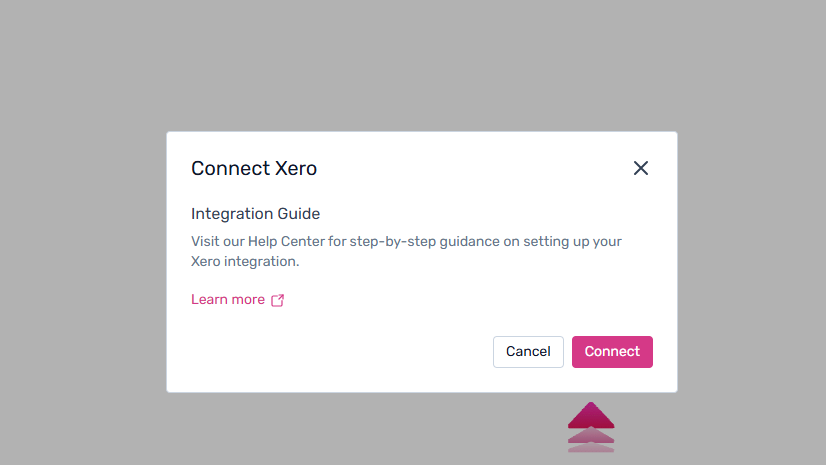
Step 2. Open the dropdown under Integrations → Finance and select the Xero integration. A modal containing the help documentation will appear—click Connect to initiate the integration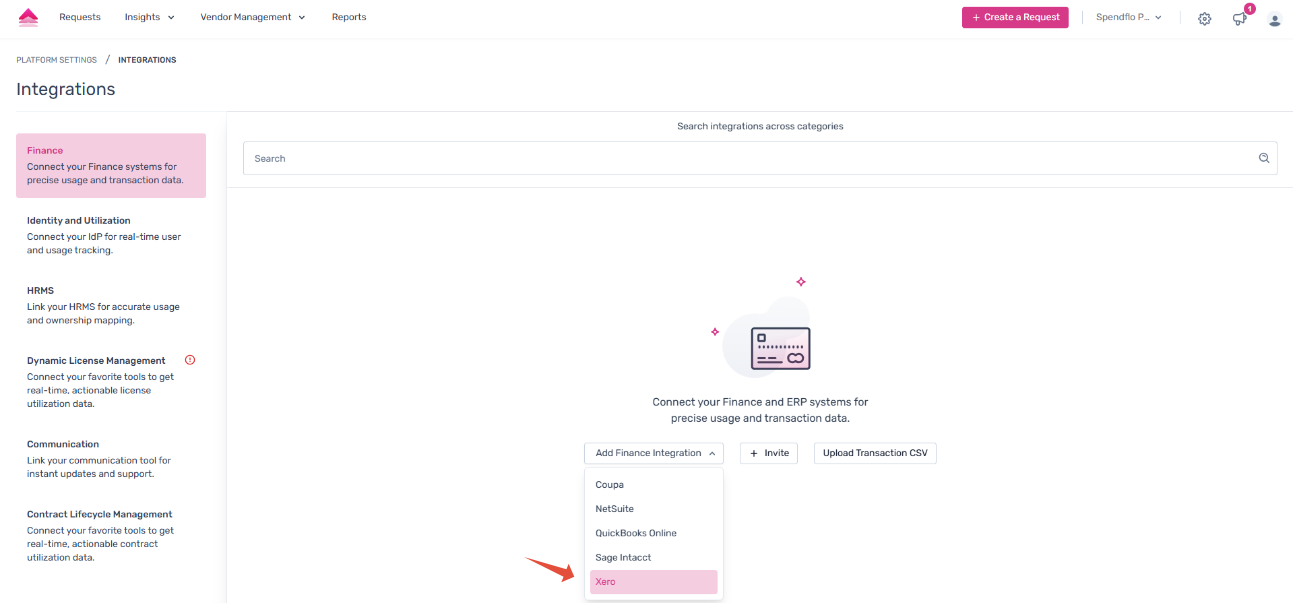
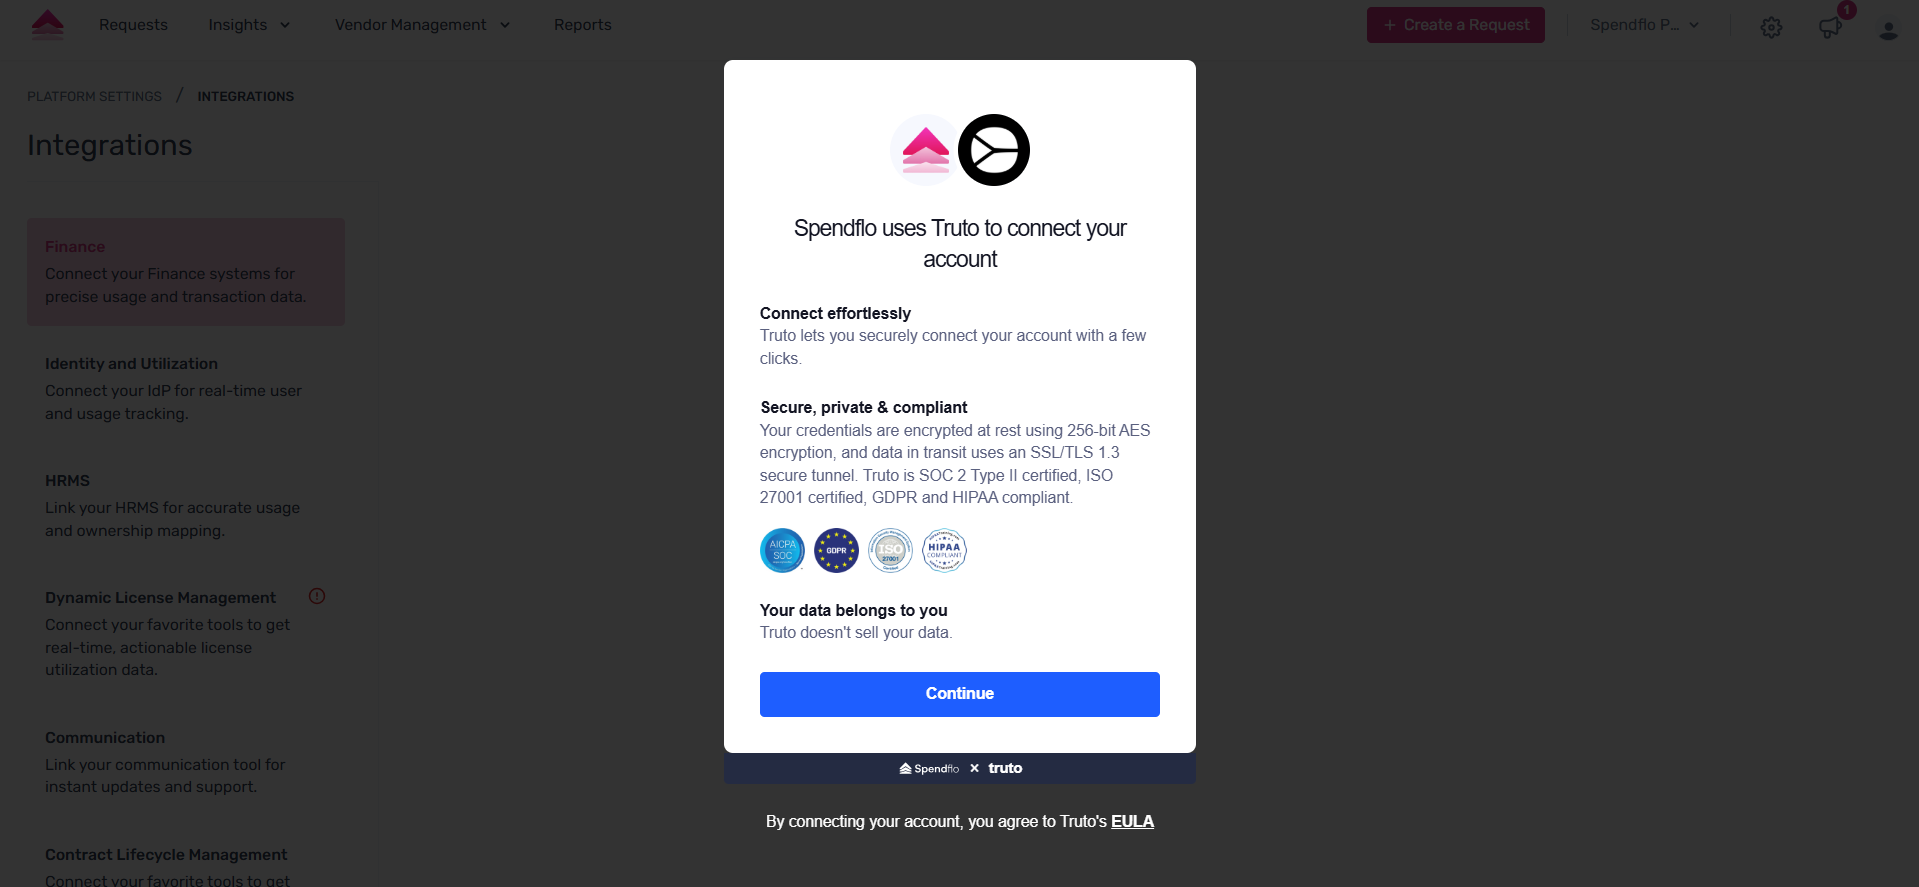
Step 3. Spendflo now uses Truto to connect your Xero account securely. Click on “Continue”. Ensure to be logged into your Xero account.
Step 4. Proceed to read through the access permissions to connect via OAuth 2.0.
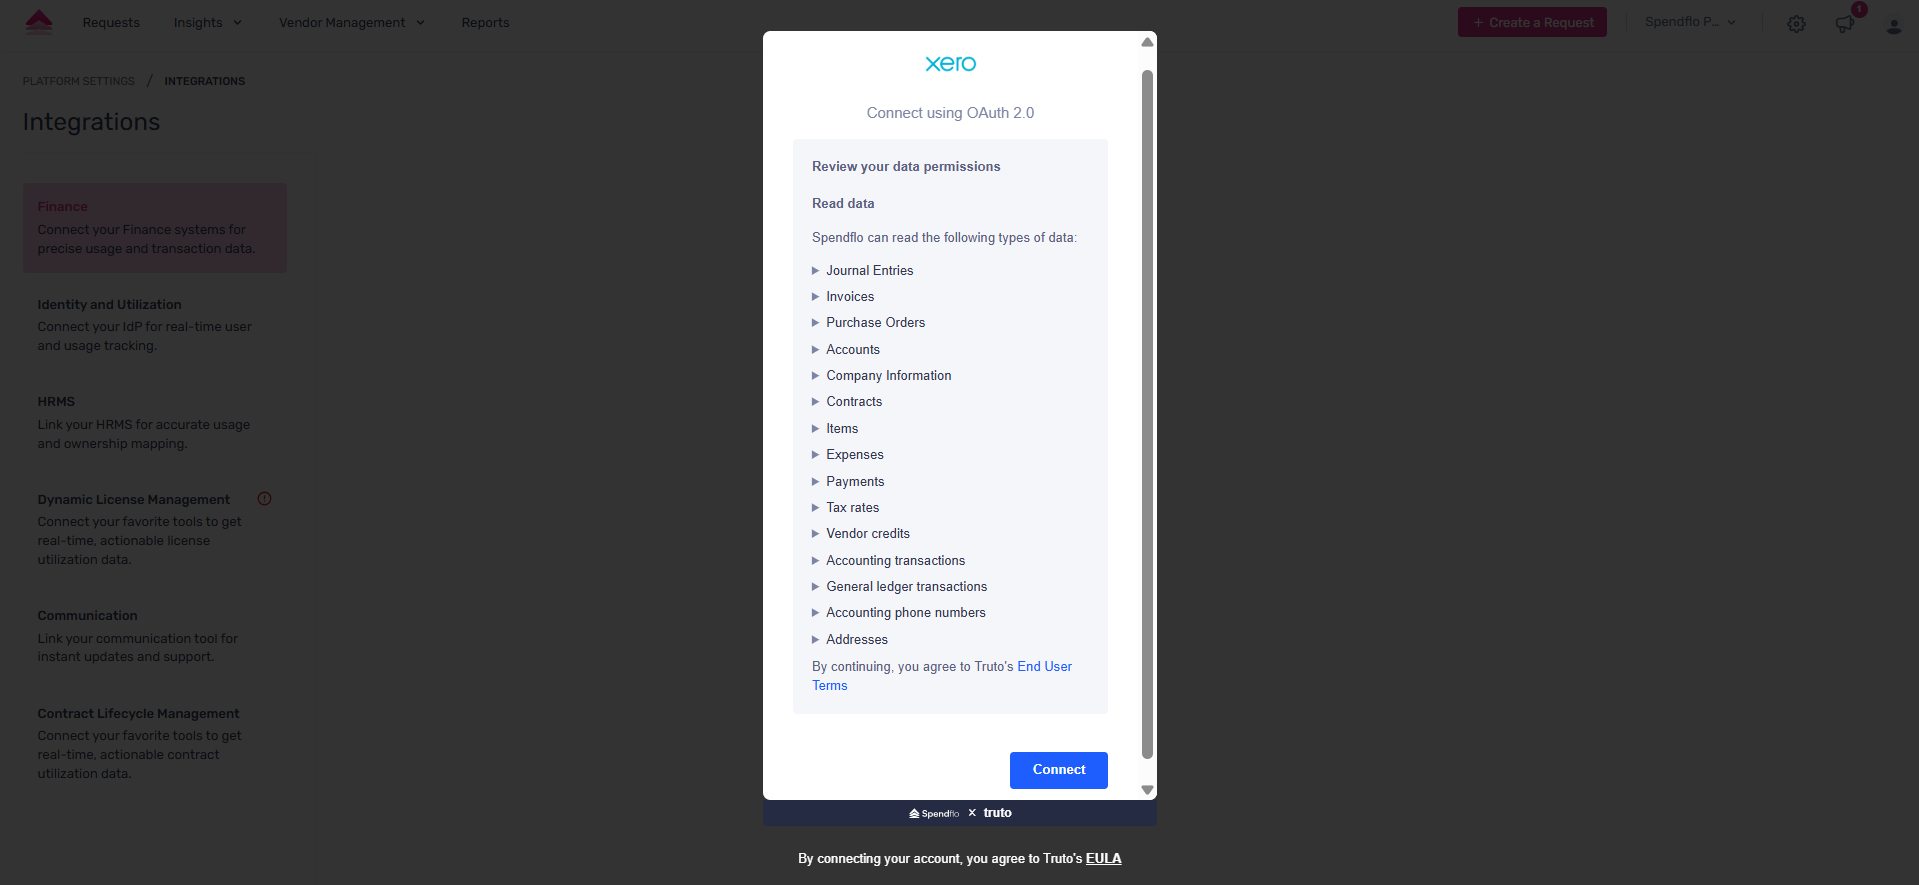
Once done, click on 'Connect' to proceed.
Step 5. Once logged in to the Xero account, click on “Allow access”

Step 7. This will be redirected back to the Spendflo platform. Choose a Xero Tenant to proceed, and click “Save” once done.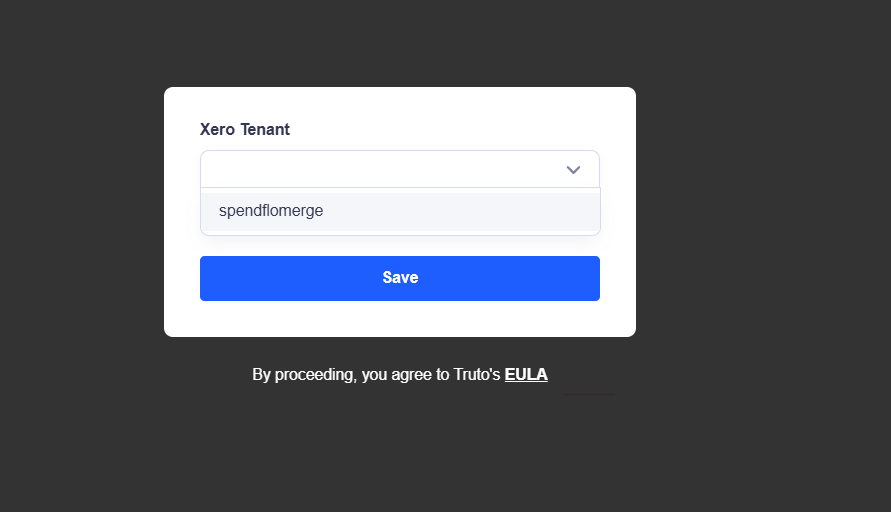
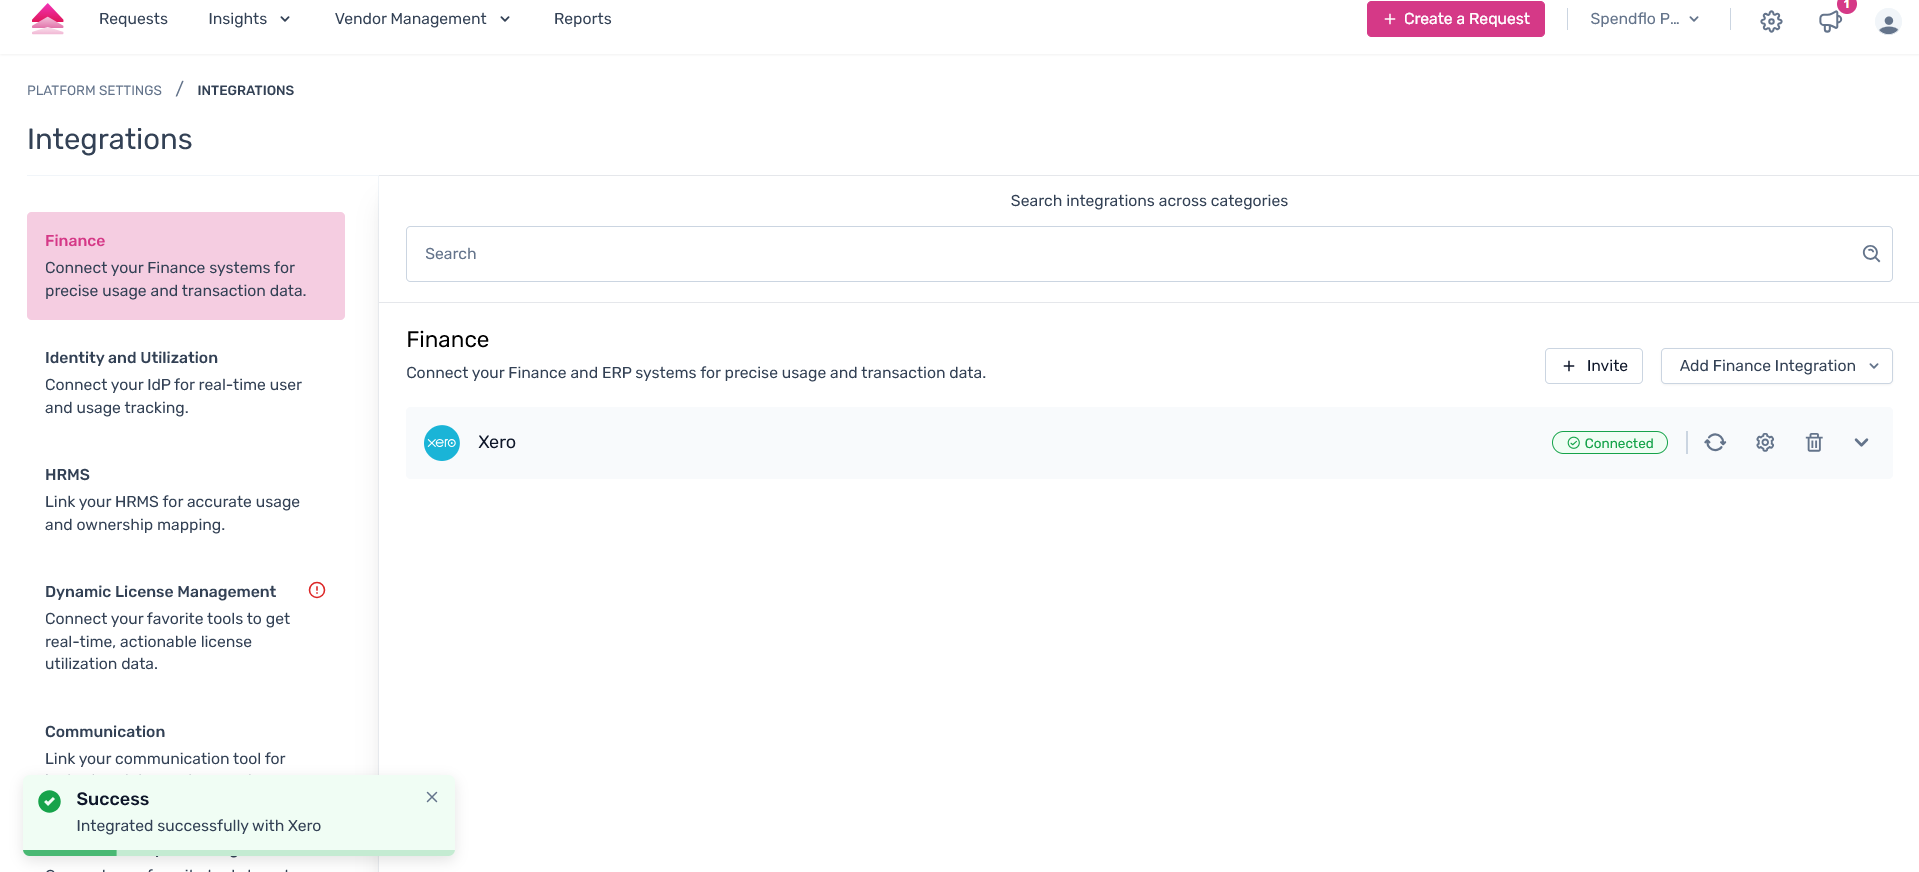
Step 8. Xero will now be connected successfully.
Accounts Import Post Integration
Step 1. Once the integration steps are completed, locate the Xero integration and click on the Edit Configuration icon to proceed with the configuration.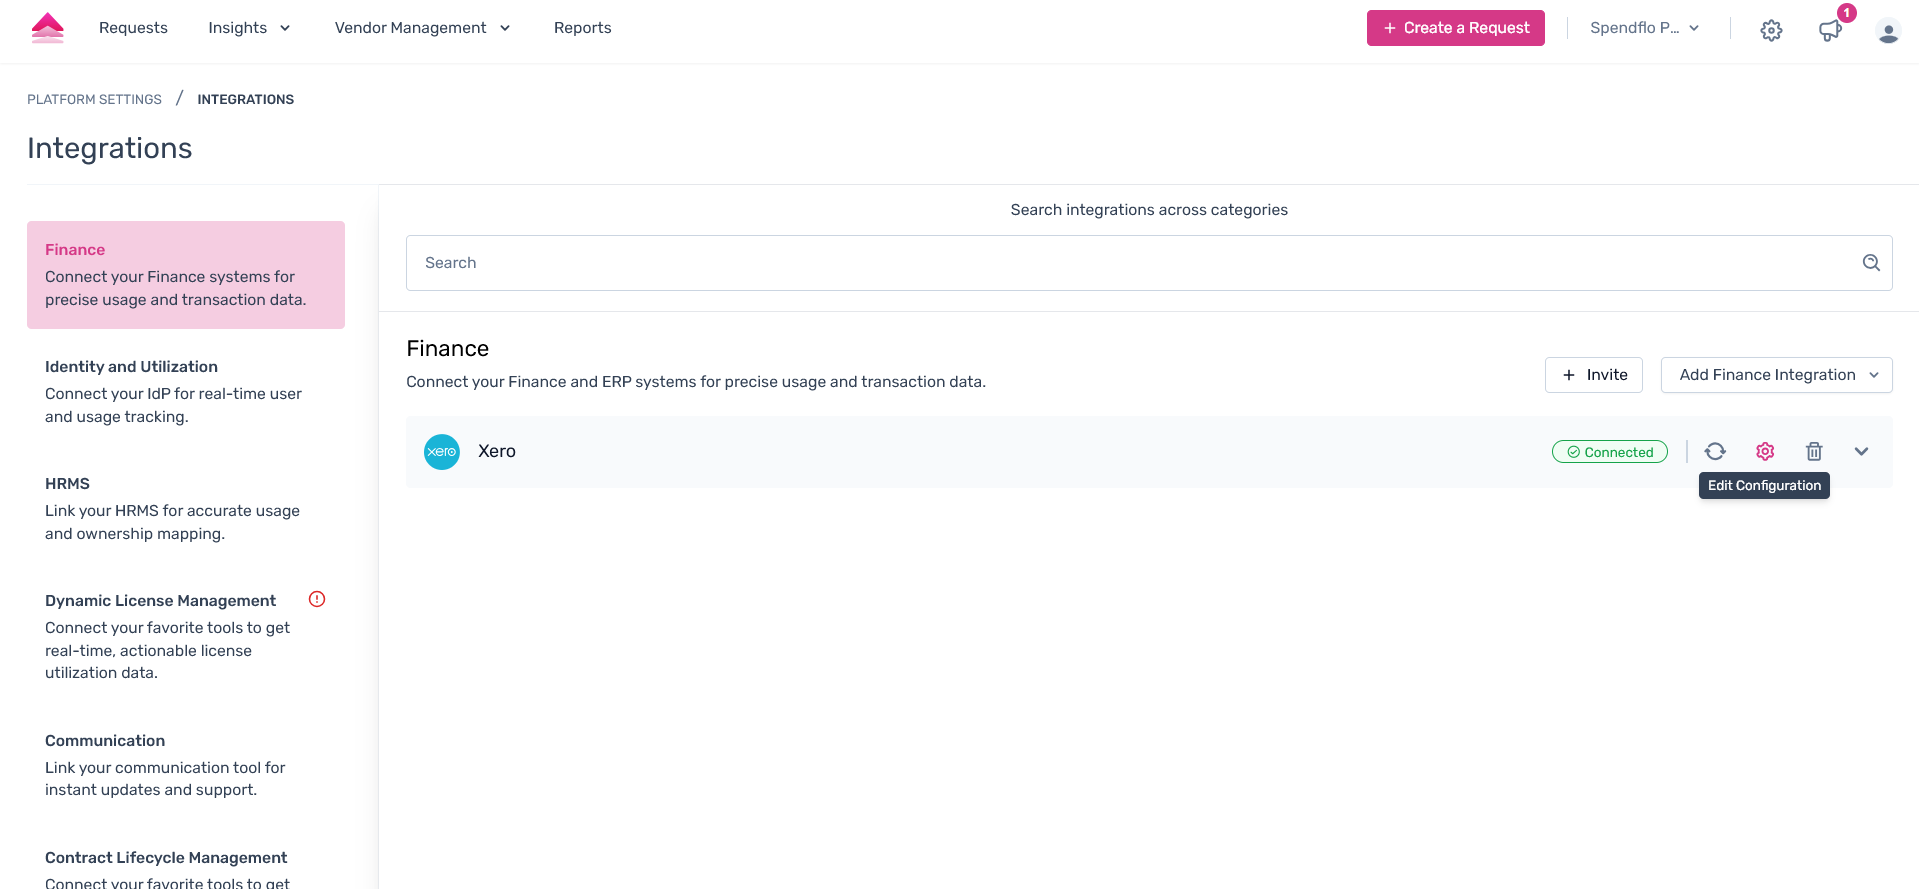
Step 2. On the redirected link, users can get the account data from your Xero application, click on the “Import” CTA under the Accounts tab.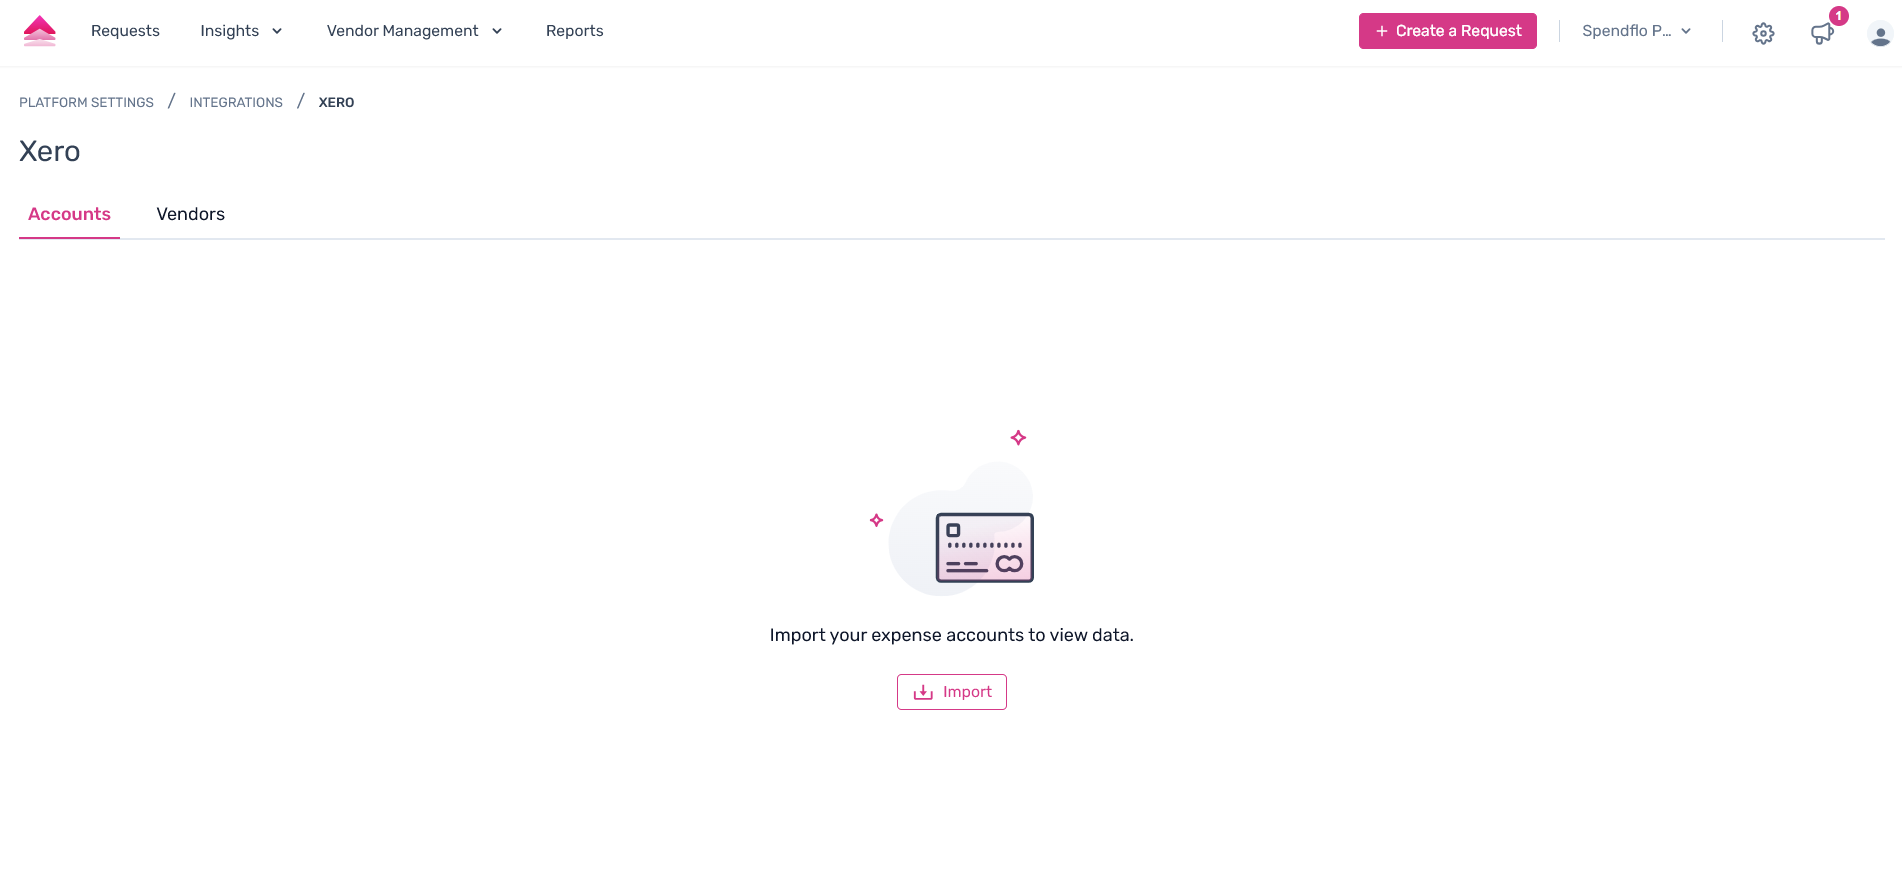
Step 3. A pop-up pane will appear as the right pane, where users can click on the required accounts to import.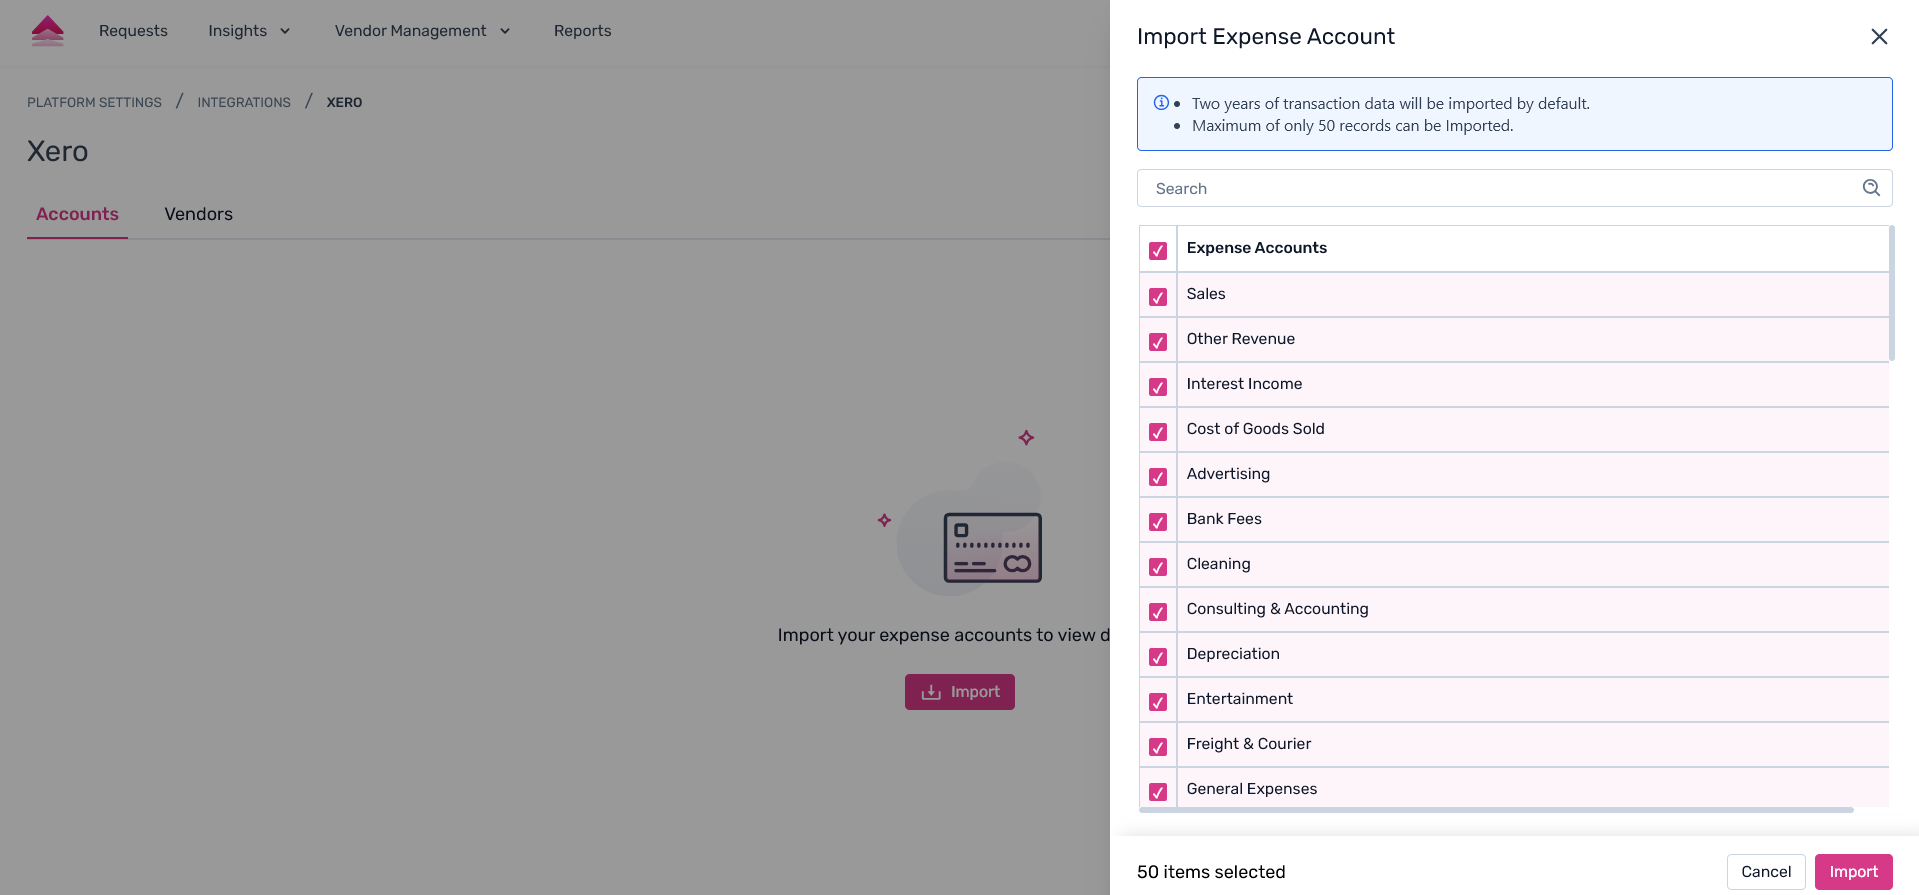
Step 4. Once done, click on “Import” to complete the step.
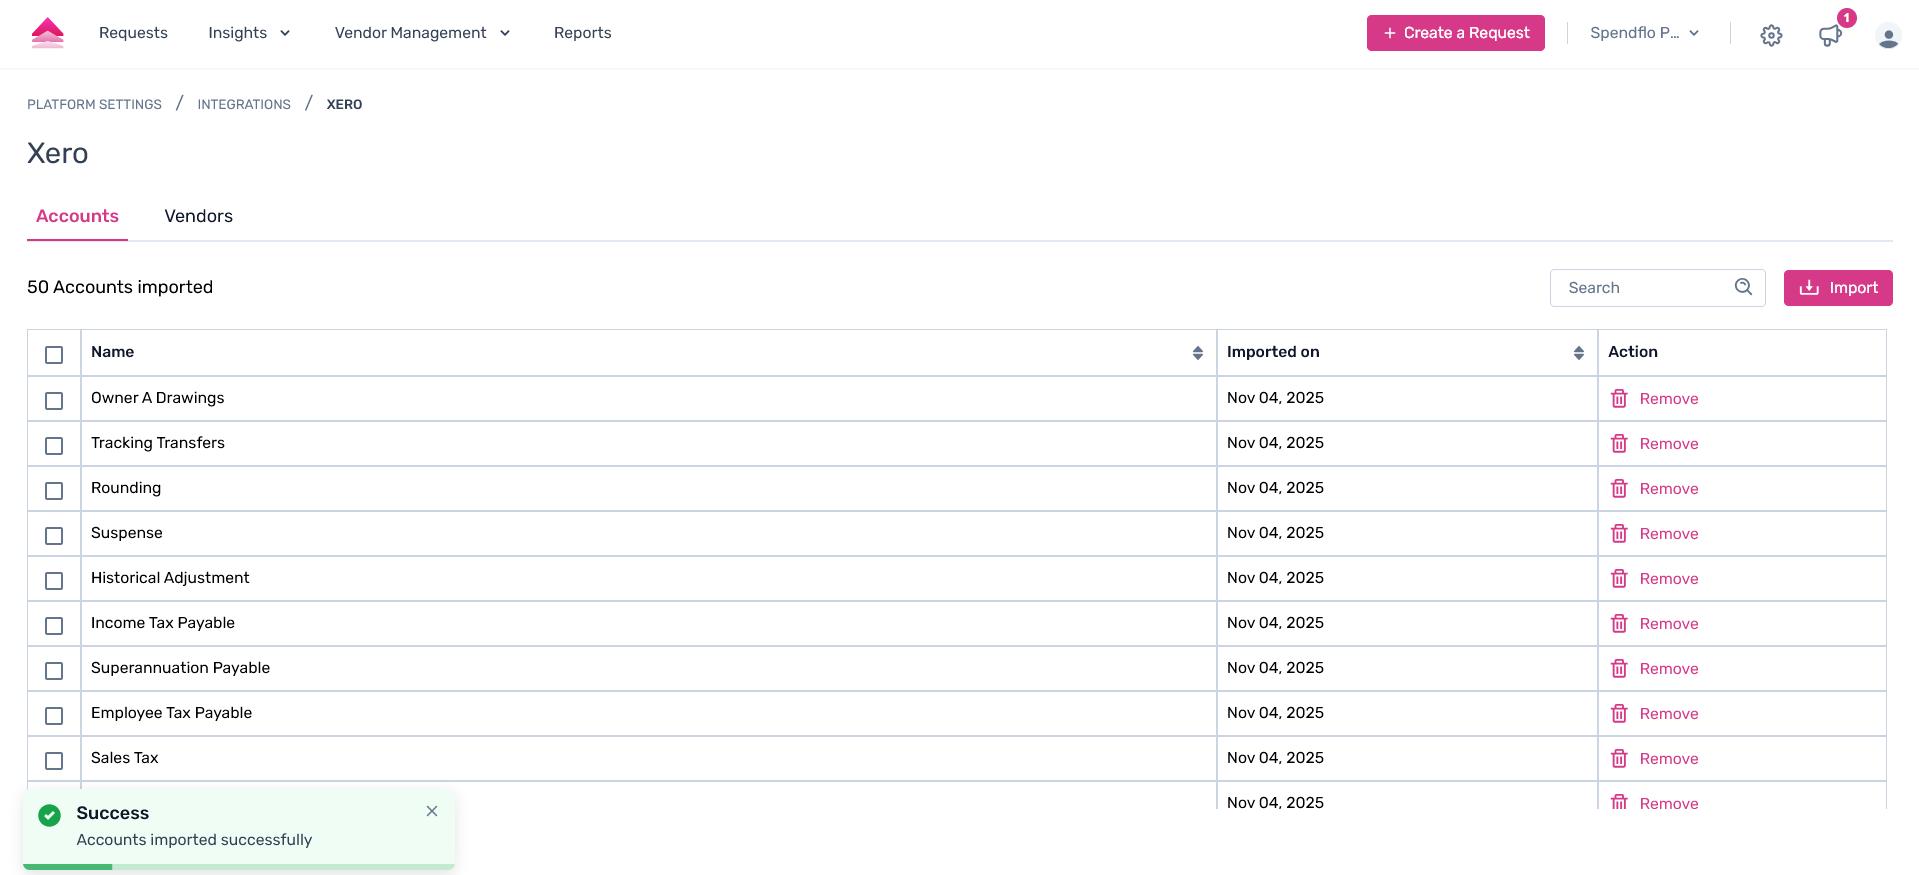
The accounts will seamlessly be imported successfully into the Spendflo platform from your Xero account.
Vendors Import Post Integration
Step 1. From the Xero integrations page, click on the “Import Vendors” tab. On this page, users can get the vendor data from your Xero application.
Click on the “Import” CTA under the Vendors tab.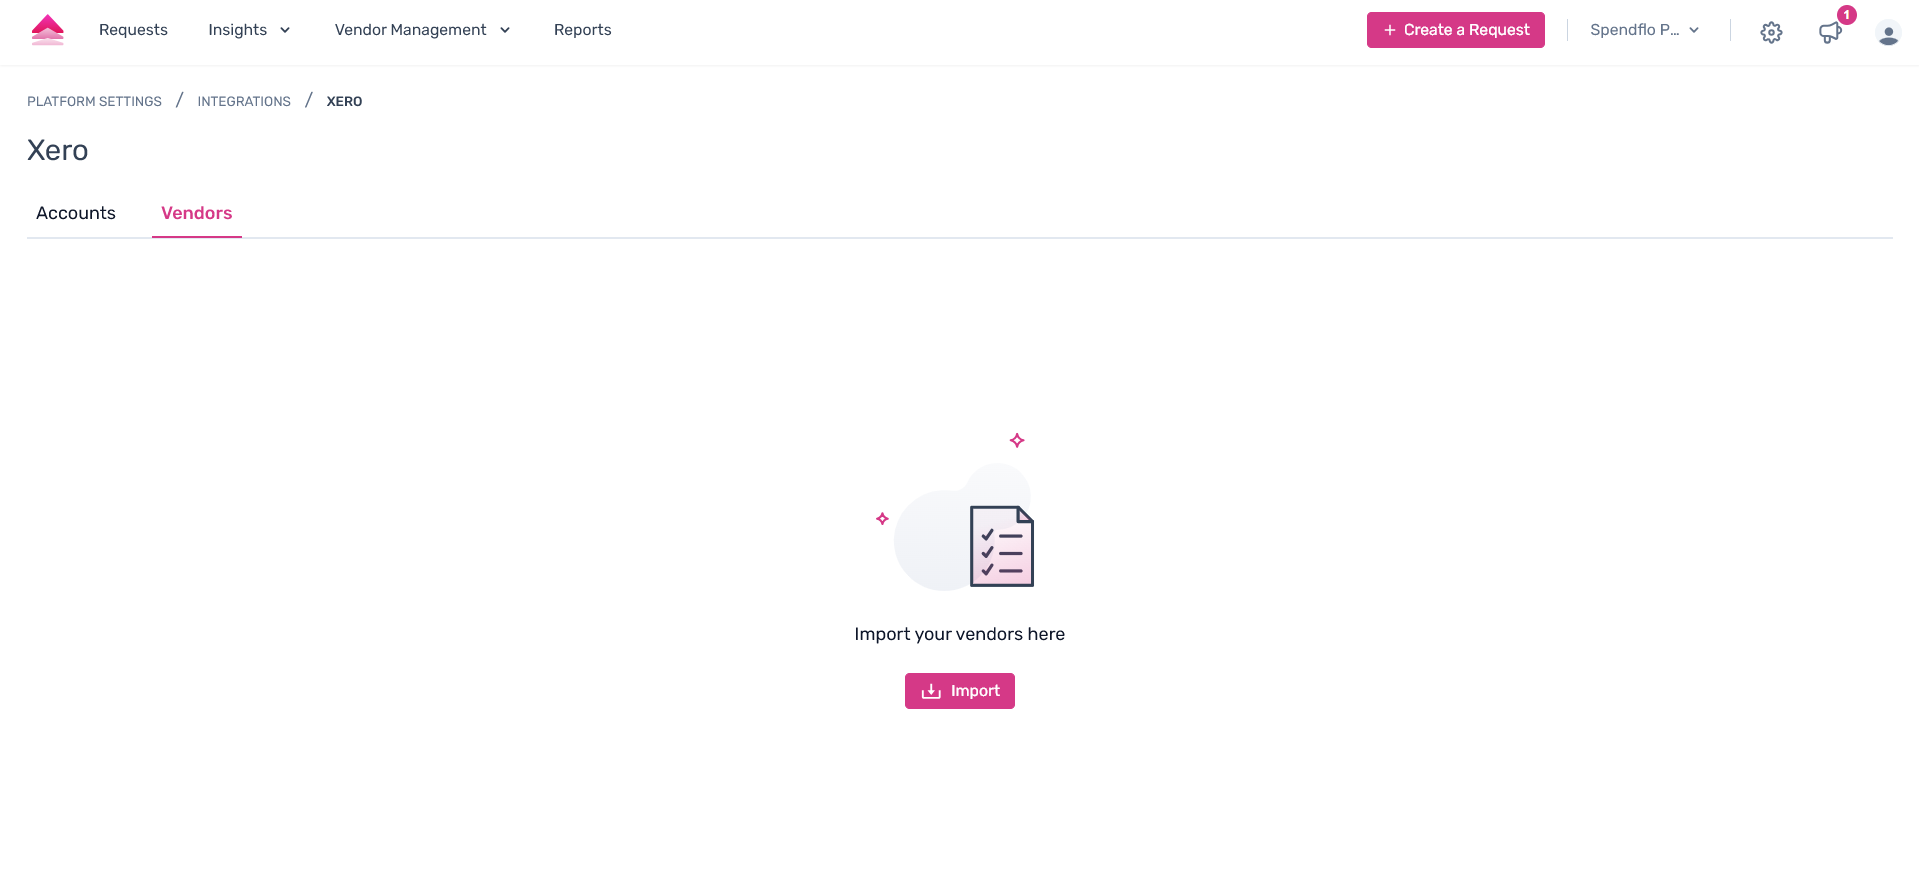
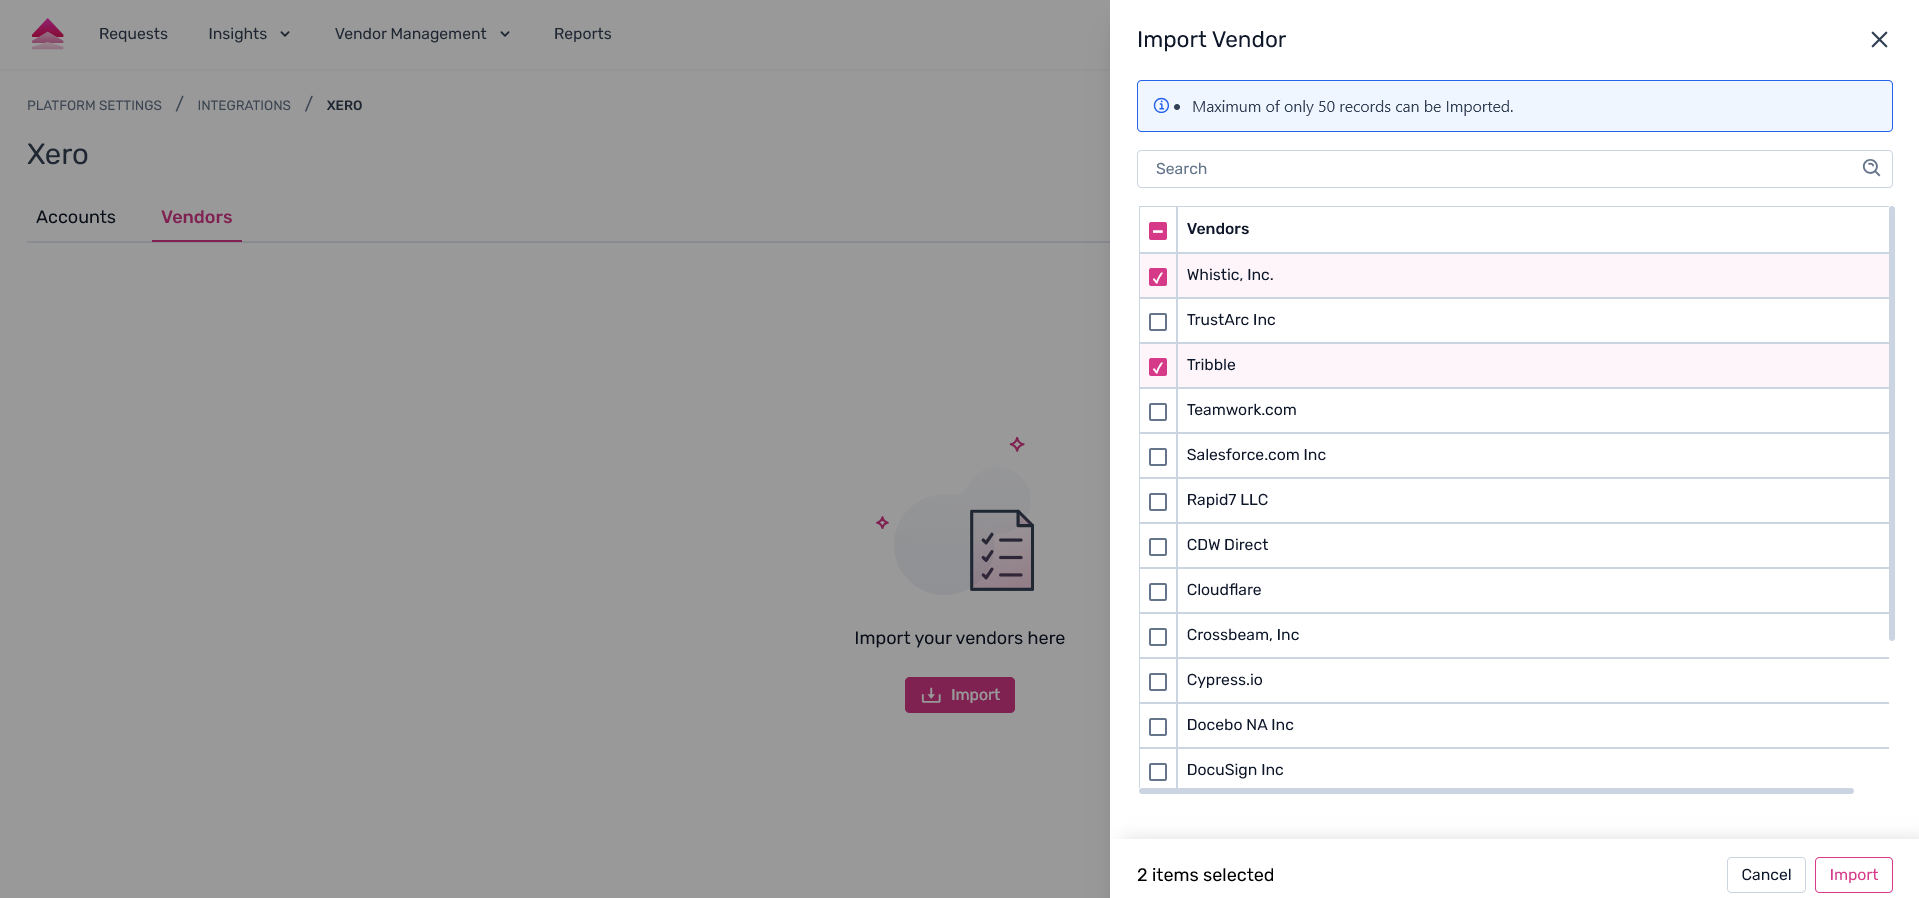
Step 2. A pop-up pane will appear as the right pane, where users can click on the required vendors to import.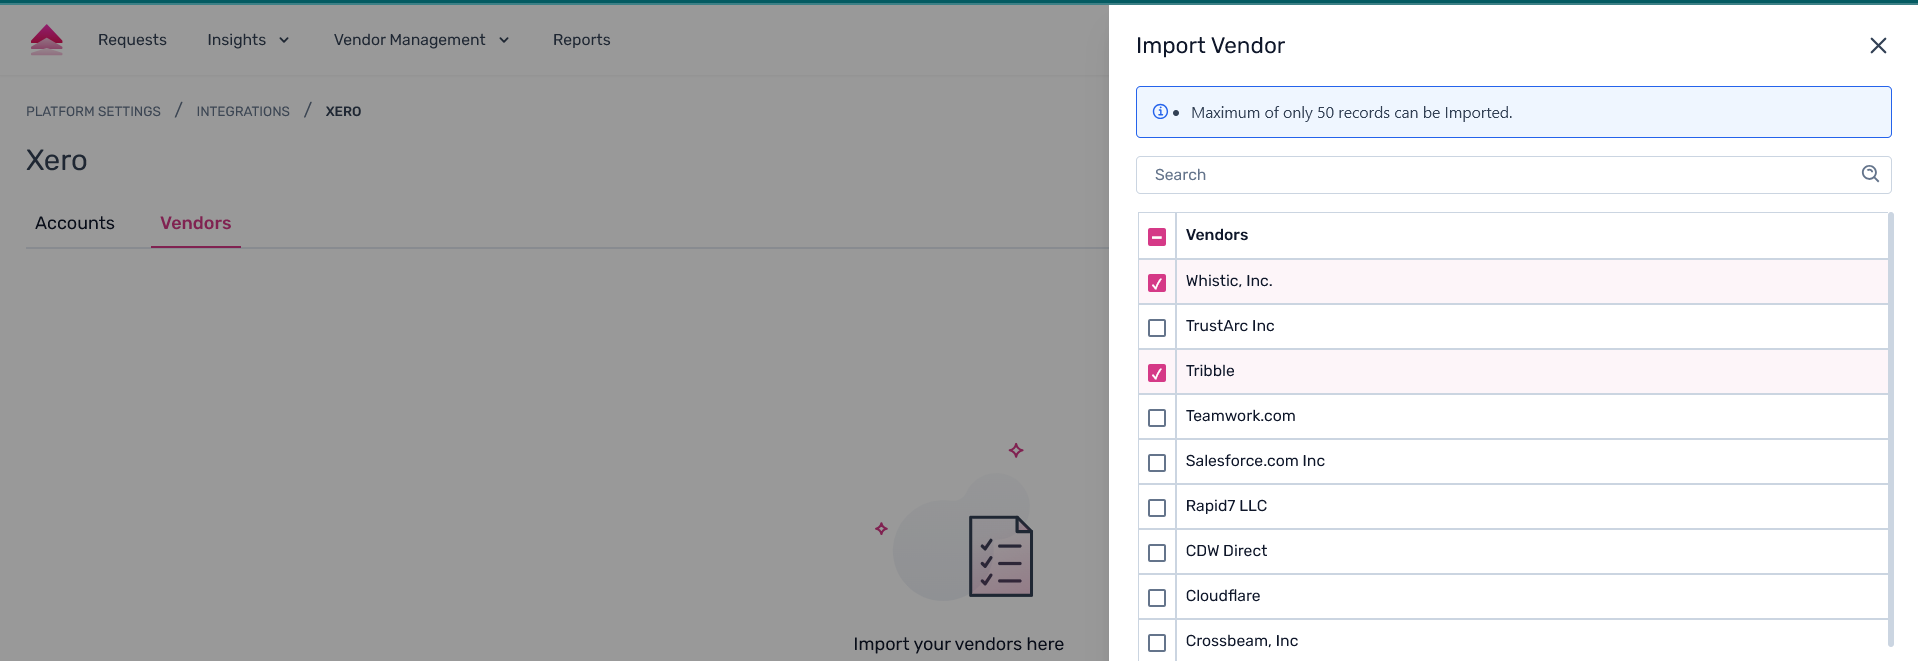
Step 3. Once done, click on “Import” to complete the step.
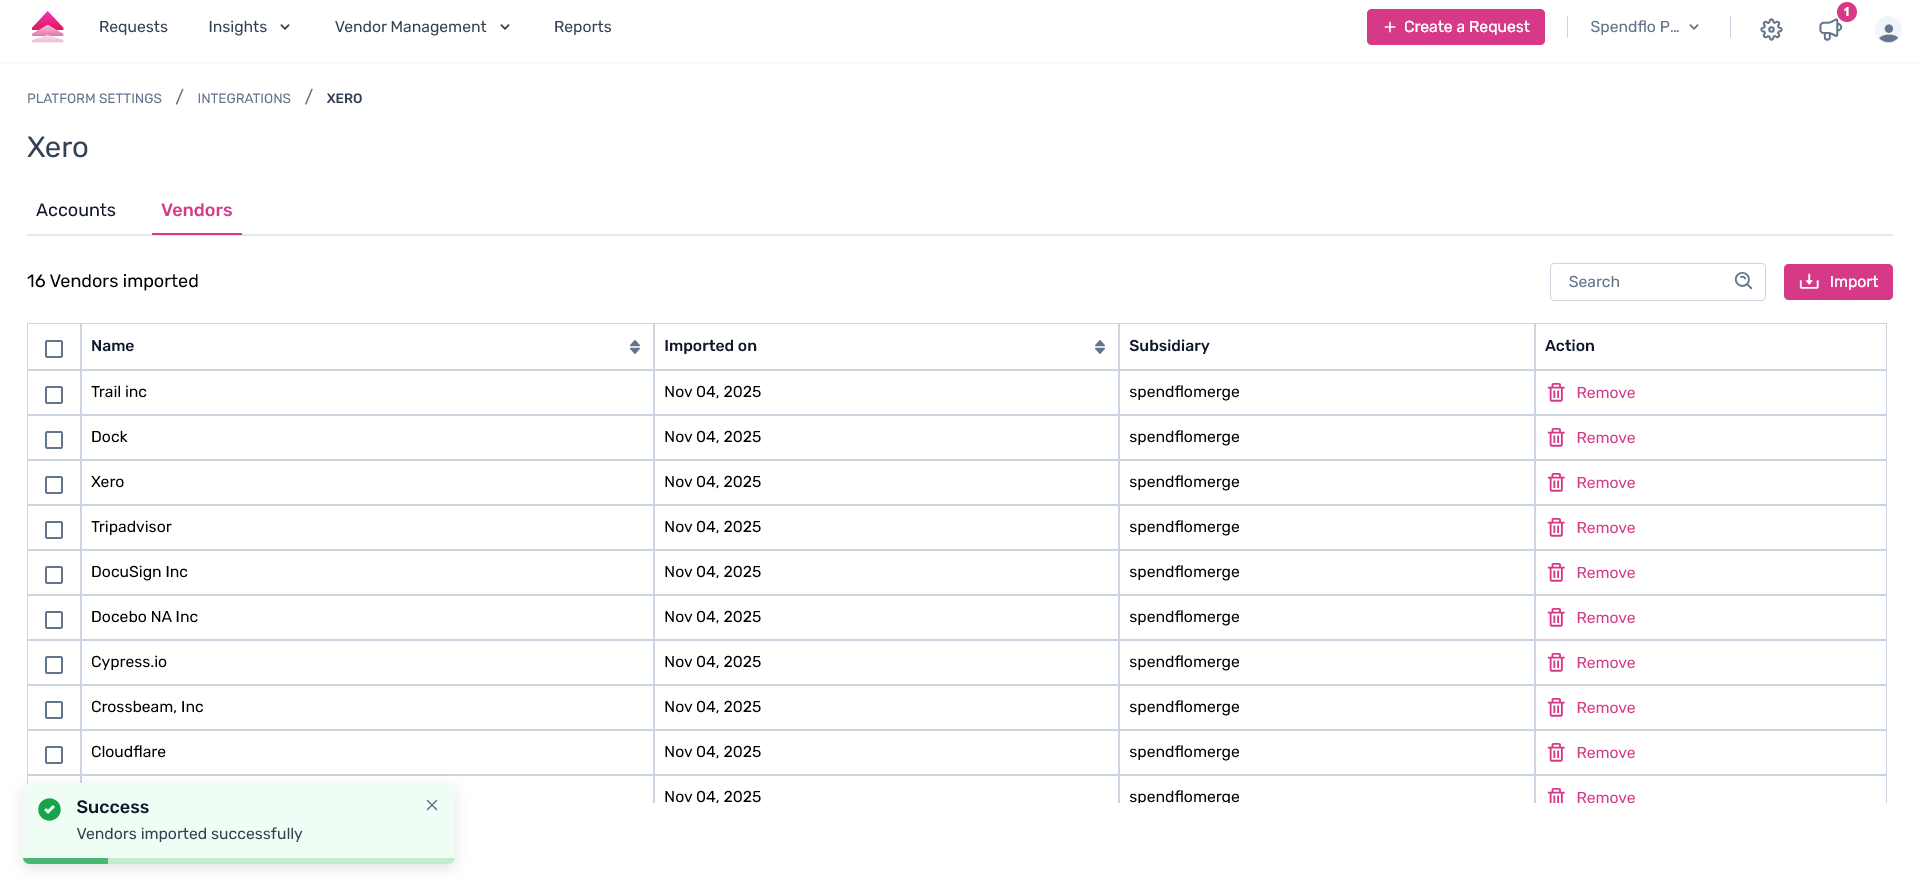
The vendors will seamlessly be imported successfully into the Spendflo platform from your Xero account.
Was this article helpful?
That’s Great!
Thank you for your feedback
Sorry! We couldn't be helpful
Thank you for your feedback
Feedback sent
We appreciate your effort and will try to fix the article