Spendflo's invoice management feature simplifies your accounts payable workflow by automating data extraction and bill creation. Using Flo AI, Spendflo automatically scans your uploaded invoices, matches them with existing suppliers, and extracts line items to prepopulate your bill forms. This guide walks you through uploading an invoice, verifying the details, and confirming the generated bill.
Prerequisites
Before you begin uploading invoices, ensure that your ERP integration is configured. Spendflo imports critical attributes such as vendors, departments, and subsidiaries from your ERP to match and validate invoice data.
How to Upload and Confirm an Invoice
Follow these steps to upload an invoice and create a confirmed bill in Spendflo:
Navigate to the Invoices page on the Spendflo platform to view the main dashboard containing all invoices.
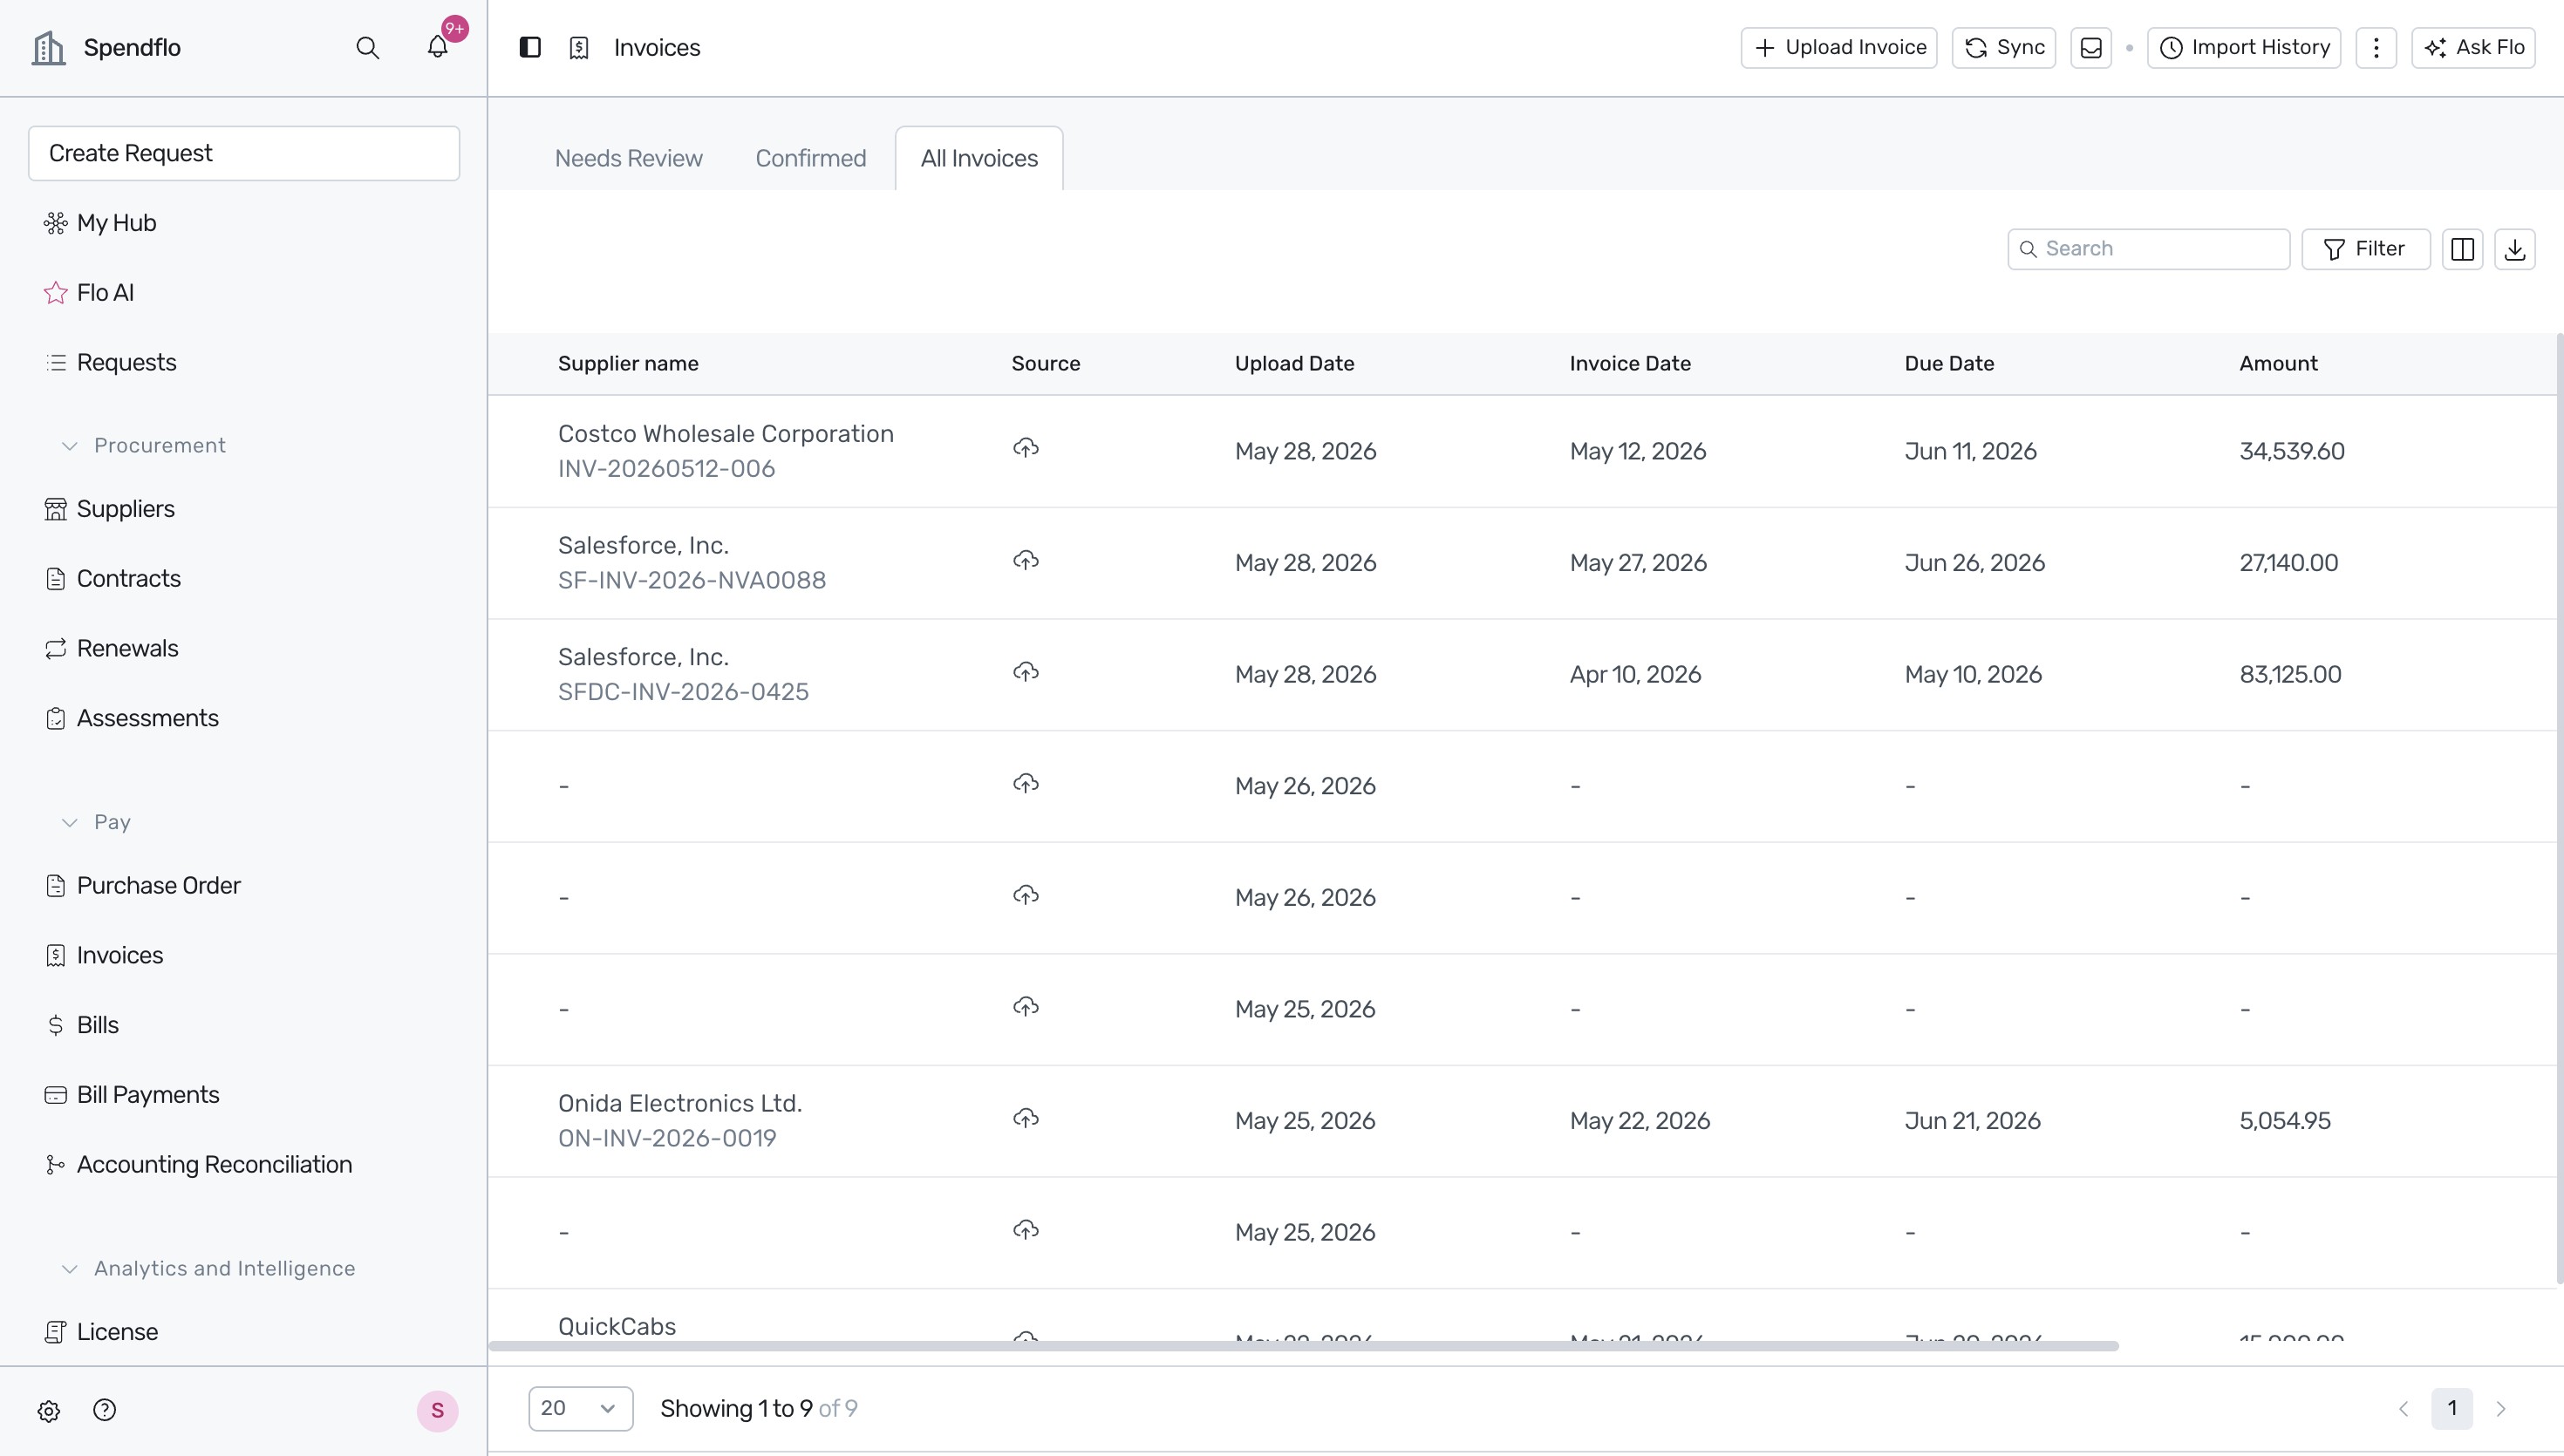
Click the Upload Invoice button in the top right corner to open the file upload dialog.
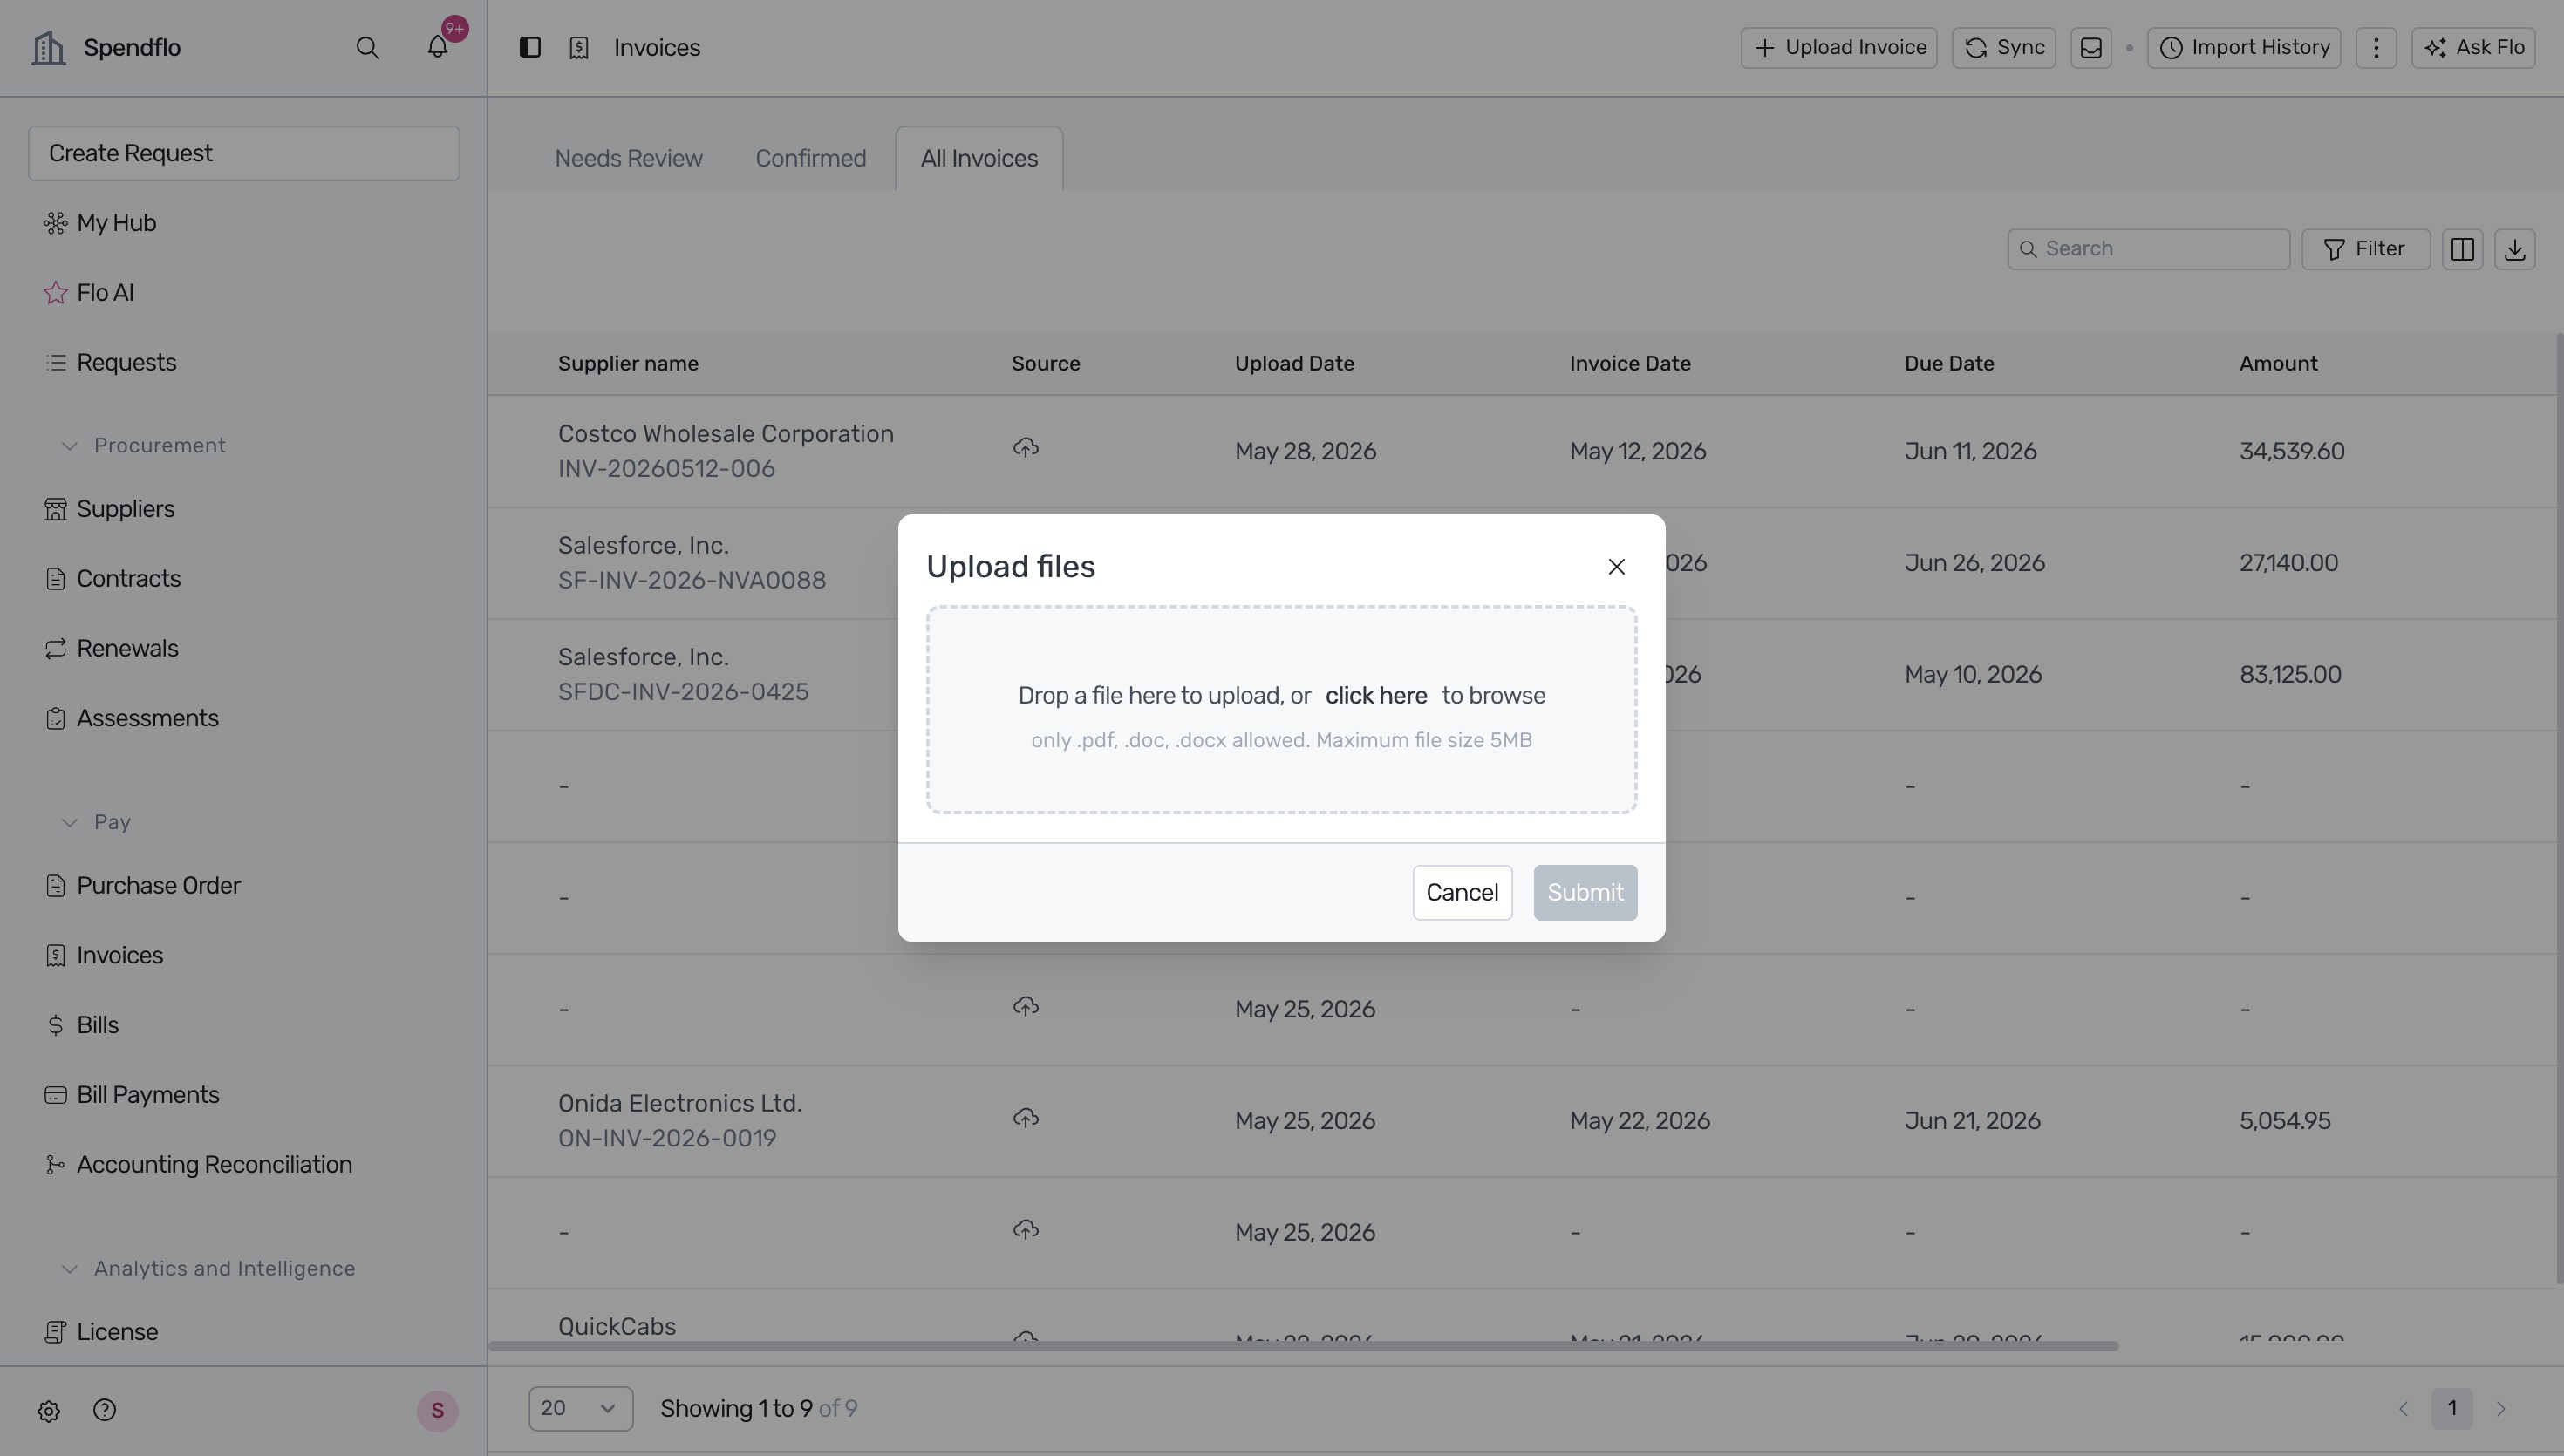
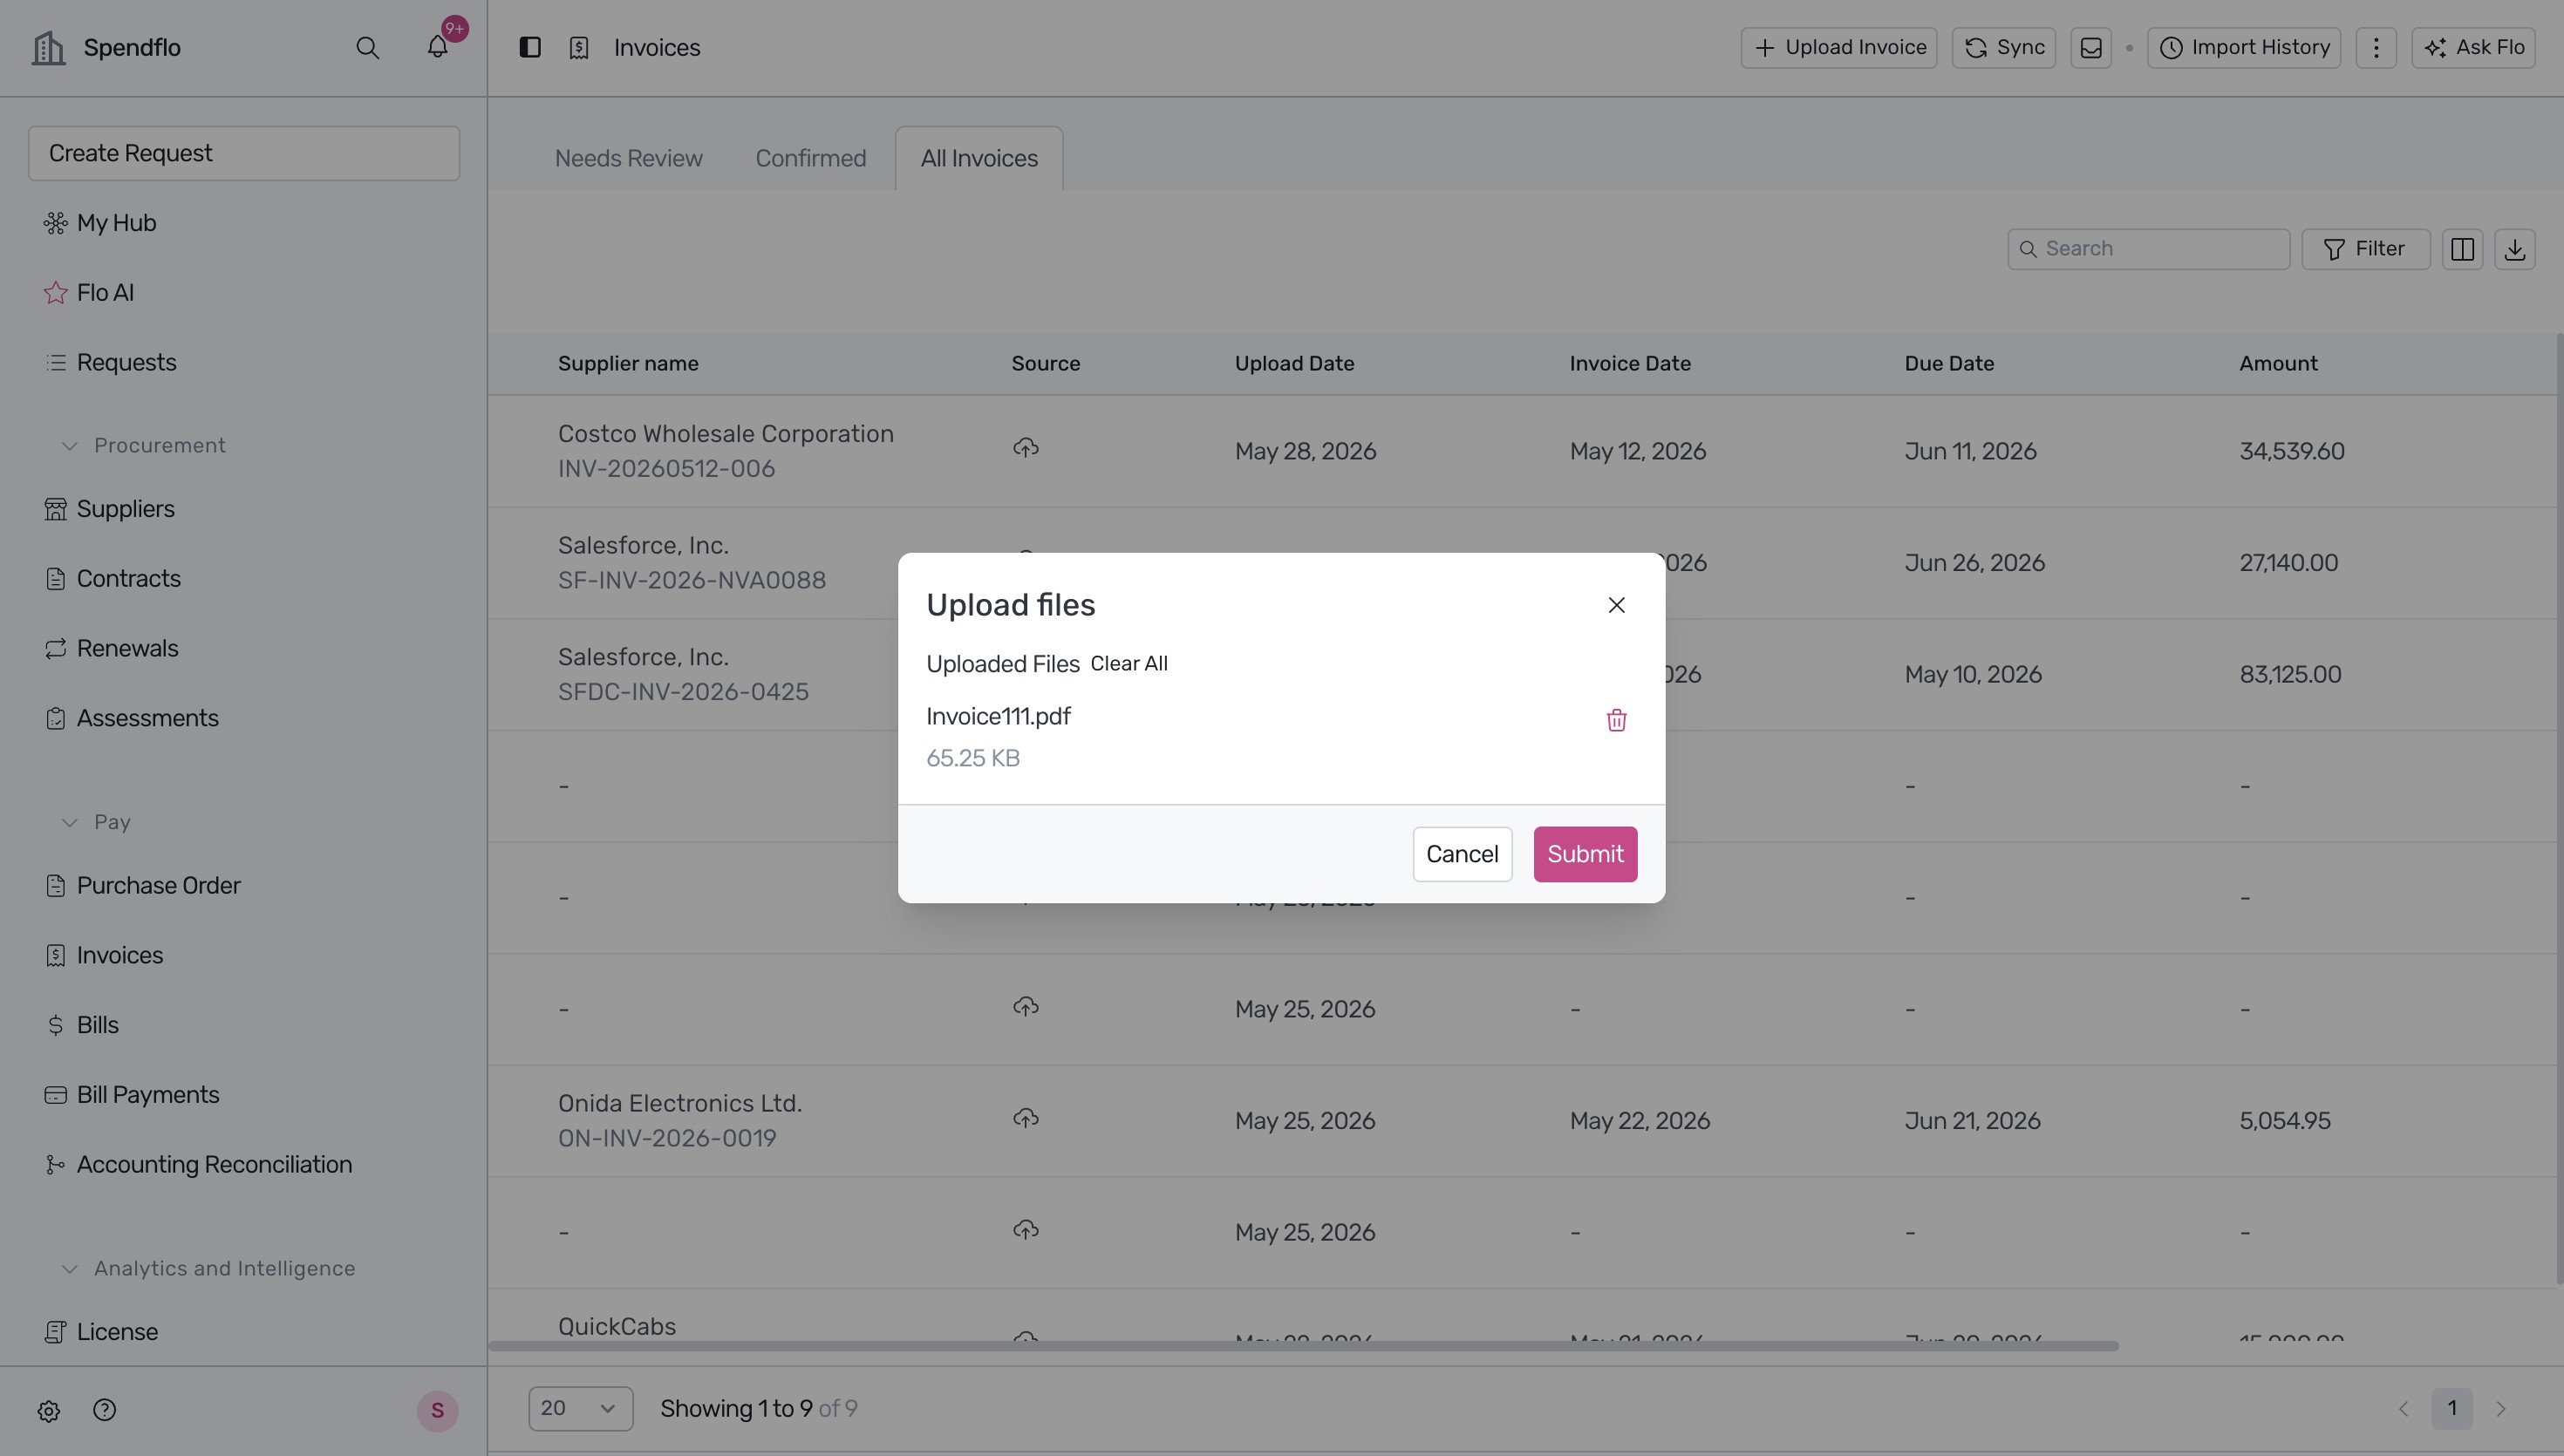
Click the 'click here' link to select an invoice file from your computer and click the Submit button.
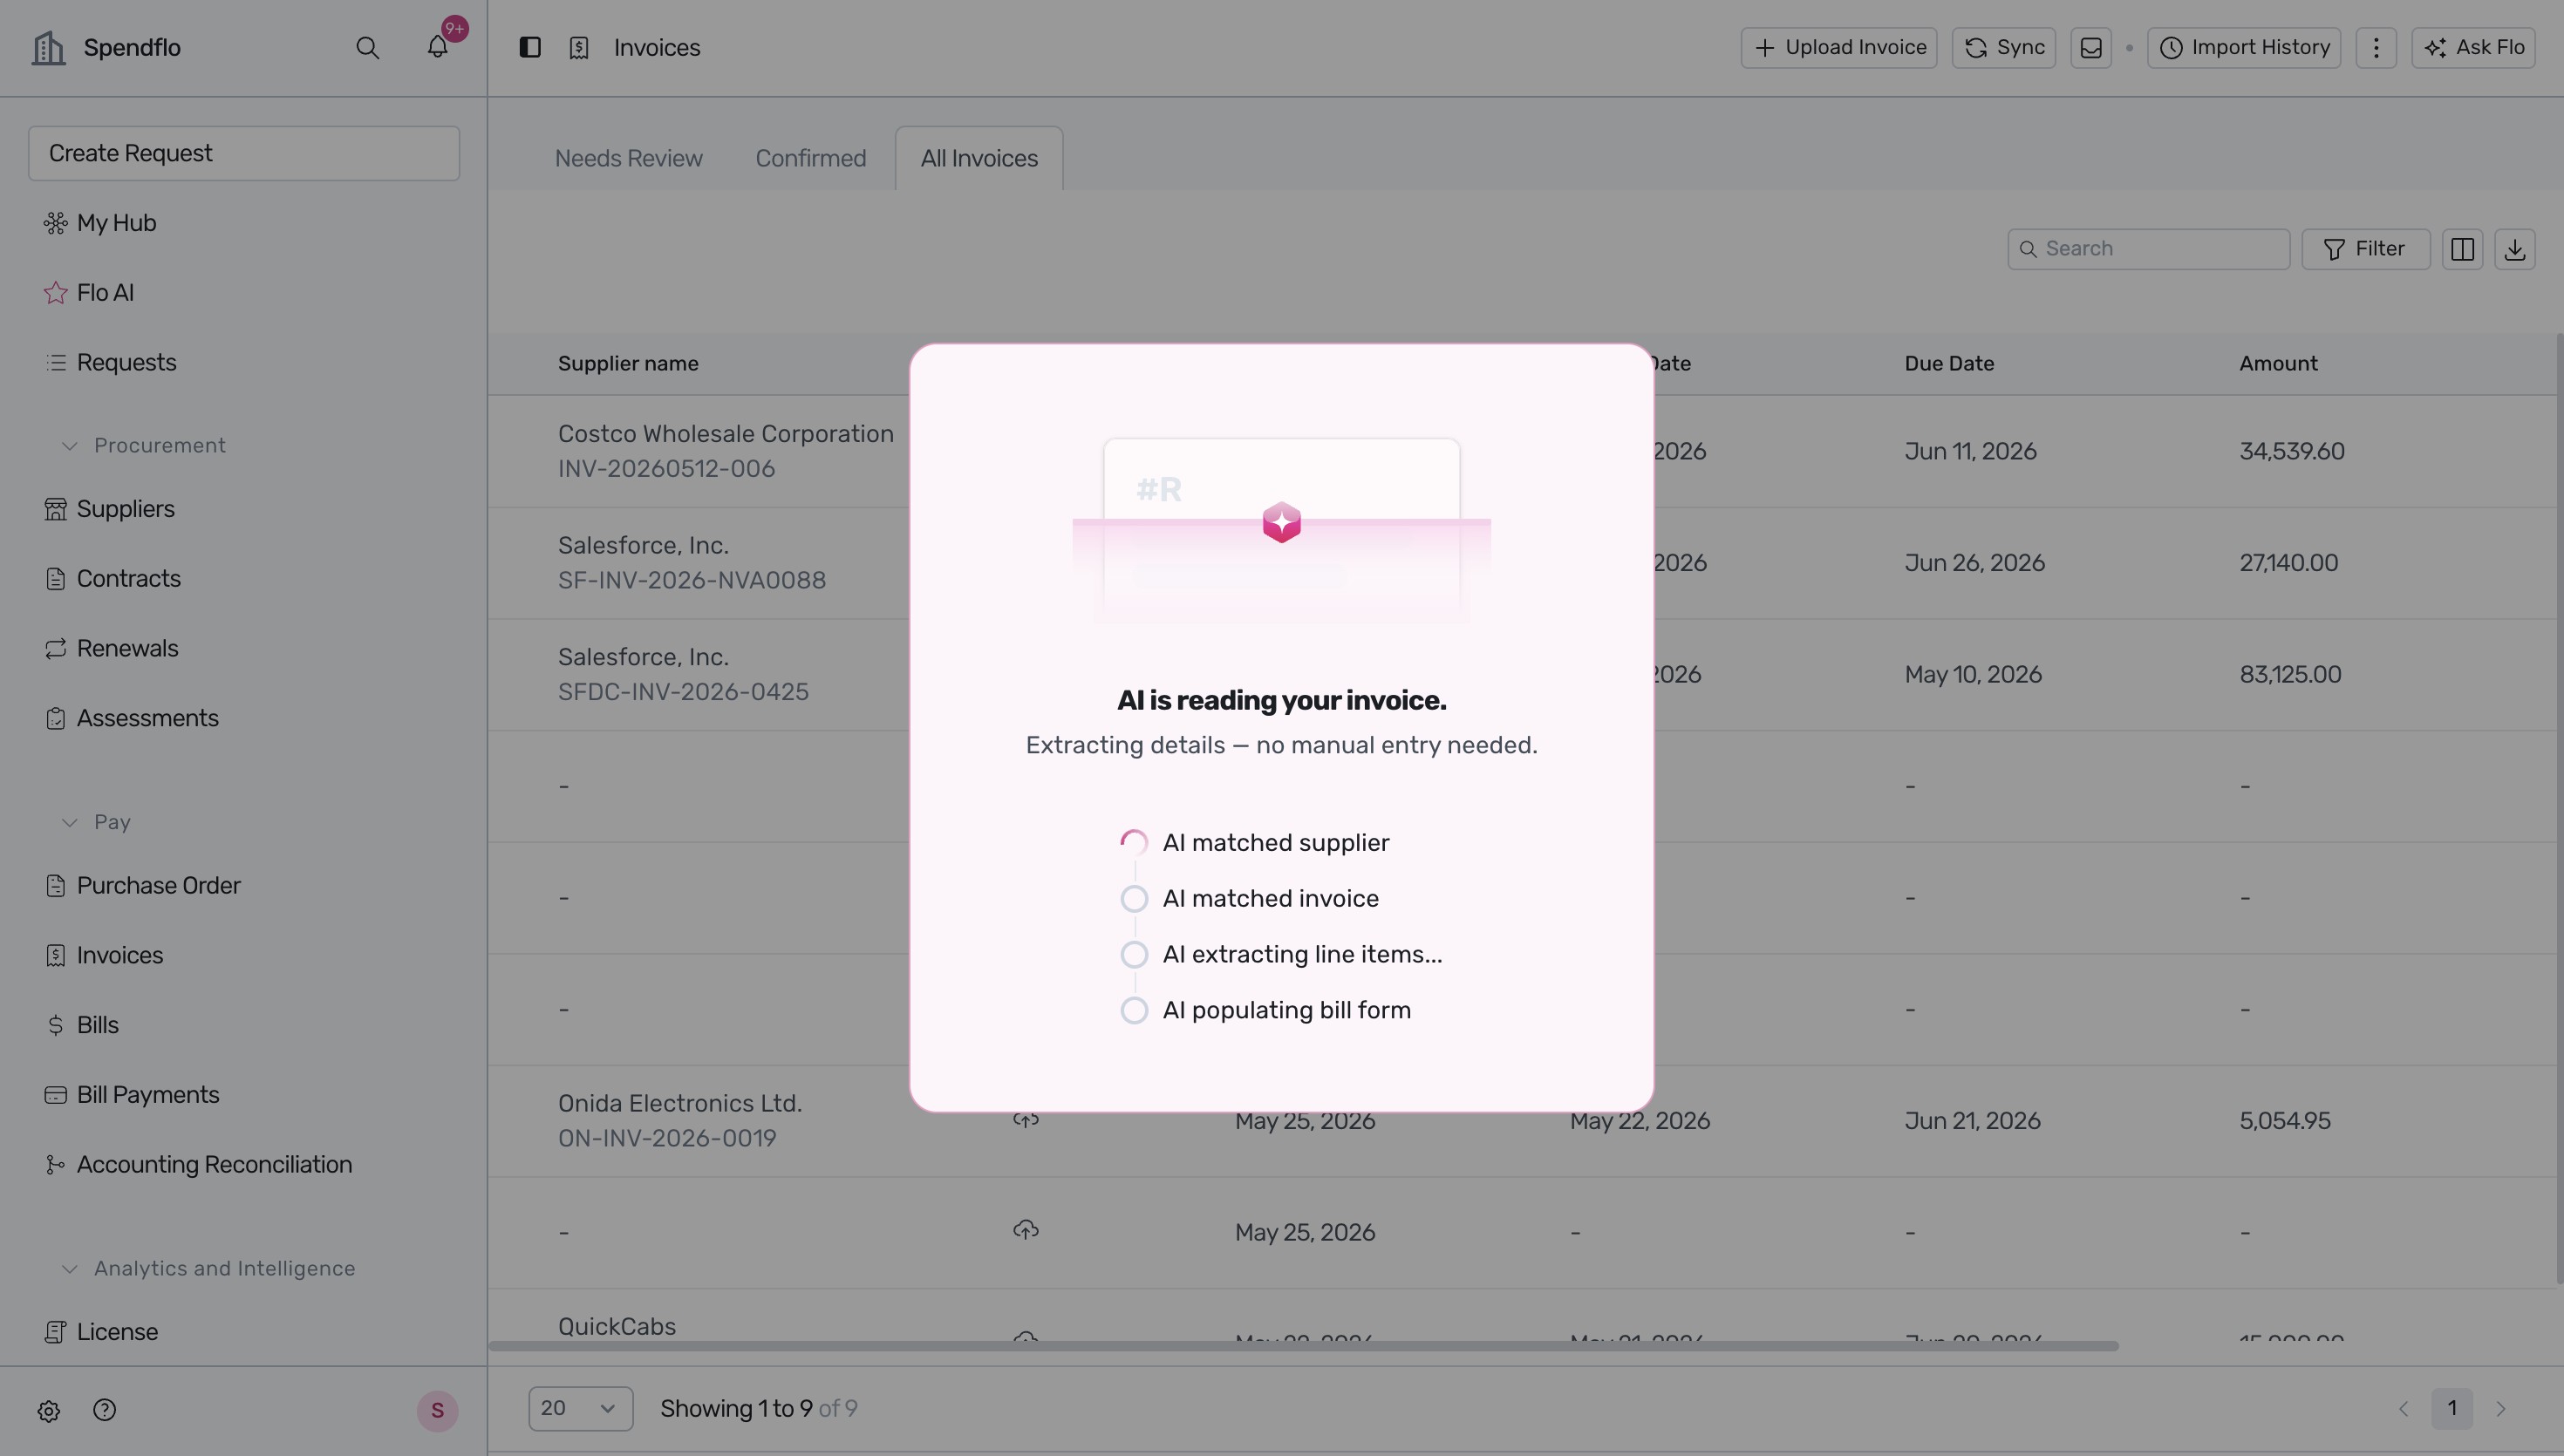
Wait for a few moments while the AI automatically processes the invoice, matches the supplier, extracts line items, and prepopulates the bill form.
Once processed, you will be redirected to the Invoice Detail page with the status set to 'Needs Review'. Here, you can verify the extracted fields against the invoice document.
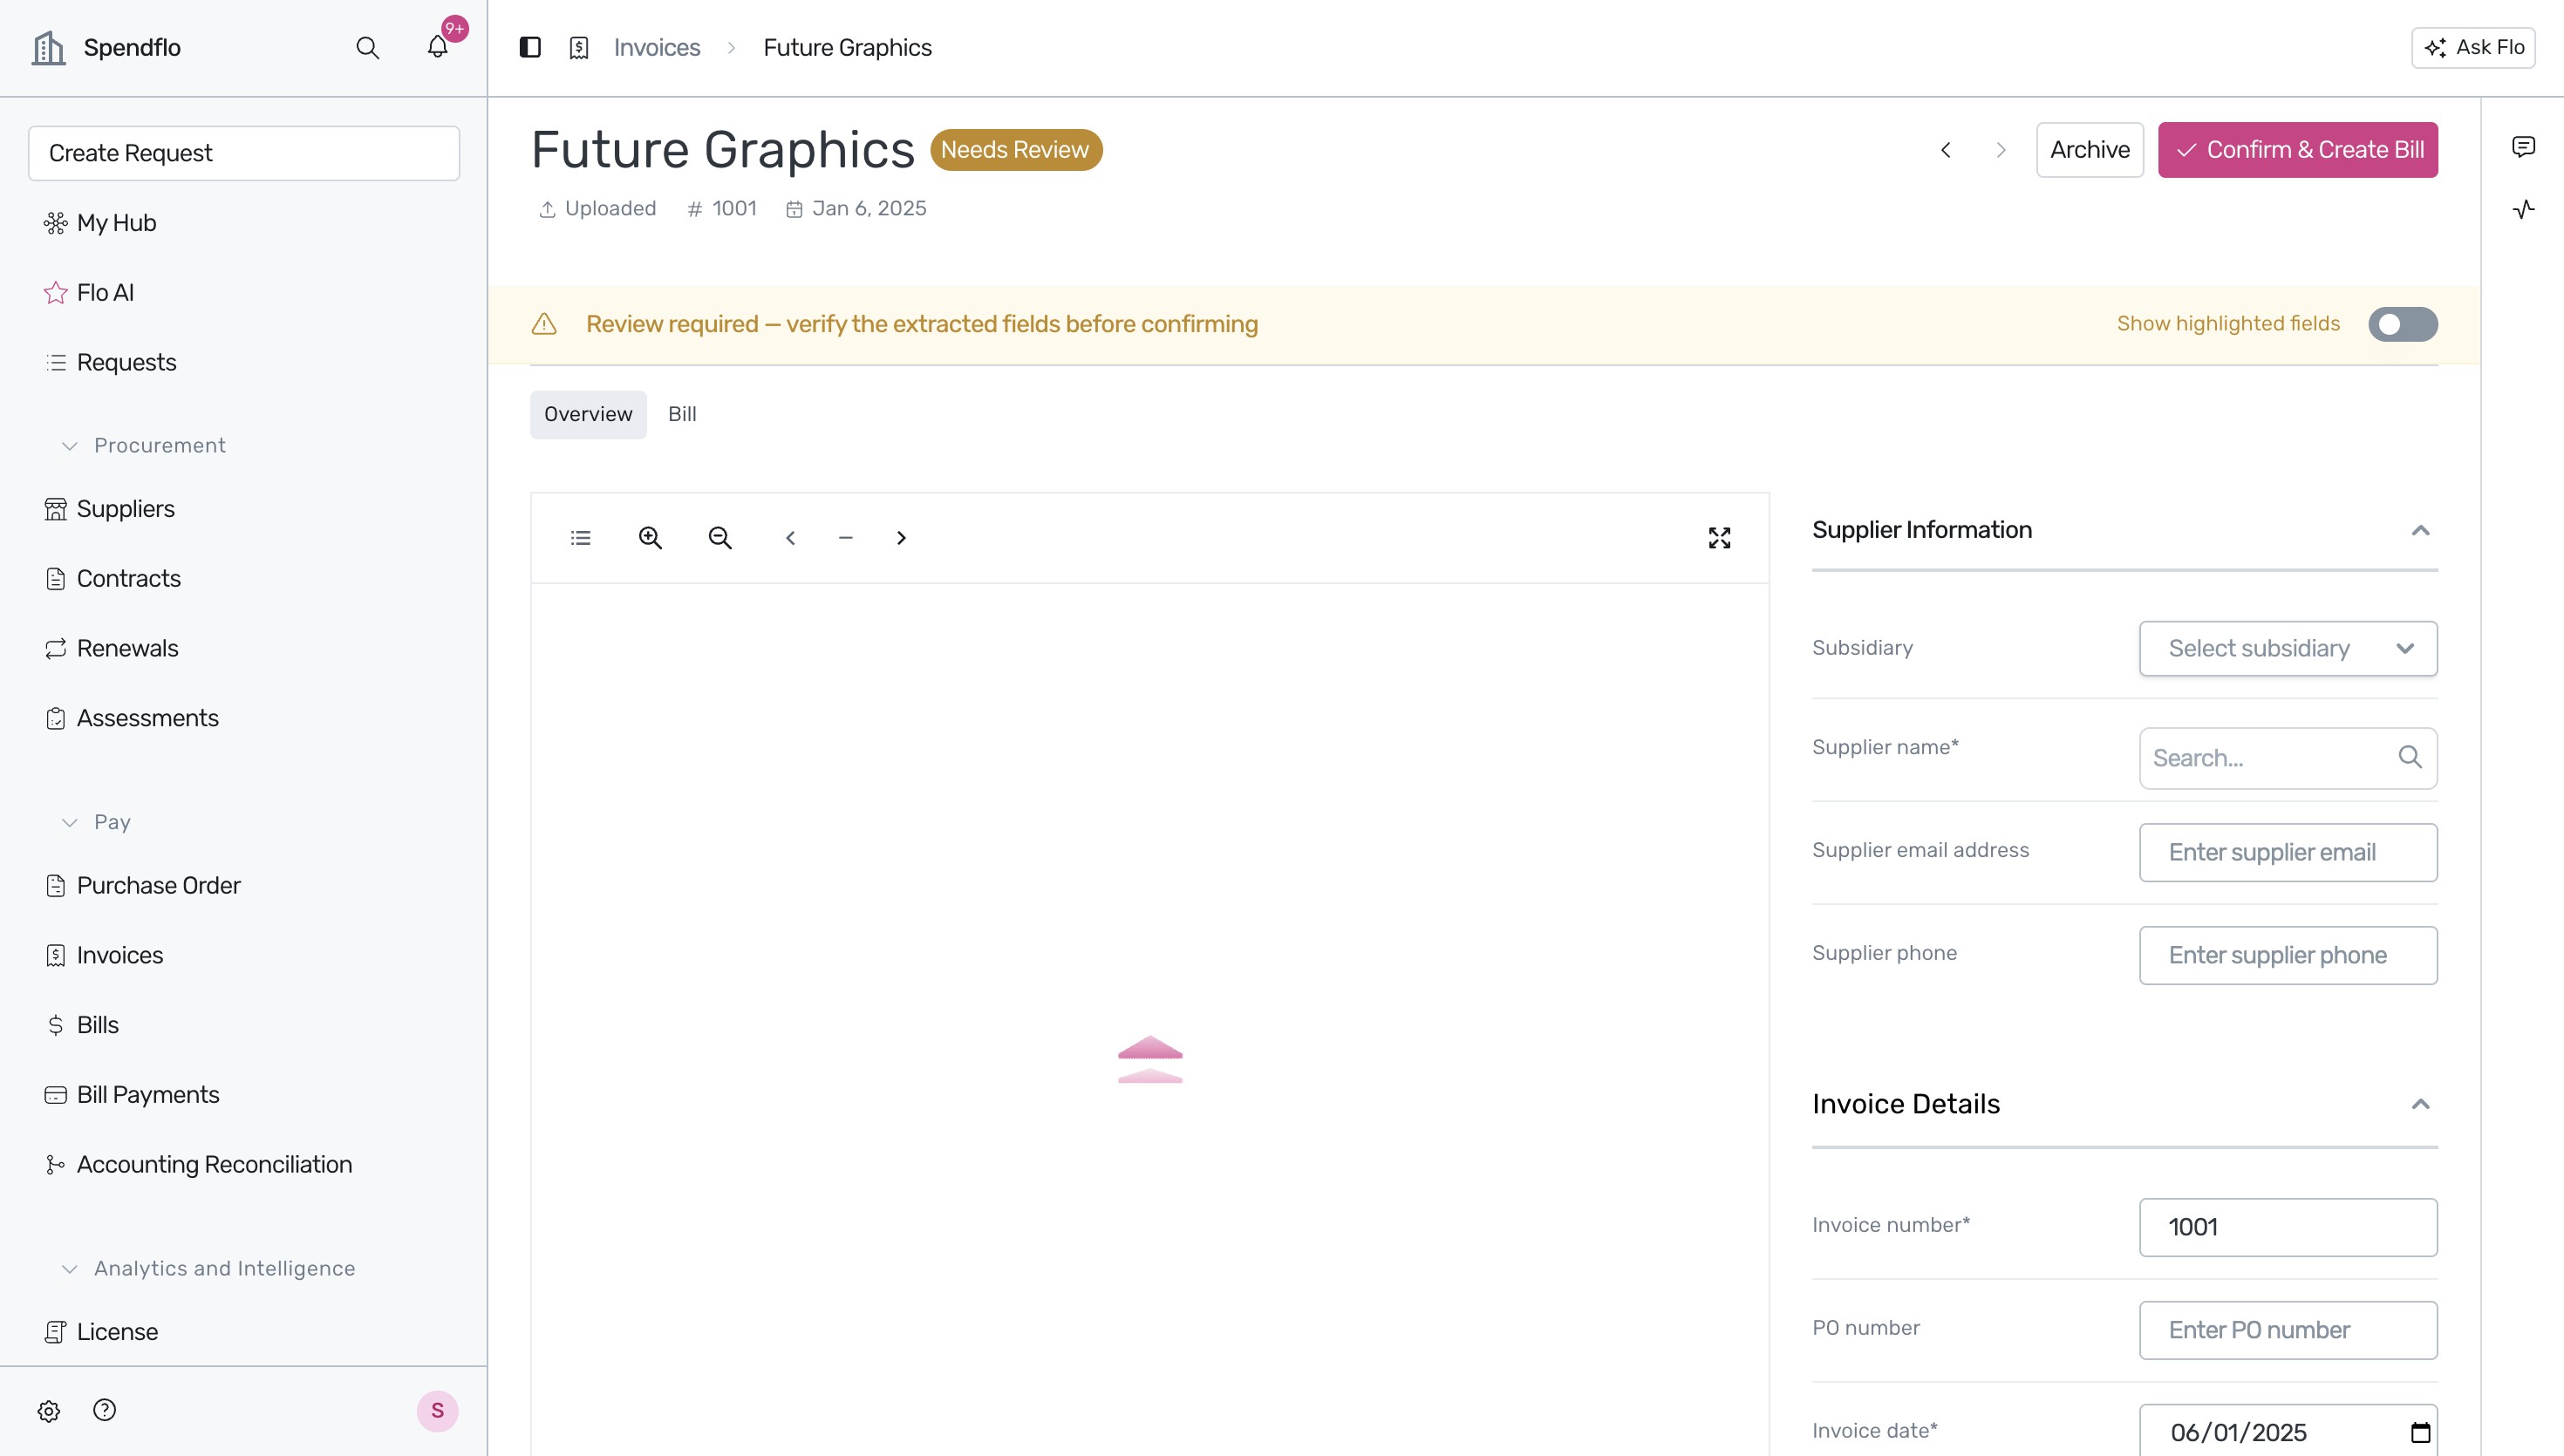
Select the appropriate subsidiary from the dropdown menu under the Supplier Information section.
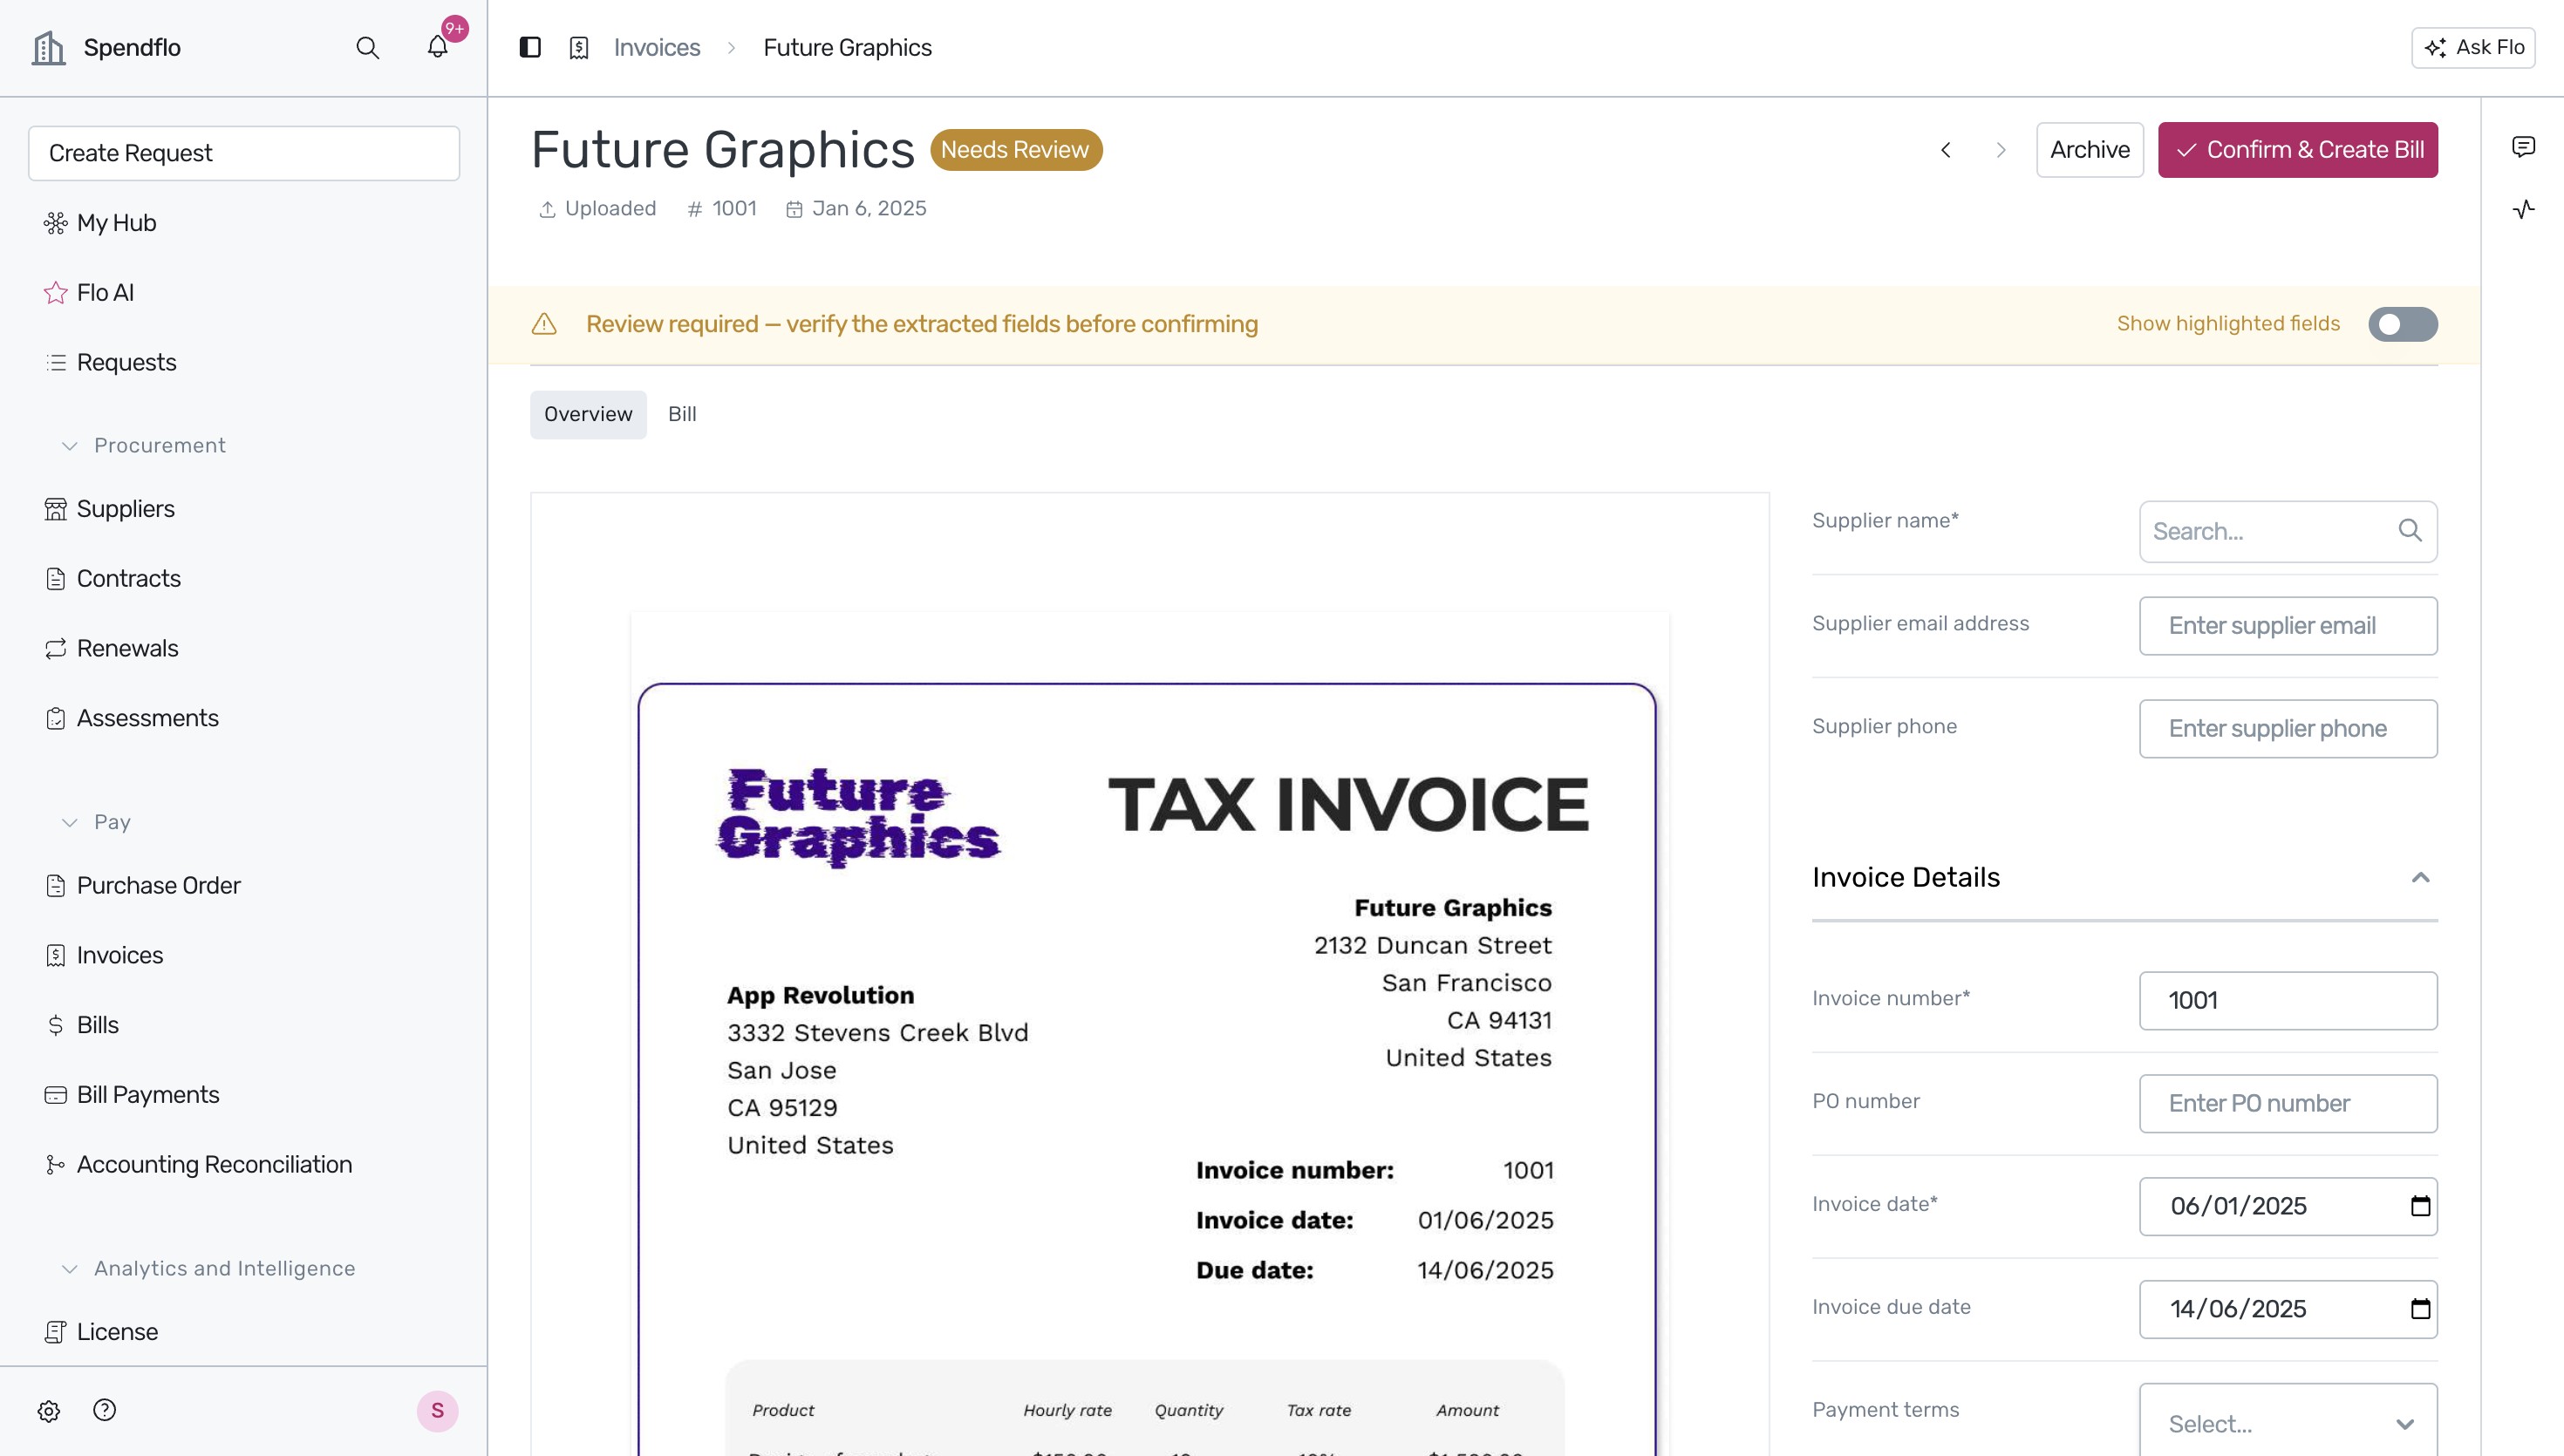
Click the 'Confirm & Create Bill' button in the top-right corner to open the confirmation dialog.
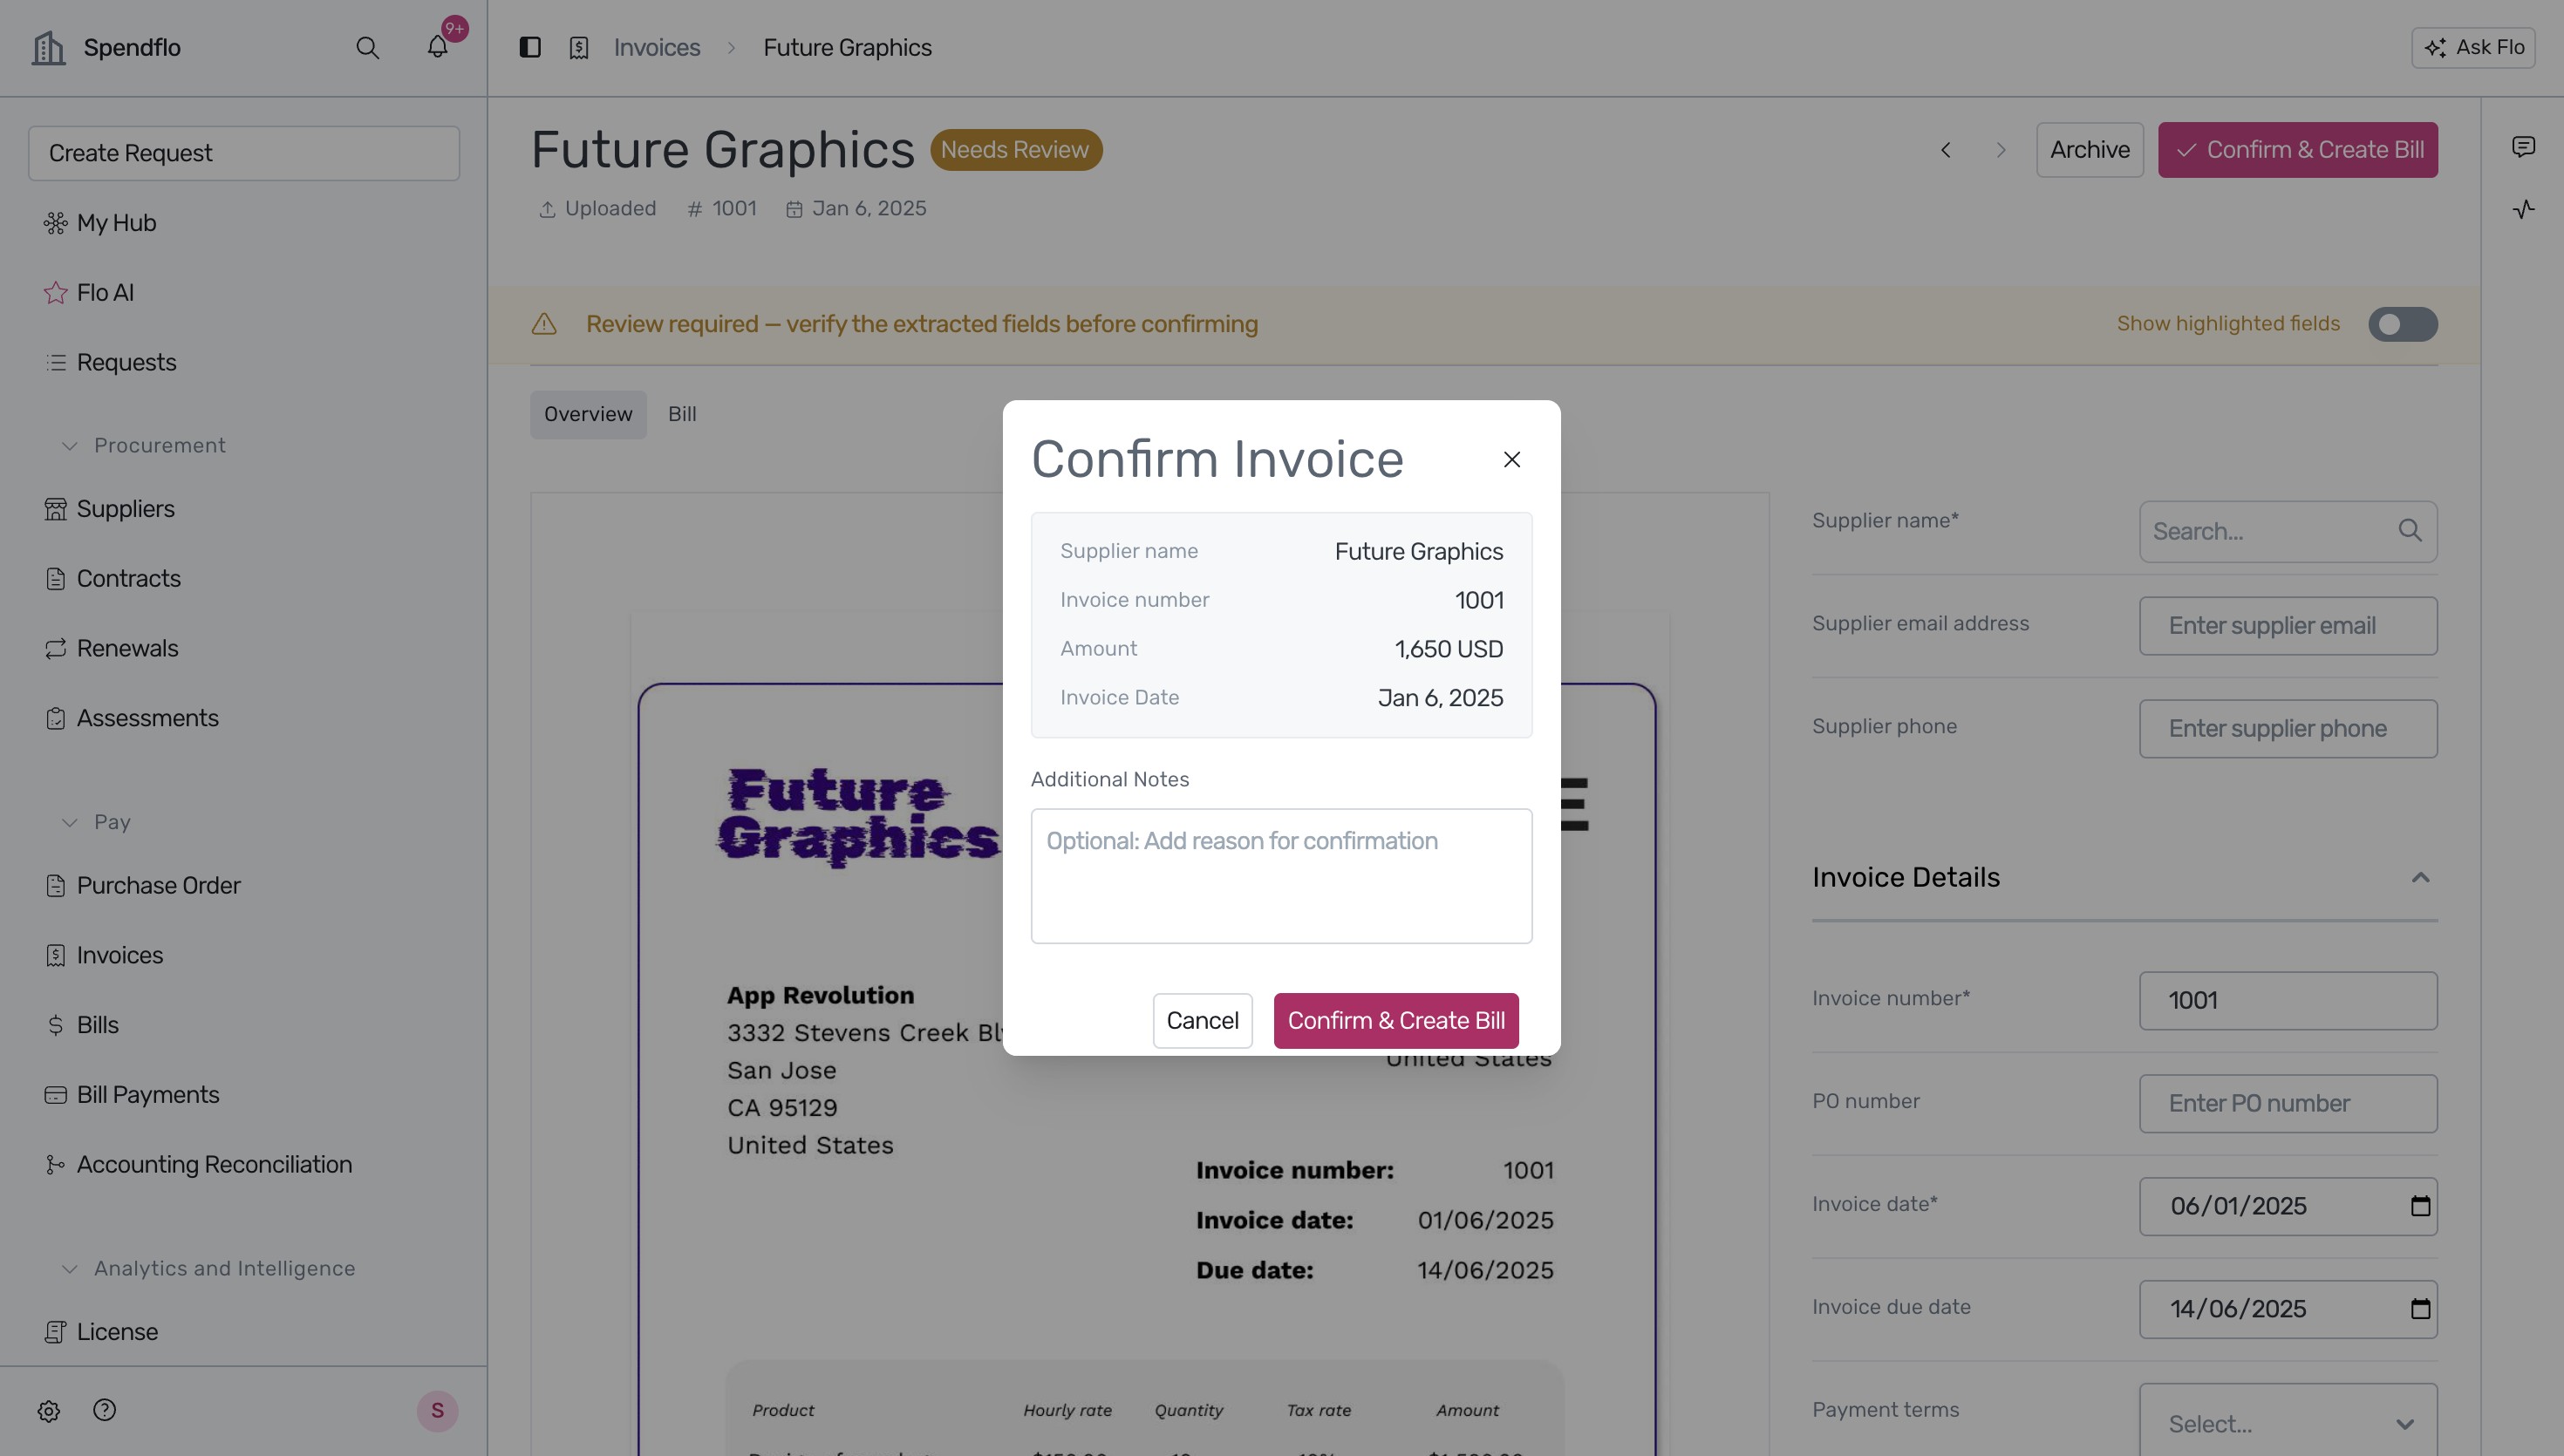
Review the invoice summary in the 'Confirm Invoice' dialog and click 'Confirm & Create Bill' to finalize. The invoice status will update to 'Confirmed'.
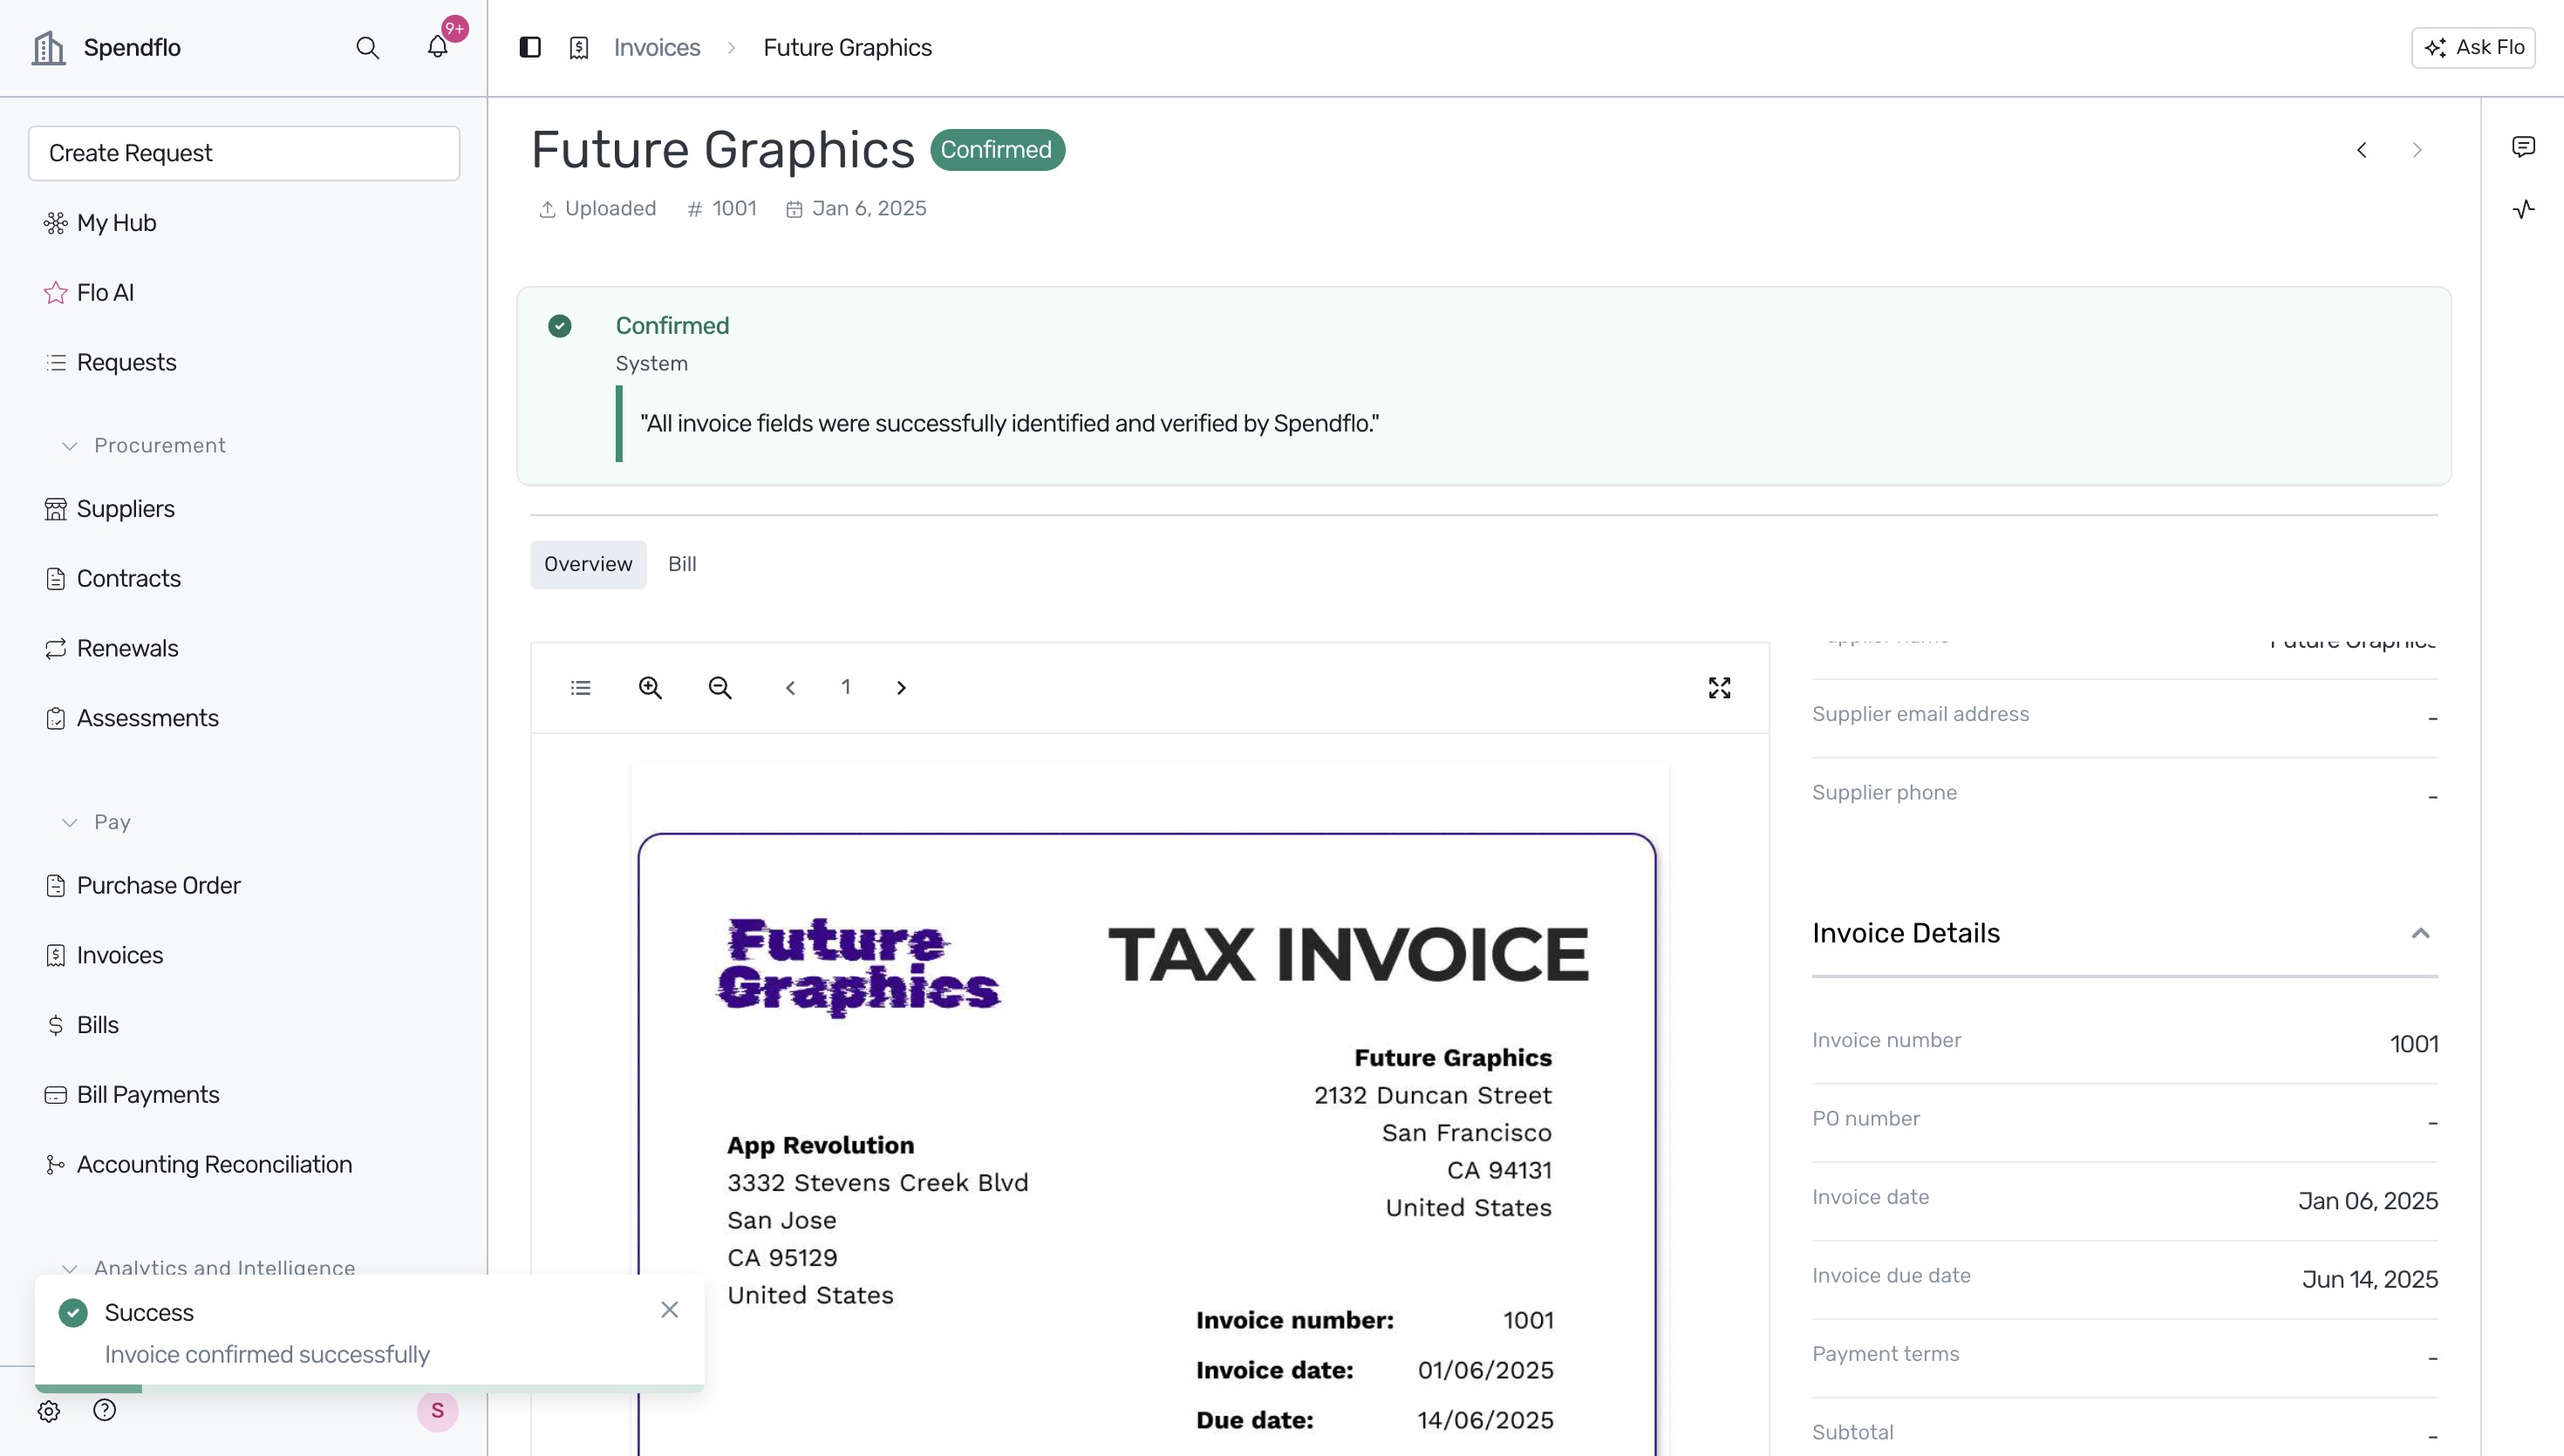
Next Steps
Once your invoice is confirmed, a corresponding bill is created in Spendflo. To learn more about managing your agreements and contracts, see our guide on Adding a new agreement. You can also configure your organization profile to ensure all billing entity and contact details are up to date.
Was this article helpful?
That’s Great!
Thank you for your feedback
Sorry! We couldn't be helpful
Thank you for your feedback
Feedback sent
We appreciate your effort and will try to fix the article